


18
HOW TO USE AN IFIT WORKOUT
iFit cards are available separately. To purchase iFit
cards, go to www.iFit.com or see the front cover of this
manual. iFit cards are also available at select stores.
1. Press any button or begin pedaling to activate
the console.
When you activate the console, the display will
light and the console will be ready for use.
2. Insert an iFit card and select a workout.
To use an iFit workout, insert an iFit card into the
iFit slot, which is located on the rear right-hand
side of the console. The iFit card should slide eas-
ily into the slot. If it does not, turn the iFit card and
try again.
iFit workouts function in the same way as preset
workouts. To use the workout, see steps 5 to 7 on
pages 15 to 16. Note: Some iFit cards contain
more than one workout. To select a workout, use
the increase and decrease buttons located next to
the ENTER button.
3. When you are finished exercising, remove the
iFit card.
Remove the iFit card when you are finished exer-
cising. Store the iFit card in a secure place.
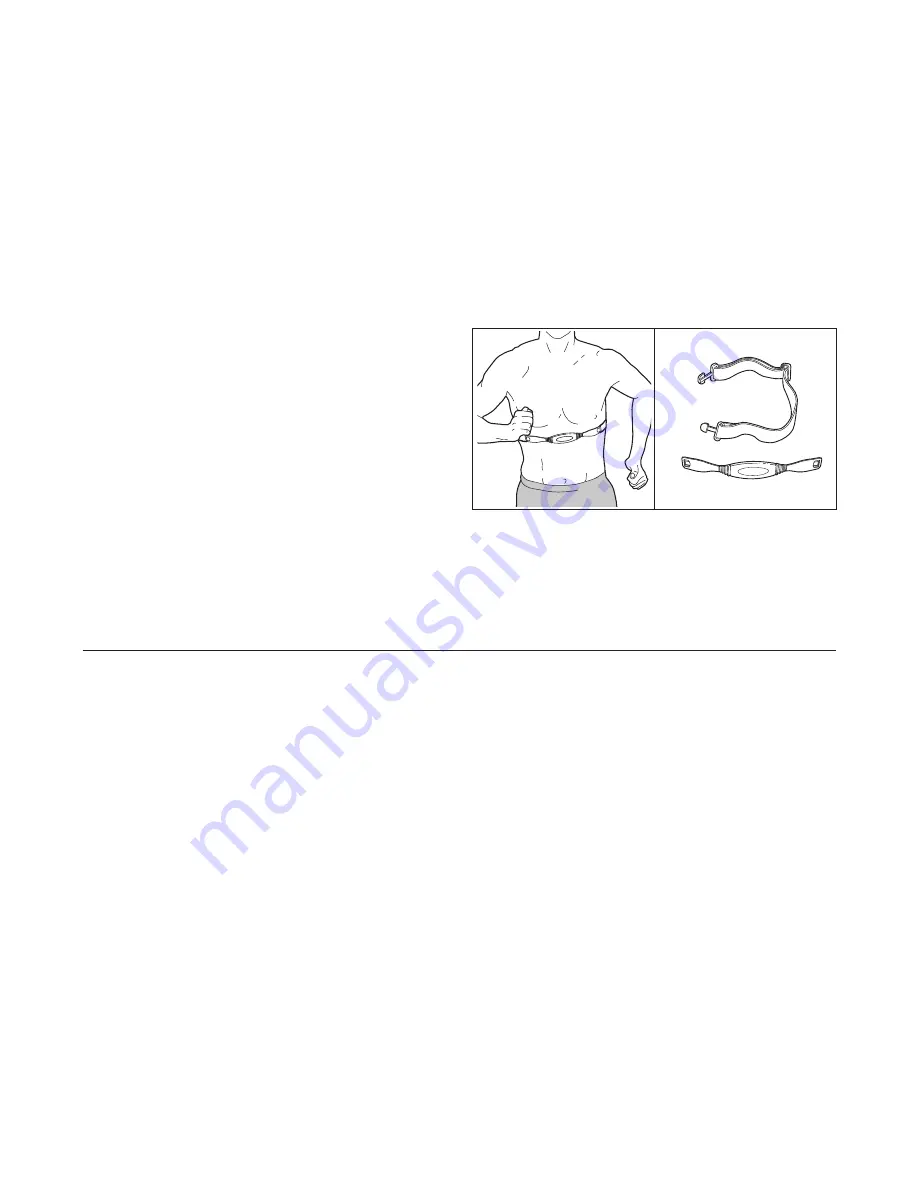
THE OPTIONAL CHEST PULSE SENSOR
The optional chest pulse sensor provides hands-free
operation and continuously monitors your heart rate
during your workouts.
To purchase the optional
chest pulse sensor, see the front cover of this
manual.
MAINTENANCE AND TROUBLESHOOTING
If you have questions about maintenance or trou-
bleshooting, see the front cover of this manual.
Inspect and tighten all parts of the elliptical exerciser
regularly. Replace any worn parts immediately.
To clean the elliptical exerciser, use a damp cloth and
a small amount of mild soap. Make sure to regularly
clean the track wheels and the track frame on which
the track wheels ride.
IMPORTANT: To avoid damage
to the console, keep liquids away from the con-
sole and keep the console out of direct sunlight.
HOW TO LEVEL THE ELLIPTICAL EXERCISER
If the elliptical exerciser rocks slightly on your floor
during use, see HOW TO LEVEL THE ELLIPTICAL
EXERCISER on page 10.


