background image

12


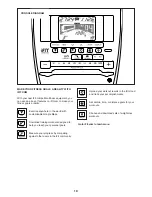
Calorie—This tab will show the approximate amount 

of calories you have burned. The height of each seg-

ment represents the amount of calories burned during 

that segment.

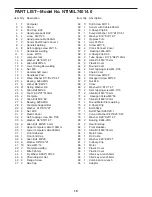
   As you exercise, the workout intensity level bar 

will indicate the approximate intensity level of your 

exercise. 


 Press the Home button to exit the workout and return 

to the default menu (see HOW TO CHANGE 

CONSOLE SETTINGS on page 22 to set the 

default menu). If necessary, press the Home but-

ton again.

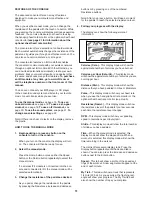
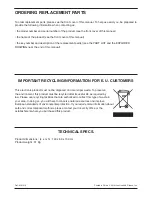
   When a wireless iFit module is 

connected, the wireless sym-

bol at the top of the display will 

show the strength of your wire-

less signal. Four arcs indicate 

full signal strength.

   Change the volume level 

of 

the console by pressing the 

volume increase and decrease 

buttons.

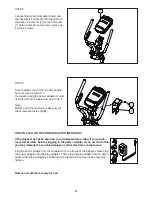
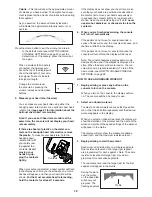
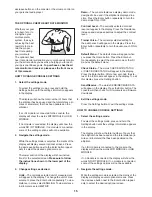
5.  Measure your heart rate if desired. 

   You can measure your heart rate using either the 

handgrip heart rate monitor or an optional chest heart 

rate monitor (see page 21 for information about the 

optional chest heart rate monitor)

.


   Note: If you use both heart rate monitors at the 

same time, the console will not display your heart 

rate accurately.


If there are sheets of plastic on the metal con-

tacts on the handgrip heart rate monitor, remove 

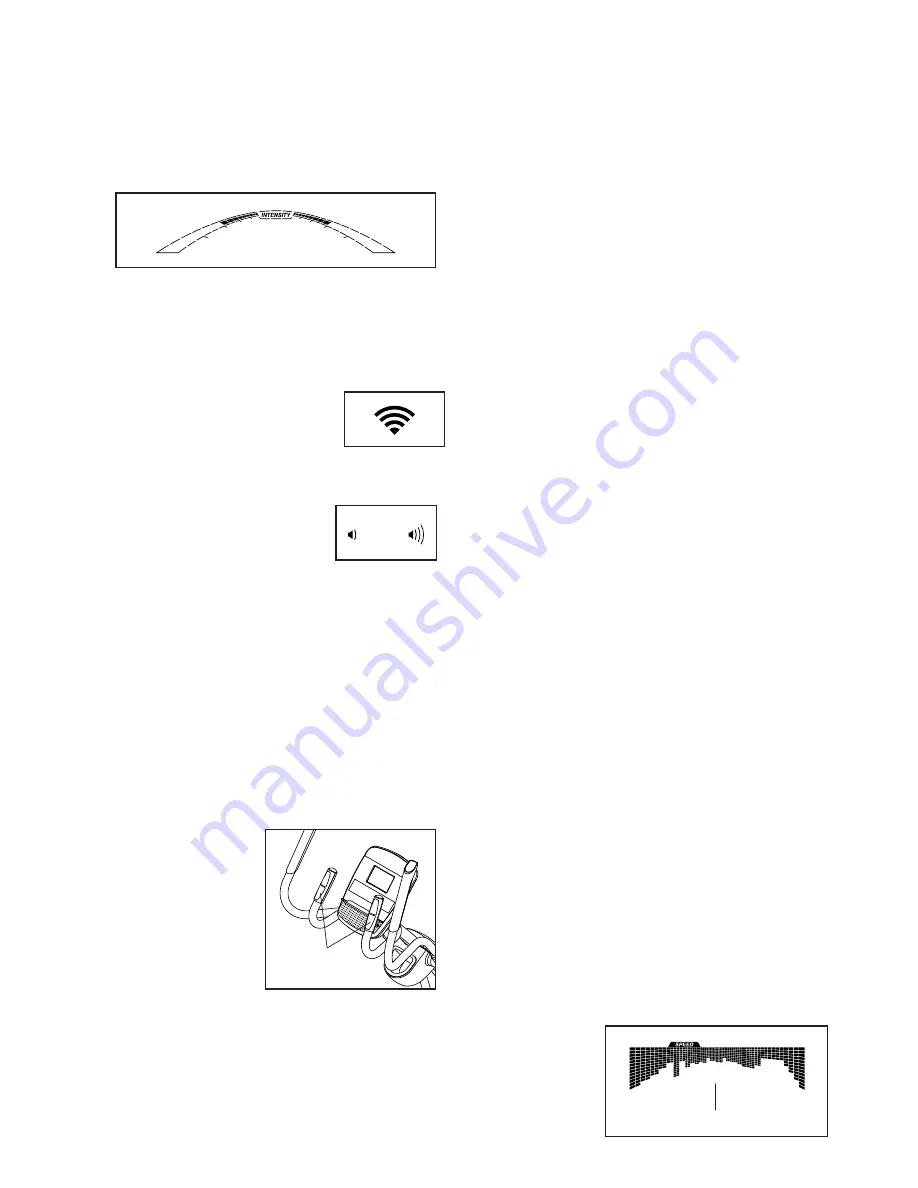
the plastic. To measure your heart rate, hold the 

handgrip heart 

rate monitor with 

your palms rest-

ing against the 

contacts. Avoid 

moving your 

hands or grip-

ping the contacts 

tightly.

   When your pulse is detected, a heart symbol will flash 

in the display each time your heart beats, one or two 

dashes will appear, and then your heart rate will be 

shown. For the most accurate heart rate reading, 

hold the contacts for at least 15 seconds. 

   If the display does not show your heart rate, make 

sure that your hands are positioned as described. 

Be careful not to move your hands excessively or 

to squeeze the contacts tightly. For optimal perfor-

mance, clean the contacts using a soft cloth; never 

use alcohol, abrasives, or chemicals to clean the 

contacts.

6.   When you are finished exercising, the console 

will turn off automatically.

    If the pedals do not move for several seconds, a 

series of tones will sound, the console will pause, and 

the time will flash in the display.

   If the pedals do not move for several minutes, the 

console will turn off and the display will be reset.

   Note: The console features a display demo mode, 

designed to be used if the elliptical is displayed in a 

store. When the demo mode is turned on, the con-

sole will show a preset presentation. To turn off the 

demo mode, see HOW TO CHANGE CONSOLE 

SETTINGS on page 22.

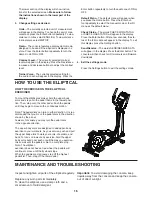
HOW TO USE AN ONBOARD WORKOUT

1.   Begin pedaling or press any button on the 

console to turn on the console.

   When you turn on the console, the display will turn 

on. The console will then be ready for use.

2.  Select an onboard workout.

   To select an onboard workout, press the Speed but-

ton or the Calorie button repeatedly until the desired 

workout appears in the display.

   When you select an onboard workout, the display will 

show the duration of the workout and the name of the 

workout. A profile of the speed settings of the workout 

will appear in the matrix. 

   The display will also show the maximum pedaling 

speed (rpm) and the maximum resistance level.

3.  Begin pedaling to start the workout.

   Each workout is divided into one-minute segments. 

One resistance level and one target rpm (speed) 

are programmed for each segment. Note: The same 

resistance level and/or target rpm may be pro-

grammed for consecutive segments. 

   The resistance level and the target rpm for the first 

segment will appear in the matrix. 
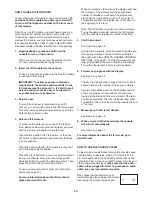
   During the work-

out, the profile 

on the speed tab 

will show your 

progress. The 

flashing segment 

Profile

Contacts

Summary of Contents for NTIVEL74014.0

Page 1: ...p this manual for future reference QUESTIONS If you have questions or if there are missing parts please contact us UK Call 08457 089 009 From Ireland 053 92 36102 Website www iconsupport eu E mail csu...

Page 2: ...HOOTING 2 IMPORTANT PRECAUTIONS 3 BEFORE YOU BEGIN 4 WARNING DECAL PLACEMENT 4 ASSEMBLY 5 HOWTO OPERATETHE ELLIPTICAL 10 FEATURES OF THE CONSOLE 11 EXERCISE GUIDELINES 16 EXPLODED DRAWINGS 18 PART LIS...

Page 3: ...ighing more than 250 lbs 115 kg 9 Wear appropriate clothes while exercising do not wear loose clothes that could become caught on the elliptical Always wear athletic shoes for foot protection while ex...

Page 4: ...ber and serial number before contacting us The model number is NTIVEL74014 0 and the loca tion of the serial number decal are shown on the front cover of this manual Before reading further please fami...

Page 5: ...ice bike use the drawings below to identify small parts The number in parentheses below each drawing is the key number of the part from the PART LIST near the end of this manual The number following t...

Page 6: ...II Fit the Allen Bolt 34 spring washer 22 and curved washers 33 and align handlebar post so it is straight Then tighten the Allen bolts fully STEP 3 Apply grease from packet to the axle then slide fo...

Page 7: ...e upper swing bar Left and Right 8 and loosely fit 4 Allen bolts 14 and 4 nut 16 III Fasten footplate support bars 28R L parallel don t incline to the lower swing bars 15R L and secure it with Allen b...

Page 8: ...dal STEP 6 Fasten Handle Bar 10 to Handlebar Post and secure it with Allen Bolt 34 Curved washer 13 and spring pad 22 Thread the pulse wire from handlebar through the hole above where the handlebar is...

Page 9: ...e screws are fasten tightly HOW TO PLUG IN THE POWER ADAPTER IMPORTANT If the elliptical has been exposed to cold temperatures allow it to warm to room temperature before plugging in the power adapter...

Page 10: ...where in the world with customizable Google Maps Download training workouts designed to help you reach your personal goals Measure your progress by competing against other users in the iFit community...

Page 11: ...Speed button or the Calorie button repeatedly to select the manual mode If a wireless iFit module is not inserted into the con sole and connected to iFit the manual mode will be selected automaticall...

Page 12: ...s described Be careful not to move your hands excessively or to squeeze the contacts tightly For optimal perfor mance clean the contacts using a soft cloth never use alcohol abrasives or chemicals to...

Page 13: ...ady for use 2 Set a calorie distance or time goal To set a calories distance or time goal first press the Set A Goal button Next press the increase and decrease buttons next to the Enter button until...

Page 14: ...ut press the Set A Goal button see page 19 For more information about the iFit workouts please see www iFit com When you select an iFit workout the display will show the duration of the workout and th...

Page 15: ...rs select METRIC Demo The console features a display demo mode designed to be used if the elliptical is displayed in a store Press the Enter button repeatedly to turn the demo mode ON or OFF Contrast...

Page 16: ...ECEIVE DATA will appear in the display Press the Enter button The console will then check for iFit workouts and firmware downloads 4 Exit the settings mode Press the Settings button to exit the settin...

Page 17: ...body uses carbohydrate calories for energy Only af ter the first few minutes of exercise does your body begin to use stored fat calories for energy If your goal is to burn fat adjust the intensity of...

Page 18: ...28R 38L 38R 19 82 85 Item 91 Item 92 Item 93 44 45 46 47 80 79 78 53 54 30 52 51 50 1 2 3 4 6 9 8L 7L 14 15 16 11 20 21 22 23 37 17 18 26 27 8R 31 32 33 34 35 36 9 5 10 11 12 24 29 30 39 55 56 58 21...

Page 19: ...nge Screw Axle Cap Qty 1 4 4 2 4 2 2 2 8 1 3 1 3 4 2 4 1 1 2 4 6 21 4 2 2 2 4 2 2 3 2 2 6 9 1 1 1 1 6 8 10 2 1 1 2 2 2 Item 48 49 50 51 52 53 54 55 56 57 58 59 60 61 62 63 64 65 66 67 68 69 70 71 72 7...

Page 20: ...E U CUSTOMERS This electronic product must not be disposed of in municipal waste To preserve the environment this product must be recycled after its useful life as required by law Please use recycling...

Reviews: