9
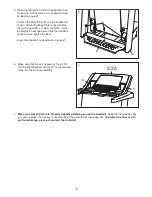
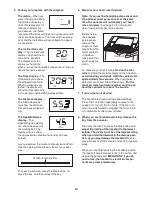
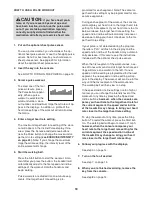
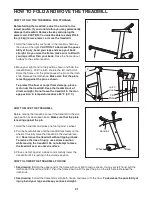
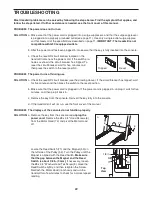
5. Place the treadmill in the storage position and
make sure that the latch pin is engaged as de-
scribed on page 21.
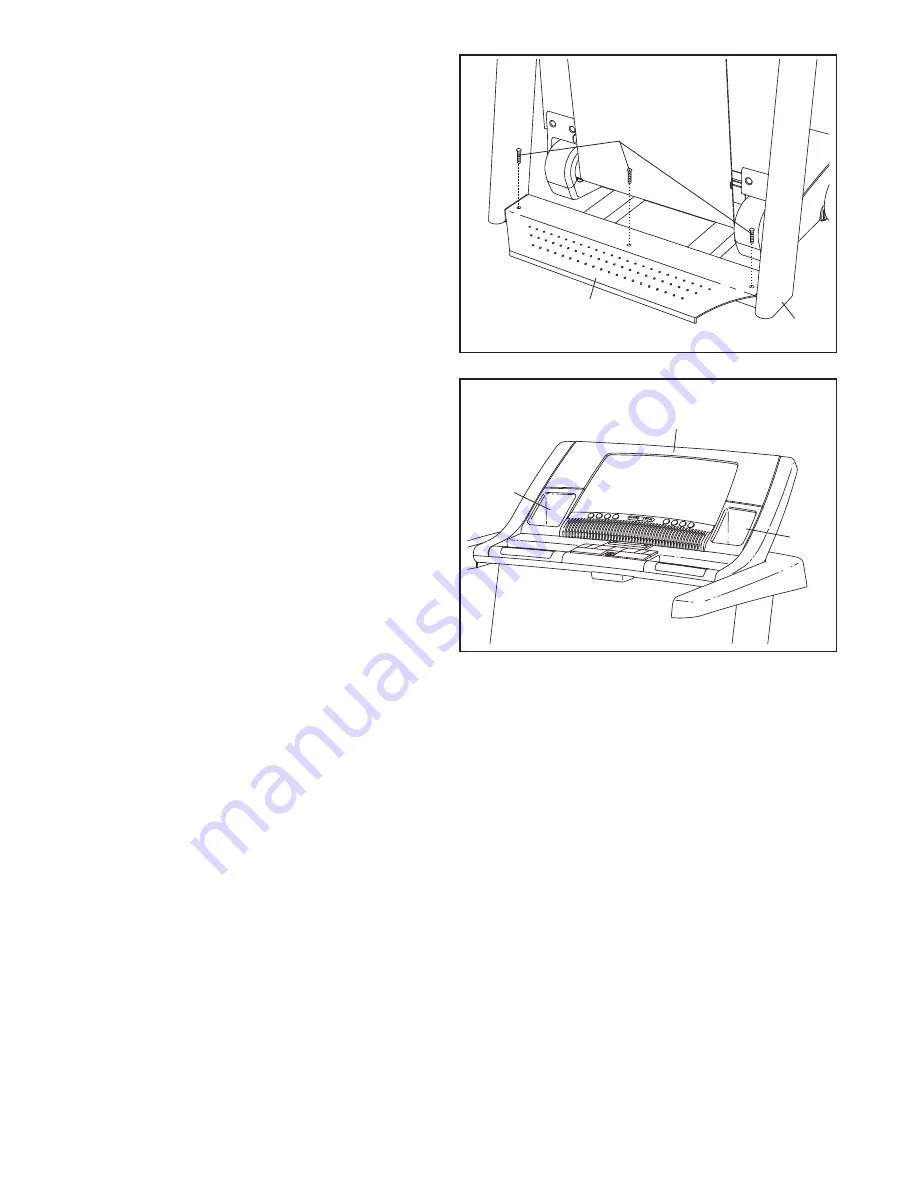
Position the Base Plate (97) on the treadmill as
shown. Attach the Base Plate to the Uprights
(43) with three 3/8" x 2" Bolts (3). Note: It may
be helpful if a second person tips the treadmill
slightly as you tighten the Bolts.
Lower the treadmill as described on page 21.
5
97
3
43
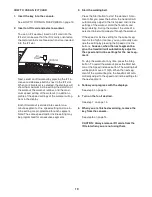
6. Make sure that the Left Accessory Tray (112)
and the Right Accessory Tray (117) are pressed
firmly into the console assembly.
7.
Make sure that all parts are properly tightened before you use the treadmill.
Keep the included hex key
in a secure place; the hex key is used to adjust the walking belt (see page 23).
To protect the floor or car-
pet from damage, place a mat under the treadmill.
6
Console
Assembly
112
117


