19
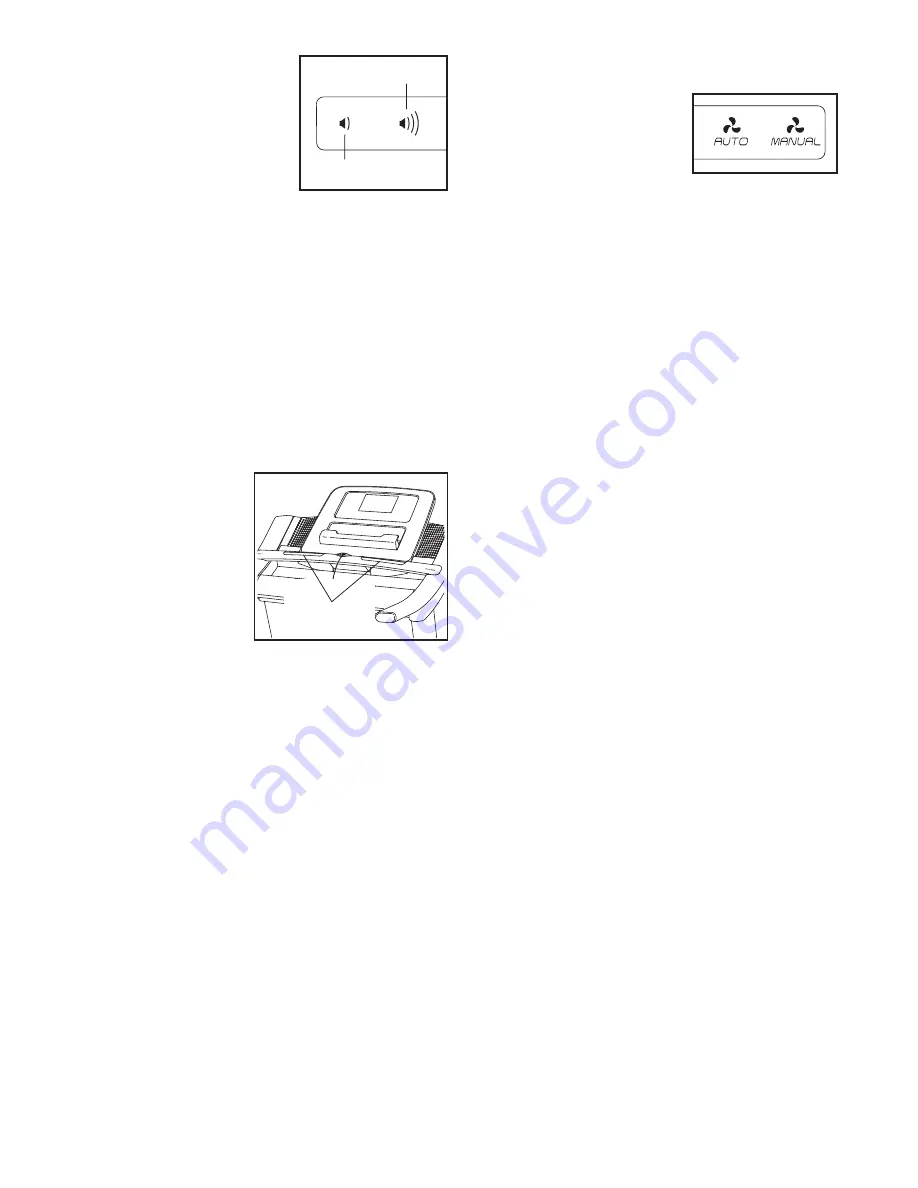
If desired, adjust the vol-
ume by pressing the vol-
ume increase and de-
crease buttons on the
console.
To pause the workout, touch one of the menu but-
tons or press the Stop button on the console. To
continue the workout, touch the Resume button or
the Start button. To end the workout session, touch
the End Workout button.
6. Measure your heart rate if desired.
Note: If you use the handgrip heart rate monitor
and the chest heart rate monitor at the same
time, the console will not display your heart
rate accurately.
For information about the chest
heart rate monitor, see page 13.
Before using the
handgrip heart
rate monitor, re-
move the sheets
of plastic from the
metal contacts. In
addition, make
sure that your
hands are clean.
To measure your heart rate,
stand on the foot
rails
and hold the contacts with your palms for ap-
proximately ten seconds;
avoid moving your
hands.
When your pulse is detected, your heart
rate will be shown.
For the most accurate heart
rate reading, continue to hold the contacts for
about 15 seconds.
7. Turn on the fan if desired.
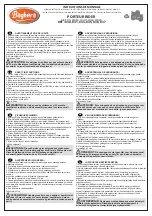
The fan features multiple
speed settings and an
auto mode. When the
auto mode is selected,
the speed of the fan will
automatically increase
and decrease as the speed of the walking belt in-
creases and decreases.
To select a fan speed or to turn off the fan, press
the Manual fan button repeatedly. To select the
auto mode or to turn off the fan, press the Auto fan
button repeatedly.
8. When you are finished exercising, remove the
key from the console.
Step onto the walking platform and touch the home
button or the back button on the screen or press
the Stop button on the console. A workout sum-
mary will appear on the screen. After you view the
workout summary, touch the Finish button to return
to the main menu. You may also be able to either
save or publish your results using one of the op-
tions on the screen. Then, remove the key from the
console and put it in a secure place.
When you are finished using the treadmill, press
the power switch into the off position and unplug
the power cord.
IMPORTANT: If you do not do
this, the treadmillʼs electrical components may
wear prematurely.
Increase
Decrease
Contacts
Summary of Contents for Powertread 1750
Page 33: ...33 NOTES...


