background image

DE - 25 -

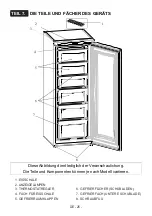
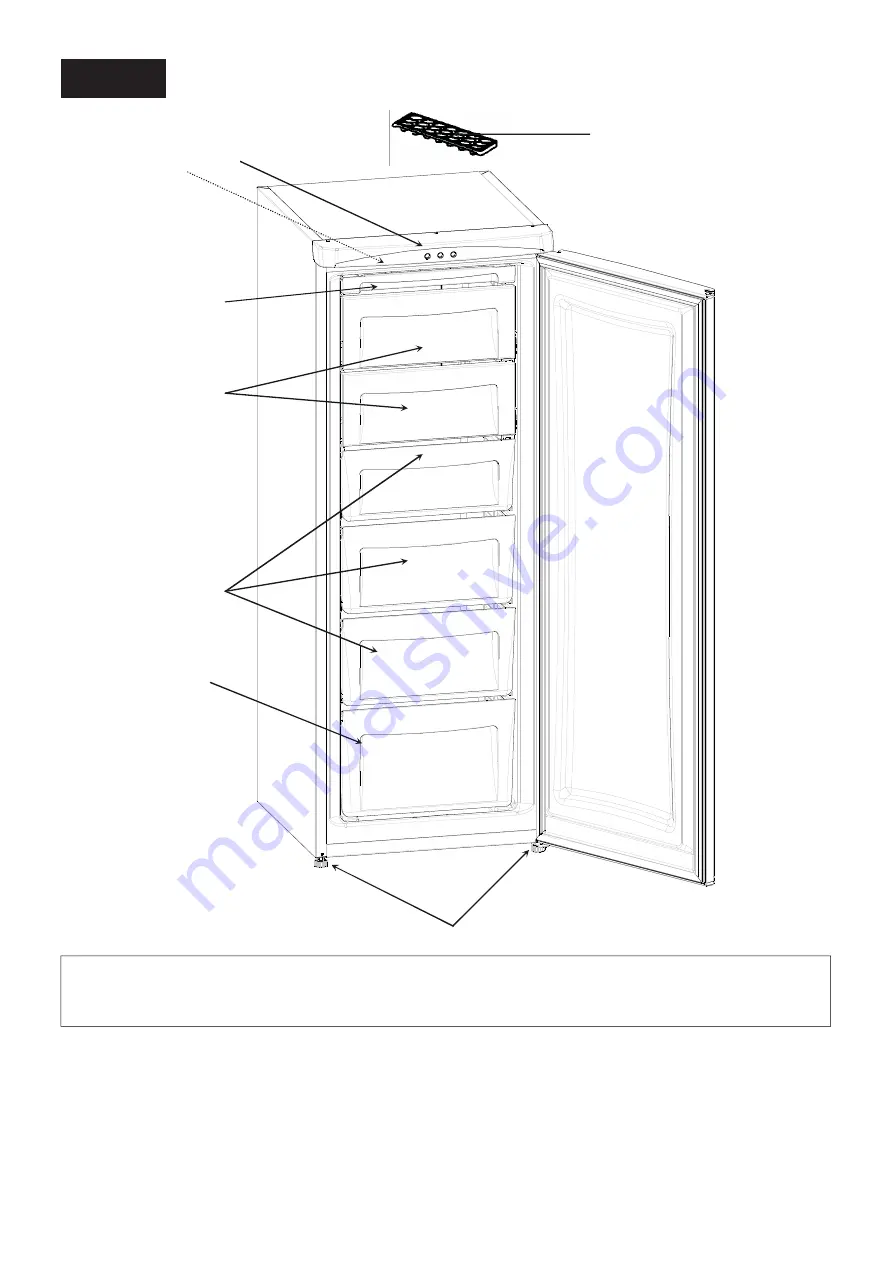
1. EISSCHALE

2. ANZEIGELAMPEN

3. THERMOSTATREGLER

4. FACH FÜR EISSCHALE

5. GEFRIERRAUMKLAPPEN

6. GEFRIERFÄCHER (SCHUBLADEN)

7. GEFRIERFACH (UNTERE SCHUBLADE)

8. SCHRAUBFUß

TEIL 7.

DIE TEILE UND FÄCHER DES GERÄTS

Diese Abbildung dient lediglich der Veranschaulichung.

Die Teile und Komponenten können je nach Modell variieren.

1

2

3

4

6

7

5

8

Summary of Contents for RTF245WHA Series

Page 1: ...TM FREEZER Instruction booklet STAND GEFRIERSCHRANK Bedienungsanleitung RTF245WHA...

Page 2: ...OUS FUNCTIONS AND POSSIBILITIES 5 Thermostat Setting 5 Display Panel 6 ARRANGING FOOD IN THE APPLIANCE 7 CLEANING AND MAINTENANCE 8 Defrosting the Freezer compartment 9 TRANSPORTATIONAND CHANGING OF I...

Page 3: ...If this appliance is to replace an old refrigerator with a lock break or remove the lock as a safety measure before storing it to protect children while playing might lock themselves inside Old refri...

Page 4: ...pairable damage to the unit Use the plastic scraper provided Do not plug the power supply with wet hands Do not place containers glass bottles or tin containers of liquids into the freezer especially...

Page 5: ...c wall spacers to the condenser at the back of the freezer in order to prevent leaning to the wall for good performance Do not place heavy and lots of things on the appliance If the appliance is insta...

Page 6: ...1 2 For short term storage of food in the freezer compartment you can set the knob between minimum and medium position 3 4 For long term storage of food in the freezer compartment you can set knob me...

Page 7: ...er to consume them in a short period of time Turning On The Appliance Once the appliance has been connected to the power supply make sure that the RED lamp is on Then turn the freezer thermostat dial...

Page 8: ...hould be transported in appropriate containers to maintain the quality of the food and should be returned to the freezing surfaces of the unit in the shortest possible time If a package of frozen food...

Page 9: ...ccessories separately with soap and water Do not clean them in the washing machine Do not use abrasive products detergents or soaps After washing rinse with clean water and dry carefully When the clea...

Page 10: ...cold Defrosting will be most effective if carried out when the freezer is nearly empty and it should be carried out as quickly as possible to prevent undue increase in temperature of the contents Do...

Page 11: ...s is 1 position if so set the thermostat dial suitable value The doors are closed perfectly There is no dust on the condenser There is enough place at the rear and side walls PART 5 TRANSPORTATION AND...

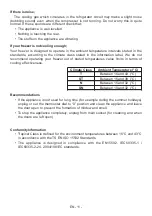
Page 12: ...tated temperatures value limits in terms of cooling effectiveness Climate Class Ambient Temperature C T Between 16 and 43 C ST Between 16 and 38 C N Between 16 and 32 C SN Between 10 and 32 C Recommen...

Page 13: ...rts may vary according to the appliance model PART 7 THE PARTS OF THE APPLIANCE AND THE COMPARTMENTS 1 ICE TRAY 2 DISPLAY PANEL 3 FREEZERTHERMOSTAT DIAL 4 ICE TRAY COMPARTMENT SHELF 1 2 3 4 6 7 5 8 5...

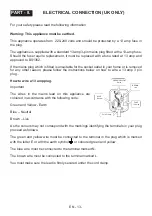
Page 14: ...proved to BS1362 for any other reason please follow the instructions below on how to wire a 13 amp 3 pin plug How to wire a 13 amp plug Important The wires in the mains lead on this appliance are colo...

Page 15: ...halten 18 DIEBEDIENUNGSELEMENTE 18 Einstellen des Thermostats 18 Anzeigelampen 19 Einschalten des Ger ts 19 EINLEGEN VON LEBENSMITTELN IN DAS GER T 20 REINIGUNG UND WARTUNG 21 Abtauen des Gefrierraume...

Page 16: ...Ger ts keine elektrischen Ger te Wenn Sie ein altes K hlger t das mit Schnapp oder Riegelschloss ausger stet ist durch dieses Ger t ersetzen Zerst ren oder entfernen Sie das Schloss um zu verhindern d...

Page 17: ...er mit Fl ssigkeiten in den Gefrierschrank insbesondere wenn diese kohlens urehaltig sind da die Beh lter beim Einfrieren platzen k nnten Flaschen mit hochprozentigem Alkohol m ssen gut verschlossen u...

Page 18: ...und darf keinem Regen ausgesetzt sein Stellen Sie das Ger t an gut bel fteten Orten abseits von W rmequellen auf Beim Aufstellen des Ger ts m ssen mindestens 50 cm Abstand zu Heizk rpern Gas oder Koh...

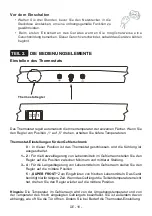
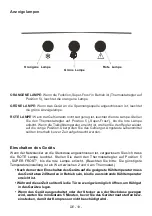
Page 19: ...dieser Position ist das Thermostat geschlossen und die K hlung ist ausgeschaltet 1 2 F r die Kurzzeitlagerung von Lebensmitteln im Gefrierraum stellen Sie den Regler auf die Position zwischen Minimum...

Page 20: ...Gr ne Lampe Rote Lampe Einschalten des Ger ts Wenn der Netzstecker an die Steckdose angeschlossen ist vergewissern Sie sich dass die ROTE Lampe leuchtet Stellen Sie dann den Thermostatregler auf Posit...

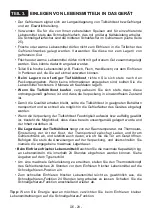
Page 21: ...erhalten bleibt sollte die Tiefk hlkost in geeigneten Beh ltern transportiert und so schnell wie m glich in die Gefrierf cher des Ger tes eingelegt werden Wenn die Verpackung der Tiefk hlkost Feuchti...

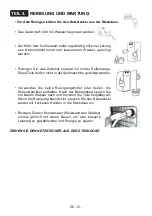
Page 22: ...Teile d rfen nicht in der Sp lmaschine gereinigt werden Verwenden Sie keine Reinigungsmittel oder Seifen die Scheuerpartikel enthalten Nach der Behandlung sp len Sie mit klarem Wasser nach und trockn...

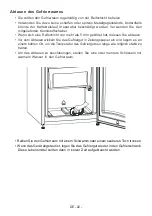
Page 23: ...det hat m ssen Sie abtauen Vor dem Abtauen wickeln Sie das Gefriergut in Zeitungspapier ein und lagern es an einem k hlen Ort um die Temperatur des Gefrierguts so lange wie m glich stabil zu halten Um...

Page 24: ...bringt die ROTE Lampe leuchtet Pr fen Sie ob das Ger t berladen ist das Gefrierschrank Thermostat auf Position 1 gestellt ist in diesem Fall stellen Sie das Thermostat auf den geeigneten Wert die T r...

Page 25: ...K hlleistung darunter leiden Klimaklasse Umgebungstemperatur C T zwischen 16 und 43 ST zwischen 16 und 38 N zwischen 16 und 32 SN zwischen 10 und 32 Empfehlungen Wenn das Ger t l ngere Zeit nicht benu...

Page 26: ...SSCHALE 5 GEFRIERRAUMKLAPPEN 6 GEFRIERF CHER SCHUBLADEN 7 GEFRIERFACH UNTERE SCHUBLADE 8 SCHRAUBFU TEIL 7 DIE TEILE UND F CHER DES GER TS Diese Abbildung dient lediglich der Veranschaulichung Die Teil...

Page 27: ......

Page 28: ...52085160...

Reviews: