Power switch
❶
should be off.
The amount of material dispensed each cycle depends on the
combination of air pressure, time of air pulse, viscosity of material
and dispensing tip size.
The first step is to remove the tip cap from the prefilled barrel of blue
test material (twist and pull). Replace it with an 18 gage (green)
tapered dispensing tip. Press the tip on and twist clockwise to lock.
Pull out air pressure regulator knob
❷
until it "clicks" into the
unlocked position. Turn clockwise to adjust the air pressure to 30 psi
(2.1 bar) for the initial tests.
Always set the pressure desired by turning the air regulator knob
❷
clockwise. To reduce the pressure, turn the knob counterclock-
wise until the gauge
❸
reads a lower pressure than desired. Then
increase and stop at desired pressure. Push knob in to lock.
Press power switch
❶
to turn on the dispenser. The digital display
will show the time that was set when the dispenser was turned off.
Set the digital time to 0.25 seconds as follows:
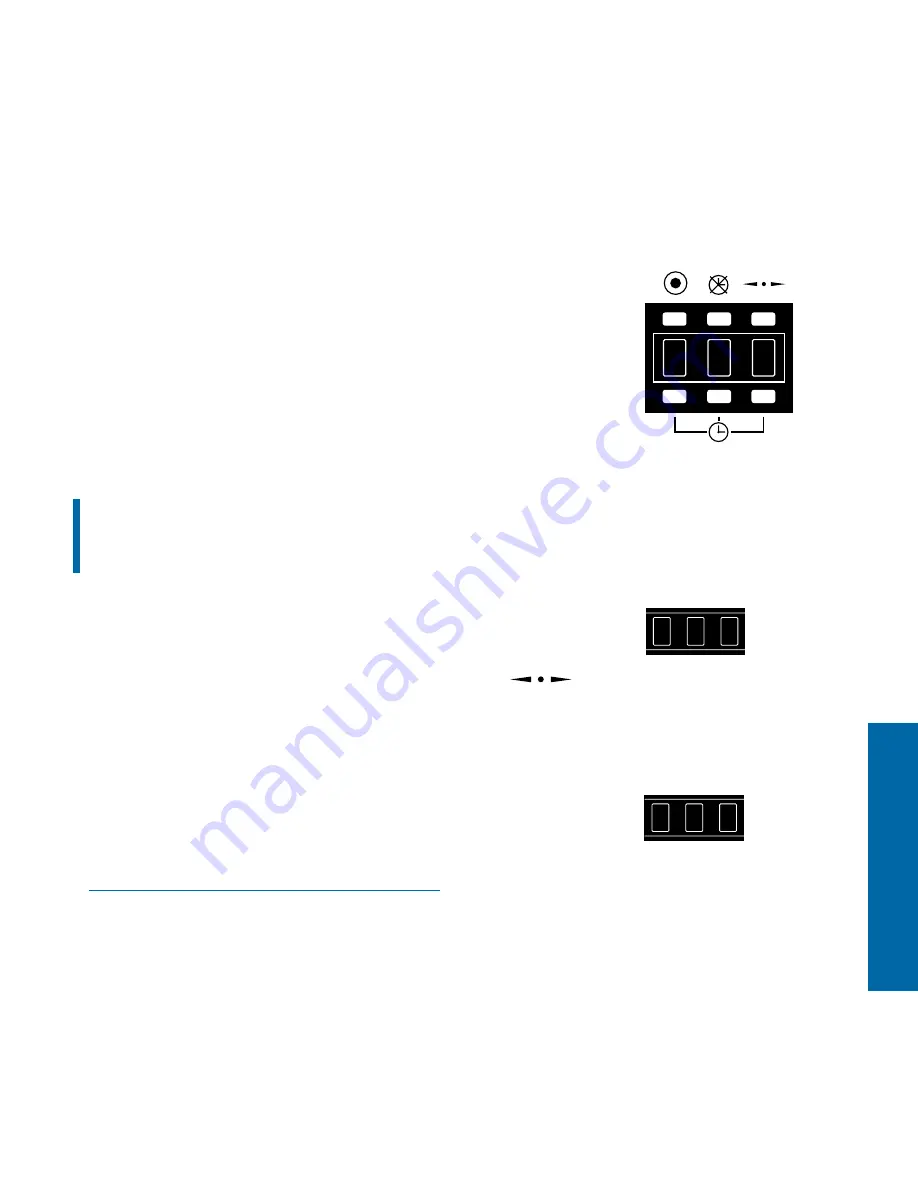
On the display and control pad
❹
,
press the decimal button
until the decimal is moved to the left and appears in the left display
segment. This puts the time range within 0.00 to 0.99 seconds. (
Fig. 1)
Now, use the time set buttons
❺
to set the length of the air pulse.
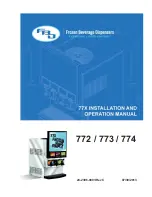
Press the bottom right button until a 5 shows. Then press the bottom
middle button until a 2 shows. Finally, press the bottom left button
until a 0 shows. This display is equal to 0.25 seconds.
(Fig. 2)
Please continue to page 20 for test procedures.
1500D -- Setup for Testing
19
1500D
Refer to pages 6 - 7 for
complete details on the
microprocessor controls.
(
Fig. 1)
Note: For .000 time, the
decimal is not indicated.
Instead, the 000 display
is shown.
(Fig. 2)
0
2
5
.
0
0
0
.
0
2
5
.


