CP6, CP7, or CP8: Series Programmable Controller
Version 1.0
Page 13
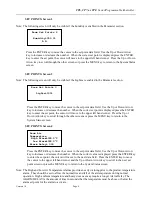
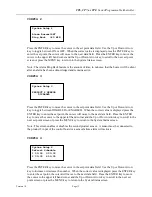
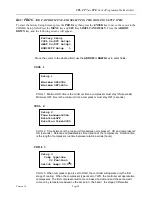
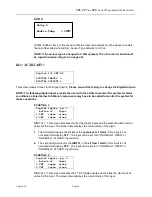
CONFIG 2
Press the ENTER key to move the cursor to the set point data field. Use the Up or Down Arrow
key to toggle between ON or OFF. When the correct value is displayed press the ENTER key to
enter the set point, the cursor will move to the next data field. Press the ENTER key to move the
cursor to the upper left hand corner and the Up or Down Arrow key to scroll to the next set point
screen or press the MENU key to return to the System Status screen.
Note: The Alarm Ring Back feature is the amount of time, in minutes, that the buzzer will be silent
after an alarm has been acknowledged and remains active.
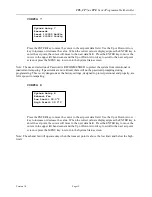
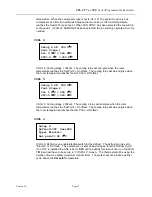
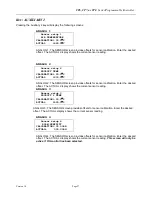
CONFIG 3
Press the ENTER key to move the cursor to the set point data field. Use the Up or Down Arrow
key to toggle between DISABLED or ENABLED. When the correct value is displayed press the
ENTER key to enter the set point, the cursor will move to the next data field. Press the ENTER
key to move the cursor to the upper left hand corner and the Up or Down Arrow key to scroll to the
next set point screen or press the MENU key to return to the System Status screen.
Note: This screen enables or disables the second product sensor. A sensor must be connected to
the product 2 input of the control board or a sensor failure alarm will activate.
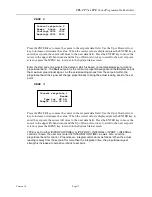
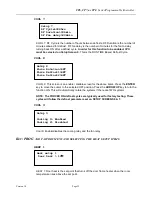
CONFIG 4
Press the ENTER key to move the cursor to the set point data field. Use the Up or Down Arrow
key to increase or decrease the number. When the correct value is displayed press the ENTER key
to enter the set point, the cursor will move to the next data field. Press the ENTER key to move
the cursor to the upper left hand corner and the Up or Down Arrow key to scroll to the next set
point screen or press the MENU key to return to the System Status screen.
System Setup 2
Alarm Buzzer>OFF
Ring Back >20 MIN
System Setup 3
PRODUCT 2 SENSOR
DISABLED
System Setup 4
Defrost Schedule
1 00:00 3 00:00
2 00:00 4 00:00


