CP6, CP7, or CP8: Series Programmable Controller
Version 1.0
Page 9
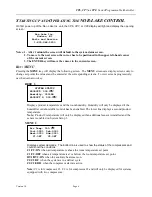
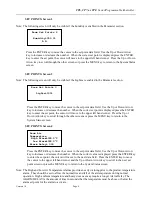
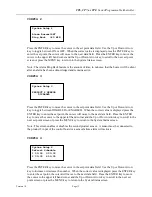
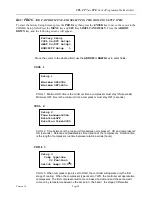
SET POINTS: Screen 5
Press the ENTER key to move the cursor to the set point data field. Use the Up or Down Arrow
key to increase or decrease the number. When the correct value is displayed press the ENTER key
to enter the set point, the cursor will move to the next data field. Press the ENTER key to move
the cursor to the upper left hand corner and the Up or Down Arrow key to scroll to the next set
point screen or press the MENU key to return to the System Status screen.
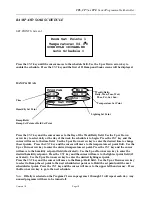
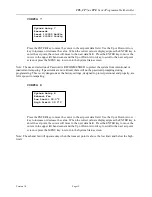
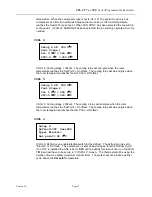
SET POINTS: Screen 6
Note: This setting will be applicable to rooms equipped with two Product temperature sensors.
Press the ENTER key to move the cursor to the set point data field. Use the Up or Down Arrow
key to increase or decrease the number. When the correct value is displayed press the ENTER key
to enter the set point, the cursor will move to the next data field. Press the ENTER key to move
the cursor to the upper left hand corner and the Up or Down Arrow key to scroll to the next set
point screen or press the MENU key to return to the System Status screen.
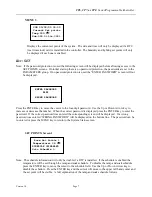
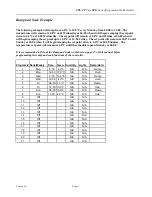
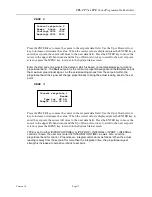
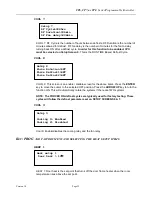
SET POINTS: Screen 7
Note: The following screen will only be visible if the Humidity is enabled in the Parameter section.
Press the ENTER key to move the cursor to the set point data field. Use the Up or Down Arrow
key to increase or decrease the number. When the correct value is displayed press the ENTER key
to enter the set point, the cursor will move to the next data field. Press the ENTER key to move
the cursor to the upper left hand corner and the Up or Down Arrow key to scroll to the next set
point screen or press the MENU key to return to the System Status screen.
Product Temperature
High Alarm>000.0°C
Low Alarm>000.0°C
Alarm Delay 000 sec
Humidity Alarms
High Alarm>000.0°C
Low Alarm>000.0°C
Alarm Delay 000 sec
Product 2 Temp.
High Alarm>000.0°C
Low Alarm>000.0°C
Alarm Delay 000 sec


