82
Chapter 15
Transfer of data to a PC
If you have more instruments connected, select the
wanted unit in the menu “Connections”.
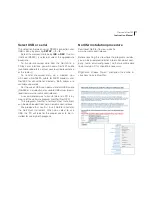
You may store a digital copy of screen by pressing
“Snapshot”. The setup for the picture format and where
to store the picture is found in the “File” menu. The fig-
ure below shows the setup. The screen picture may be
stored as Bitmap (bmp), Jpeg or Tiff. The Tiff-format is
reversed: white text on black background.
Virtual Instrument – Nor1036
Installation procedure
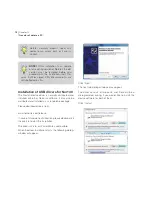
Download the program from
www.norsonic.com/release.
Follow the procedure given by the installation program.
Using Virtual Instrument Nor1036
Connect the instrument to the PC and select the se-
rial or the USB interface as appropriate by pressing
SETUP
>
1
>
2
.
Start the program Virtual instrument Nor1036. The
program will automatically start to look for the instru-
ment. This may take some time. The screen below will
be shown when the program is running. A copy of the
instrument display is shown adjacent to picture of the
keyboard for the instrument. You can operate the in-
strument as usual by pointing on the appropriate key
with the PC-mouse and click with the left-hand mouse-
button.
Summary of Contents for nor140
Page 4: ......
Page 16: ......
Page 17: ...nor140 SOUND ANALYSER ...
Page 18: ......
Page 212: ...194 ...
Page 218: ......


