

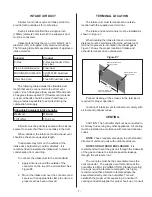
GH Series
Gas-fired Humidifier
Installation, User &
Maintenance Guide
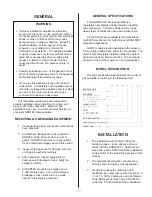
FOR YOUR SAFETY:
Do not store or use gasoline or other flammable vapors and liquids in the vicinity of this
or any other appliance.
WHAT TO DO IF YOU SMELL GAS:
Do not try to light any appliance.
Do not touch any electrical switch; do not use any telephone in your building.
Immediately call your gas supplier from a neighbor’s telephone.
Follow the gas supplier’s instructions. If you can not reach your gas supplier, call the fire
department.
WARNING:
Improper installation, adjustment, alteration, service or maintenance can cause injury or
property damage. Refer to this manual. For assistance or additional information consult
a qualified installer, service agency, or the gas supplier.
WARNING:
If the information in this manual is not followed exactly, a fire or explosion may result
causing property damage, personal injury or loss of life.
IMPORTANT: Read and save this guide for future
reference. This guide to be left with equipment owner.
Form #02-272
150-3230 rev. A
Version D
Summary of Contents for GH 100
Page 43: ... 39 ...


