Chapter 9 Customizing the portal and user logon
407
Nortel Secure Network Access Switch 4050 User Guide
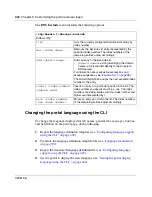
redirect <
URL
>
Sets the URL to which clients are automatically
redirected after authentication by the portal.
•
URL
is the URL to which to direct the client,
prefixed by the portal address
For example, if the portal address is
nsnas.example.com and you want to redirect clients
automatically to inside.example.com, the
URL
parameter is:
https://nsnas.example.com/http/inside.example.com
Alternatively, you can use the <
var:portal
> macro
to represent the portal address.
With redirection configured, the client will not be able to
access tabs on the portal page.
To remove redirection, replace the previously specified
URL with an empty string by pressing
Enter
at the URL
prompt.
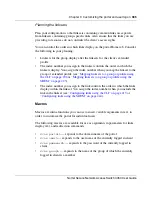
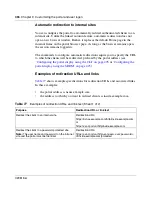
For more information about using macros in URLs, see
“Macros” on page 395
. For more information about
redirecting clients to internal sites, see
“Automatic
redirection to internal sites” on page 396
.
logintext <
text
>
Specifies custom text to be displayed on the portal
logon page.
•
text
is an ordinary text string or HTML code
You can type in the text or paste it in at the prompt. To
signal the end of the string, press
Enter
to create a
new line, type an ellipsis (
...
), and then press
Enter
again.
iconmode clean|fancy
Specifies the mode for the icons representing portal
links (for example, file server links).
•
clean
displays simple icons using a single color
(color3)
•
fancy
displays displays multicolored, shaded, and
animated icons
The default value is
fancy
.
For more information about linksets and links, see
“Linksets and links” on page 394
. For information about
configuring links, see
“Configuring links using the CLI”
on page 413
.
For information about customizing the colors used on
the portal page, see
“Changing the portal colors using
the CLI” on page 408
.
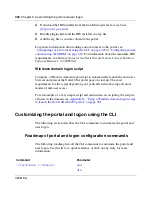
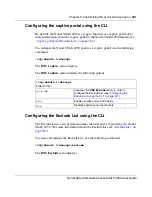
/cfg/domain 1/portal
followed by:
Summary of Contents for 4050
Page 24: ...24 Contents 320818 A ...
Page 48: ...48 Chapter 1 Overview 320818 A ...
Page 70: ...70 Chapter 2 Initial setup 320818 A ...
Page 190: ...190 Chapter 4 Configuring the domain 320818 A ...
Page 232: ...232 Chapter 5 Configuring groups and profiles 320818 A ...
Page 352: ...352 Chapter 7 TunnelGuard SRS Builder 320818 A ...
Page 456: ...456 Chapter 9 Customizing the portal and user logon 320818 A ...
Page 568: ...568 Chapter 10 Configuring system settings 320818 A ...
Page 722: ...722 Chapter 13 Viewing system information and performance statistics 320818 A ...
Page 756: ...756 Chapter 14 Maintaining and managing the system 320818 A ...
Page 768: ...768 Chapter 15 Upgrading or reinstalling the software 320818 A ...
Page 802: ...802 Chapter 17 Configuration example 320818 A ...
Page 880: ...880 Appendix C Supported MIBs 320818 A ...
Page 900: ...900 Appendix F Configuring DHCP to auto configure IP Phones 320818 A ...


