266
Chapter 14 Certificates
NN47923-500
Certificate file formats
The certification authority certificate that you want to import has to be in one of
these file formats:
•
Binary X.509: This is an ITU-T recommendation that defines the formats for
X.509 certificates.
•
PEM (Base-64) encoded X.509: This Privacy Enhanced Mail format uses 64
ASCII characters to convert a binary X.509 certificate into a printable form.
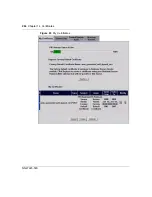
Modify
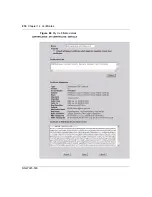
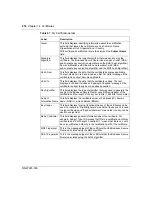
Click the details icon to open a screen with an in-depth list of
information about the certificate.
Click the delete icon to remove the certificate. A window displays,
asking you to confirm that you want to delete the certificate.
You cannot delete a certificate that one or more features are configured
to use.
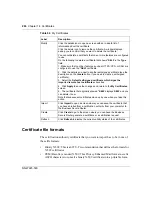
Do the following to delete a certificate that shows
*SELF
in the
Type
field.
1. Make sure that no other features, such as HTTPS, VPN, or SSH are
configured to use the
*SELF
certificate.
2. Click the details icon next to another self-signed certificate (see the
description on the
Create
button if you need to create a self-signed
certificate).
3. Select the
Default self-signed certificate which signs the
imported remote host certificates
check box.
4. Click
Apply
to save the changes and return to the
My Certificates
screen.
5. The certificate that originally showed
*SELF
displays
SELF
and you
can delete it now.
Note that subsequent certificates move up by one when you take this
action.
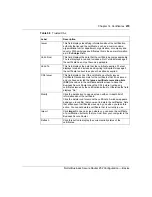
Import
Click
Import
to open a screen where you can save the certificate that
you have enrolled from a certification authority from your computer to
the Business Secure Router.
Create
Click
Create
to go to the screen where you can have the Business
Secure Router generate a certificate or a certification request.
Refresh
Click
Refresh
to display the current validity status of the certificates.
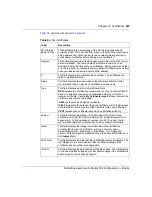
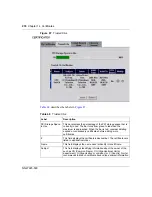
Table 64
My Certificates
Label
Description
Summary of Contents for BSR252
Page 28: ...28 Tables NN47923 500 ...
Page 44: ...44 Chapter 1 Getting to know your Business Secure Router NN47923 500 ...
Page 52: ...52 Chapter 2 Introducing the WebGUI NN47923 500 ...
Page 70: ...70 Chapter 3 Wizard setup NN47923 500 ...
Page 96: ...96 Chapter 5 System screens NN47923 500 ...
Page 114: ...114 Chapter 7 WAN screens NN47923 500 Figure 27 WAN IP ...
Page 120: ...120 Chapter 7 WAN screens NN47923 500 Figure 31 Dial Backup Setup ...
Page 128: ...128 Chapter 7 WAN screens NN47923 500 ...
Page 152: ...152 Chapter 9 Static Route screens NN47923 500 ...
Page 194: ...194 Chapter 11 Firewall screens NN47923 500 ...
Page 210: ...210 Chapter 13 VPN NN47923 500 Figure 67 Summary IP Policies ...
Page 222: ...222 Chapter 13 VPN NN47923 500 Figure 71 VPN Branch Office rule setup ...
Page 256: ...256 Chapter 13 VPN NN47923 500 Figure 81 VPN Client Termination advanced ...
Page 260: ...260 Chapter 13 VPN NN47923 500 ...
Page 264: ...264 Chapter 14 Certificates NN47923 500 Figure 83 My Certificates ...
Page 270: ...270 Chapter 14 Certificates NN47923 500 Figure 85 My Certificate create ...
Page 274: ...274 Chapter 14 Certificates NN47923 500 Figure 86 My Certificate details ...
Page 282: ...282 Chapter 14 Certificates NN47923 500 Figure 89 Trusted CA details ...
Page 298: ...298 Chapter 14 Certificates NN47923 500 ...
Page 316: ...316 Chapter 16 IEEE 802 1x NN47923 500 ...
Page 320: ...320 Chapter 17 Authentication server NN47923 500 Figure 106 Local User database edit ...
Page 328: ...328 Chapter 17 Authentication server NN47923 500 ...
Page 376: ...376 Chapter 20 Logs Screens NN47923 500 Figure 150 Log settings ...
Page 386: ...386 Chapter 20 Logs Screens NN47923 500 ...
Page 393: ...Chapter 21 Call scheduling screens 393 Nortel Business Secure Router 252 Configuration Basics ...
Page 394: ...394 Chapter 21 Call scheduling screens NN47923 500 ...
Page 410: ...410 Chapter 22 Maintenance NN47923 500 ...


