Chapter 14 Certificates
277
Nortel Business Secure Router 252 Configuration — Basics
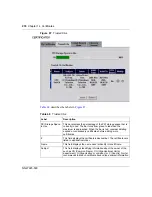
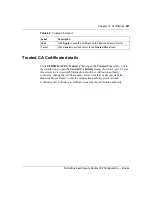
Trusted CAs
Click
CERTIFICATES
,
Trusted CAs
to open the
Trusted CAs
screen, shown
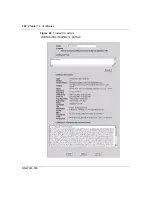
. This screen displays a summary list of certificates of the certification
authorities that you have set the Business Secure Router to accept as trusted. The
Business Secure Router accepts any valid certificate signed by a certification
authority on this list as being trustworthy; thus you do not need to import any
certificate that is signed by one of these certification authorities.
Certificate in
PEM (Base-64)
Encoded Format
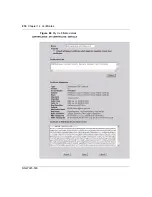
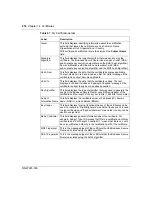
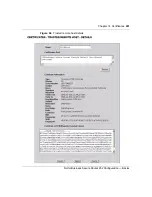
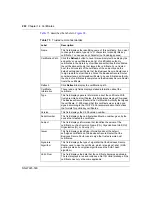
This read-only text box displays the certificate or certification request
in Privacy Enhanced Mail (PEM) format. PEM uses 64 ASCII
characters to convert the binary certificate into a printable form.
You can copy and paste a certification request into a certification
authority Web page, an e-mail that you send to the certification
authority or a text editor and save the file on a management computer
for later manual enrollment.
You can copy and paste a certificate into an e-mail to send to friends
or colleagues or you can copy and paste a certificate into a text editor
and save the file on a management computer for later distribution
(through floppy disk, for example).
Export
Click this button and then
Save
in the
File Download
screen. The
Save As
screen displays, browse to the location that you want to use
and click
Save
.
Apply
Click
Apply
to save your changes to the Business Secure Router. You
can only change the name, except in the case of a self-signed
certificate, which you can also set to be the default self-signed
certificate that signs the imported trusted remote host certificates.
Cancel
Click
Cancel
to quit and return to the
My Certificates
screen.
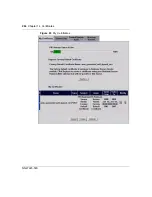
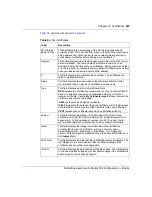
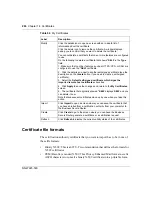
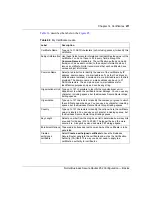
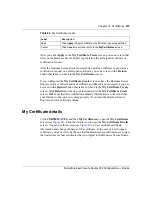
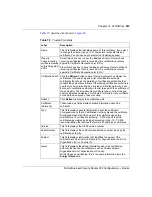
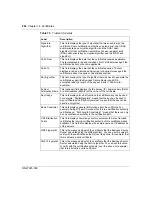
Table 67
My Certificate details
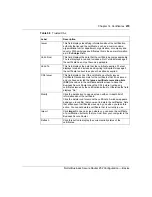
Label
Description
Summary of Contents for BSR252
Page 28: ...28 Tables NN47923 500 ...
Page 44: ...44 Chapter 1 Getting to know your Business Secure Router NN47923 500 ...
Page 52: ...52 Chapter 2 Introducing the WebGUI NN47923 500 ...
Page 70: ...70 Chapter 3 Wizard setup NN47923 500 ...
Page 96: ...96 Chapter 5 System screens NN47923 500 ...
Page 114: ...114 Chapter 7 WAN screens NN47923 500 Figure 27 WAN IP ...
Page 120: ...120 Chapter 7 WAN screens NN47923 500 Figure 31 Dial Backup Setup ...
Page 128: ...128 Chapter 7 WAN screens NN47923 500 ...
Page 152: ...152 Chapter 9 Static Route screens NN47923 500 ...
Page 194: ...194 Chapter 11 Firewall screens NN47923 500 ...
Page 210: ...210 Chapter 13 VPN NN47923 500 Figure 67 Summary IP Policies ...
Page 222: ...222 Chapter 13 VPN NN47923 500 Figure 71 VPN Branch Office rule setup ...
Page 256: ...256 Chapter 13 VPN NN47923 500 Figure 81 VPN Client Termination advanced ...
Page 260: ...260 Chapter 13 VPN NN47923 500 ...
Page 264: ...264 Chapter 14 Certificates NN47923 500 Figure 83 My Certificates ...
Page 270: ...270 Chapter 14 Certificates NN47923 500 Figure 85 My Certificate create ...
Page 274: ...274 Chapter 14 Certificates NN47923 500 Figure 86 My Certificate details ...
Page 282: ...282 Chapter 14 Certificates NN47923 500 Figure 89 Trusted CA details ...
Page 298: ...298 Chapter 14 Certificates NN47923 500 ...
Page 316: ...316 Chapter 16 IEEE 802 1x NN47923 500 ...
Page 320: ...320 Chapter 17 Authentication server NN47923 500 Figure 106 Local User database edit ...
Page 328: ...328 Chapter 17 Authentication server NN47923 500 ...
Page 376: ...376 Chapter 20 Logs Screens NN47923 500 Figure 150 Log settings ...
Page 386: ...386 Chapter 20 Logs Screens NN47923 500 ...
Page 393: ...Chapter 21 Call scheduling screens 393 Nortel Business Secure Router 252 Configuration Basics ...
Page 394: ...394 Chapter 21 Call scheduling screens NN47923 500 ...
Page 410: ...410 Chapter 22 Maintenance NN47923 500 ...

