Chapter 20 — Meridian Mail Compact Option installation and maintenance
Page 199 of 536
Option 11C Compact
Planning, Installation, Fault Clearing and CCBR Guide
5
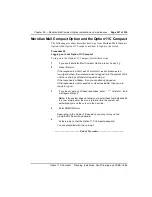
To connect the daughterboards go to the next procedure.
Installing the daughterboards
The following procedure describes installation of the daughterboards on the
mail CPU card. To replace a daughterboard see
.
Procedure 33
Installing the daughterboards
To install the daughterboards, follow these steps.
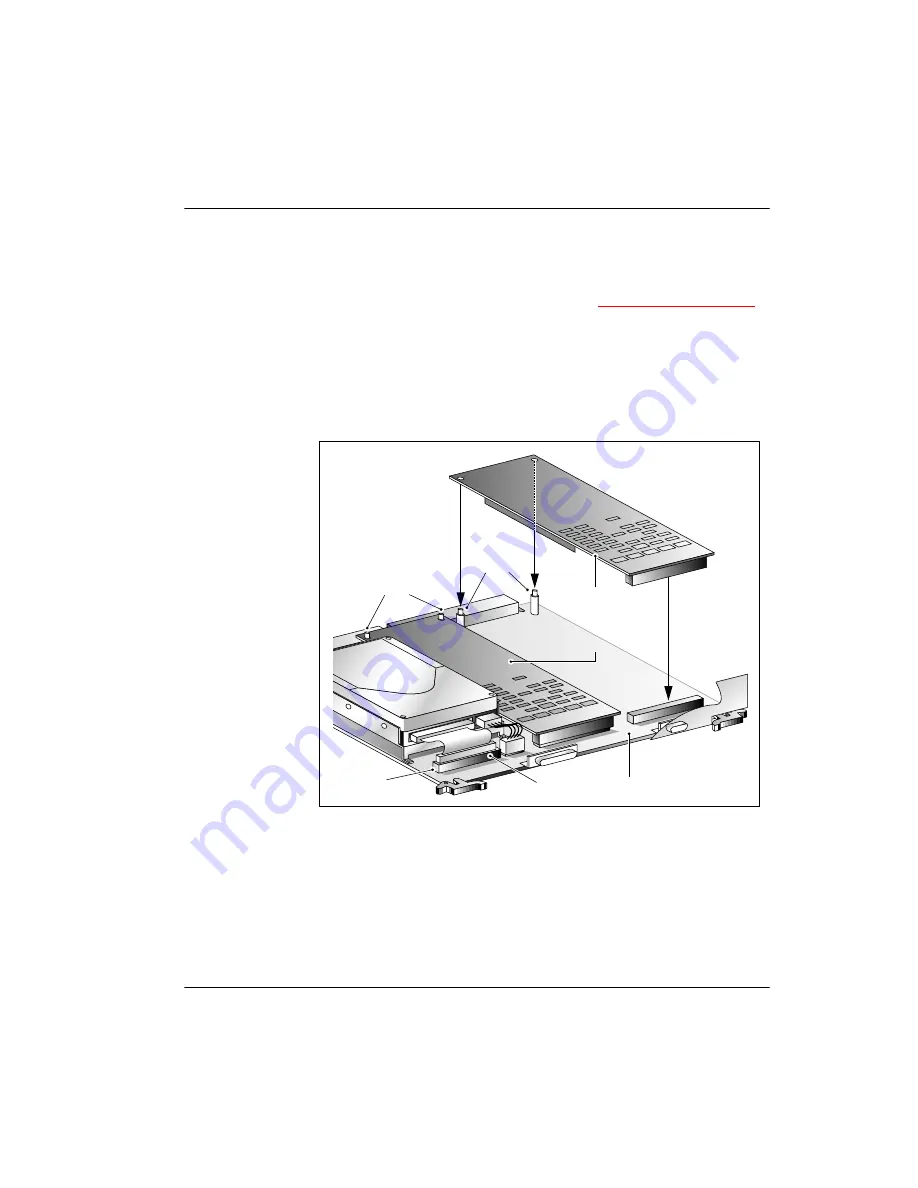
Figure 43
Mail CPU (68K) card assembly
1
Remove the daughterboards from their protective packaging.
2
Lay the mail CPU card on a flat surface and connect a daughterboard
to the stand offs and connector closest to the hard drive. This is
daughterboard 1 and is responsible for ports 1 to 4 on the Option
Compact.
G100806
Daughter board 1
(ports 1 to 4)
Daughter board 2
(ports 5 to 8)
Hard
drive
Stand
offs
Stand
offs
SCSI
cable
Power cable
Mother board
Summary of Contents for Meridian Meridian 1
Page 3: ...553 3121 210 Standard 3 0 January 1999 ...
Page 17: ...xiv Contents 553 3121 210 Standard 3 0 January 1999 ...
Page 97: ...Page 78 of 536 Chapter 8 Installing a new system 553 3121 210 Standard 3 0 January 1999 ...
Page 107: ...Page 88 of 536 Chapter 10 Installing the system ground 553 3121 210 Standard 3 0 January 1999 ...
Page 113: ...Page 94 of 536 Chapter 11 Installing the power supply 553 3121 210 Standard 3 0 January 1999 ...
Page 125: ...Page 106 of 536 Chapter 12 Adding an expansion cabinet 553 3121 210 Standard 3 0 January 1999 ...
Page 209: ...Page 190 of 536 Chapter 18 Connecting the trunks 553 3121 210 Standard 3 0 January 1999 ...
Page 323: ...Page 304 of 536 Chapter 21 Installing Hospitality 553 3121 210 Standard 3 0 January 1999 ...
Page 419: ...Page 400 of 536 Chapter 23 Pre programmed data 553 3121 210 Standard 3 0 January 1999 ...
Page 555: ...Page 536 of 536 Chapter 25 Fault locating and clearing 553 3121 210 Standard 3 0 January 1999 ...


