


Operation – Preparing the Sprayer for Each Use
22
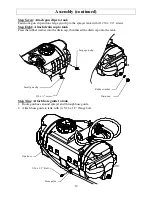
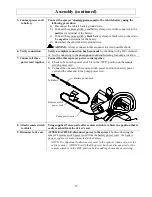
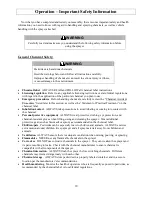
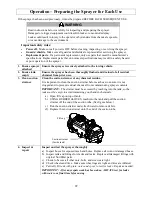
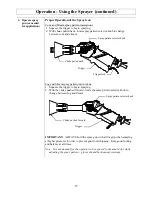
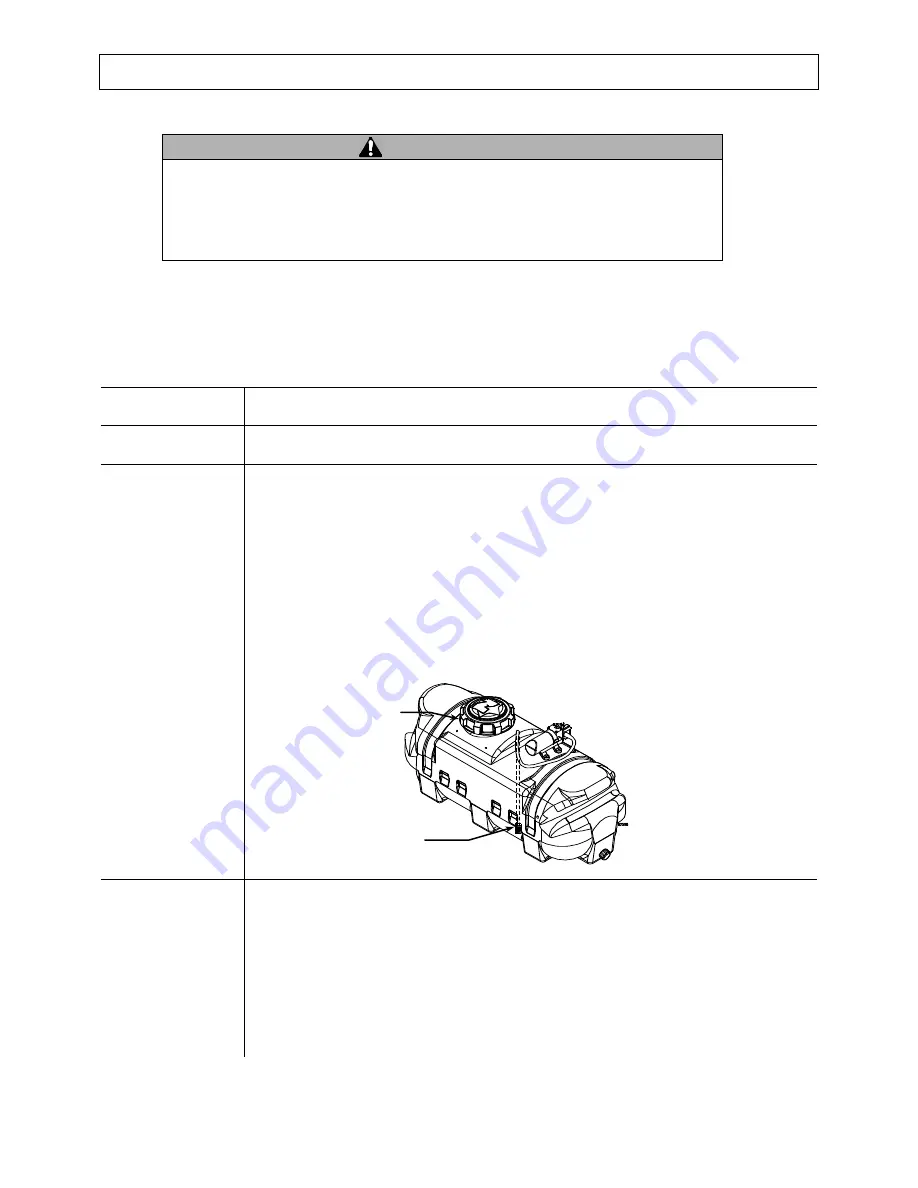
Fill cap
Suction strainer
(Inside tank)
If the sprayer has been used previously, it must be prepared BEFORE EACH SUBSEQUENT USE.
WARNING
Read instructions below carefully for inspecting and preparing the sprayer.
Damaged or clogged equipment could result in leaks or uncontrolled spray.
Leaks could result in injury to the operator or bystanders from chemical exposure,
or cause damage to the environment.
Important safety rules:
Power off.
Make sure all power is OFF before cleaning, inspecting, or servicing the sprayer.
Guards / shields.
Make sure all guards and shields are replaced after servicing the sprayer.
Replacement parts.
If a part needs replacement, only use parts that meet the manufacturer’s
specifications. Replacement parts that do not meet specifications may result in a safety hazard
or poor operation of the sprayer.
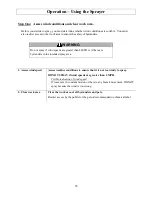
1. Ensure sprayer
attached
Ensure the sprayer is securely attached to the towing vehicle.
2. Ensure tank
empty
Ensure the sprayer has been thoroughly flushed and drained of all residual
chemical from prior uses.
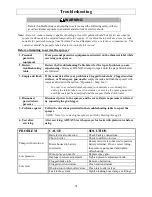
3. Clean suction
strainer
Clean the suction strainer of any chemical residue.
It is important to clean the suction strainer before each use to ensure it is not
clogged and to prevent residual chemical from contaminating sprayer contents.
IMPORTANT:
The strainer must be accessed by reaching into the tank, so the
tank must be empty
to avoid immersing your hand in chemicals.
a)
Open fill cap on top of tank.
b)
USING RUBBER GLOVES, reach into the tank and pull the suction
strainer off the end of the suction tube. (See figure below.)
c)
Run the suction strainer under fresh water to remove debris.
d)
Replace the suction strainer onto the end of the suction tube
.
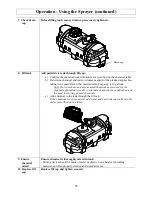
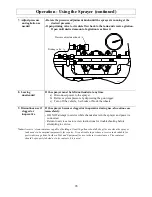
4. Inspect &
repair
Inspect and test the sprayer thoroughly
:
a)
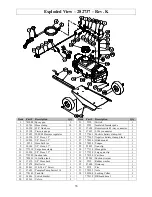
Inspect hoses for exposed mesh and holes. Replace all worn or damaged hoses.
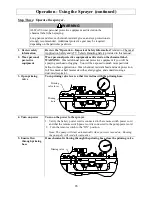
b)
Inspect tank and fittings for cracks and leaks. Replace all damaged fittings with
original NorthStar parts.
c)
Check to be sure all other nuts, bolts, and screws are tight.
d)
Check wheels and tires. Make sure wheel lugs are tight and tires are inflated.
e)
Partially fill tank with plain water and spray to test for leaks
. Repair as needed.
IMPORTANT: After any repair work has been done, ALWAYS test for leaks
with water one final time before using.


