3 of 4
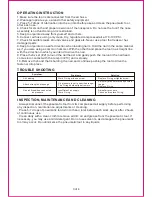
OPERATING INSTRUCTION
1.Make sure the tool is disconnected from the air hose.
2.Wear appropriate eye, ear and other safety equipment.
3.Place 5-7 drops of lubrication into the air inlet before use and clean the pneumatic tool
after each use.
4.Check for smooth and proper operation of the nosepiece. Do not use the tool if the nose
assembly is not functioning or is restrained.
5.Keep tool pointed away from yourself and others.
6.Connect air hose using only clean, dry, regulated compressed air at 70-100 PSI.
7.Check for audible leaks around valves and gaskets. Never use a tool that leaks or has
damaged parts.
8.Keep tool pointed in a safe direction when loading nails. Hold the nail in the same manner
as if you were using a common hammer. With the other hand place the tool in a straight line
with the direction in which you intend to drive the nail.
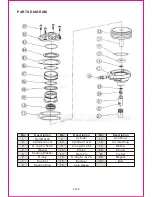
9.Place the fix set (#21) around the nail head, and gently push the tool until the nail head
comes into contact with the ram pin (#13) and is steady.
10.Remove the hand that is holding the nail, and continue pushing the tool to drive the
fastener into place.
TROUBLE SHOOTING
INSPECTION, MAINTENANCE AND CLEANING
·
Always disconnect the pneumatic tool from its compressed air supply before performing
any inspection, maintenance, adjustments or cleaning.
·
Place 5-7 drops of pneumatic tool oil into the air inlet before each work day or after 2 hours
of continuous use.
·
Clean daily with a clean cloth to remove all dirt, oil and grease from the pneumatic tool. If
necessary, you may use a mild detergent. Do not use solvents, as damage to the pneumatic
tool may occur. Do not immerse the pneumatic tool in any liquids.
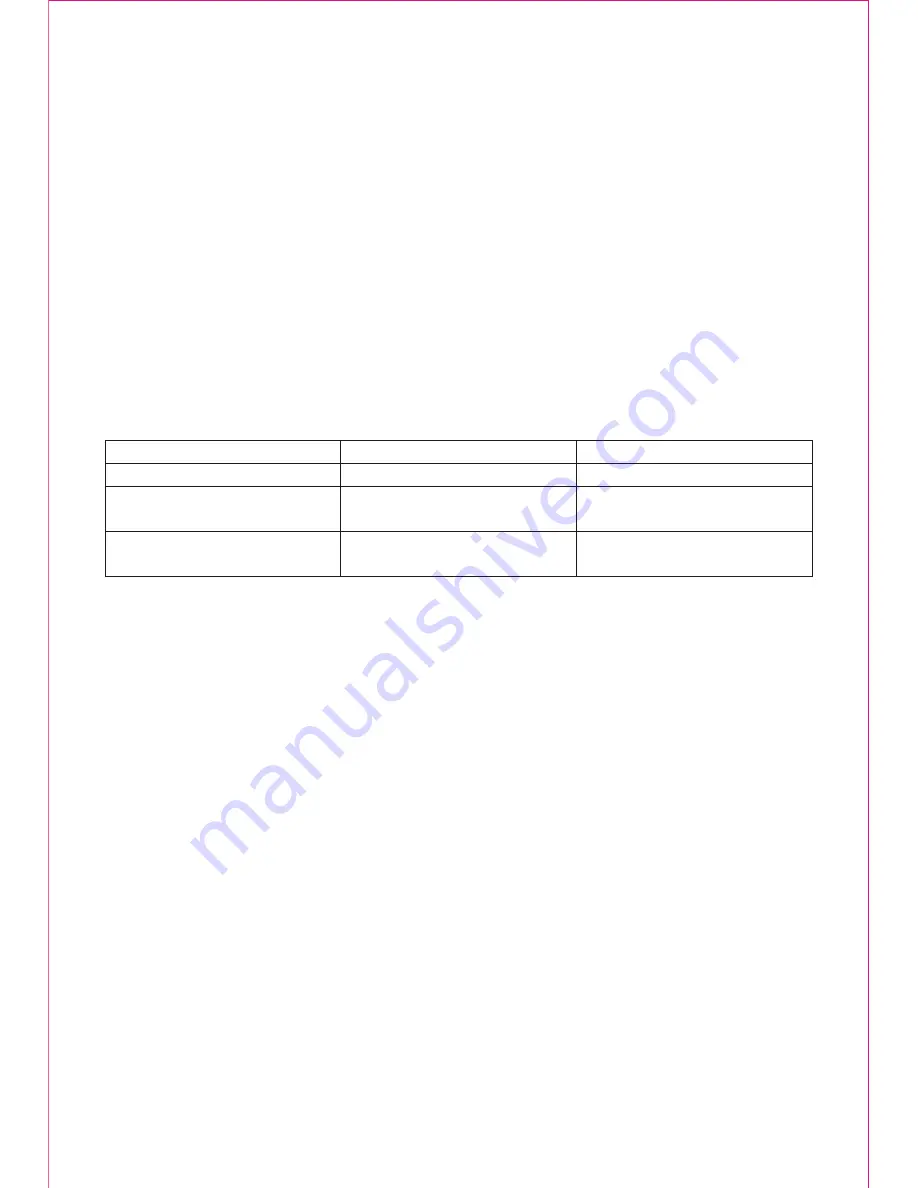
Symptom
Air Leaking
Attack strength not enough
No nail fires when connected
air pressure
Problems
Solution
Worn O-ring or loose screw
Air pressure is not in specified range.
The O-ring beside slip set is worn.
Insufficient air supply.
Worn O-ring.
Replace O-ring or tighten screw.
Adjust air pressure to the specified
range.
Replace O-ring.
Adjust air pressure.
Check and replace O-ring.
Summary of Contents for 112020
Page 1: ......


