background image

Page    of 15 

11


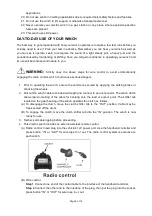
USE OF WIRELESS CONTROL


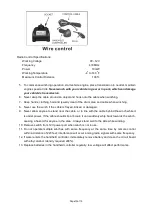
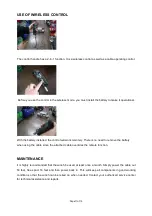
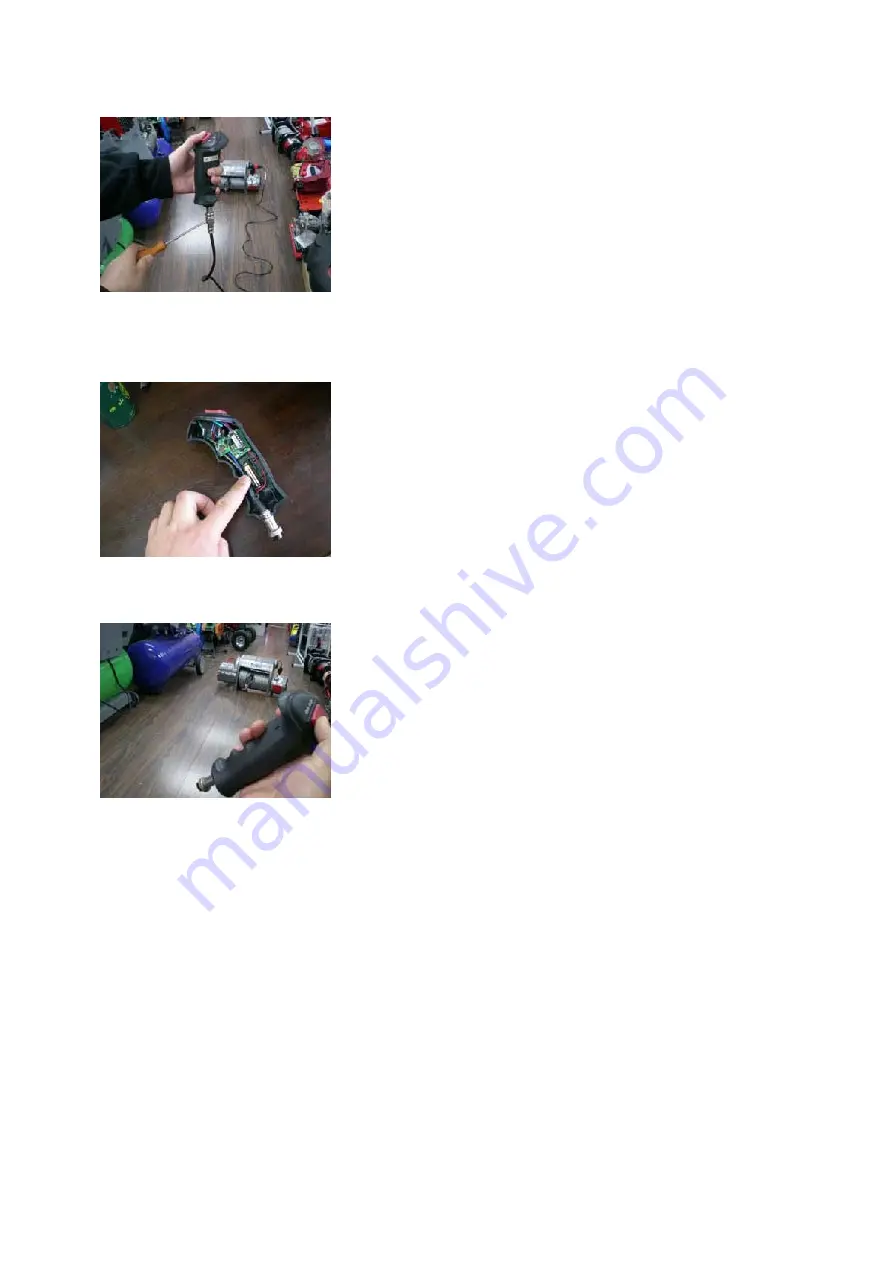
The control handle has a 2-in-1 function. It is a wireless control as well as a cable-operating control.   


Before you use the control in the wireless mode, you must install the battery to make it operational.   


With the battery installed, the control will work remotely. There is no need to remove the battery 

when using the cable since the attached cable overrides the remote function.   


MAINTENANCE


It is highly recommended that the winch be used at least once a month. Simply power the cable out 

50 feet, free spool 16 feet and then power back in. This will keep all components in good working 

condition so that the winch can be relied on when needed. Contact your authorized service center 

for technical assistance and repairs. 


Summary of Contents for 141456

Page 1: ...C H 1 2 0 0 0 L B S OWNER S MANUAL WARNING Read carefully and understand all INSTRUCTIONS before operating Failure to follow the safety rules and other basic safety precautions may result in serious...

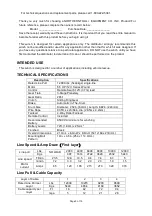
Page 2: ...s including vehicle rescue TECHNICAL SPECIFICATIONS Description Specifications Rated Line Pull 12 000 lbs 5440kgs single line Motor 5 5 HP 12V Series Wound Control Remote Swich 12ft 3 7m lead Gear Tra...

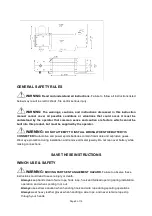
Page 3: ...STALL WIRING WHEN THE BATTERY IS CONNECTED Automotive and power sports batteries contain flammable and explosive gases Wear eye protection during installation and remove all metal jewelry Do not lean...

Page 4: ...cables 1 Across any sharp edges 2 Through or near moving parts 3 Near parts that become hot Always insulate and protect all exposed wiring and electrical terminals Always install terminal boots as dir...

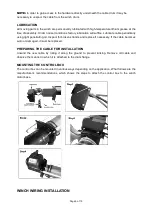
Page 5: ...g light penetrating oil Inspect for broken strands and replace if necessary If the cable becomes worn or damaged it must be replaced PREPARING THE CABLE FOR INSTALLATION Unwind the new cable by rollin...

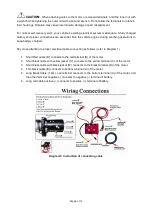
Page 6: ...keep battery charged Pay close attention to proper electrical cable connection as follows refer to Diagram 1 1 Short Red cable B connects to the red terminal B of the motor 2 Short black cable with ye...

Page 7: ...e the winch to relieve the load and move your anchor point further to the center of the vehicle After the job is done you can un spool and rewind for a neat lay of the cable 2 Store the remote control...

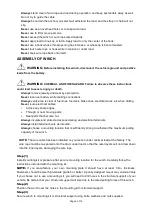
Page 8: ...o not use the winch if cable is frayed Do not move the vehicle to pull a load Do not replace the cable with a cable of lesser strength The life of cable is directly related to the use and care it rece...

Page 9: ...or to operating the winch ensure the vehicle is secured by applying the parking brake or chocking the wheels 2 Pull out the winch cable to the desired length and connect to an anchor point The winch c...

Page 10: ...yed kinked or damaged 9 Never allow anyone to stand near the cable or in line with the cable behind the winch while it is under power If the cable should slip or break it can suddenly whip back toward...

Page 11: ...rol will work remotely There is no need to remove the battery when using the cable since the attached cable overrides the remote function MAINTENANCE It is highly recommended that the winch be used at...

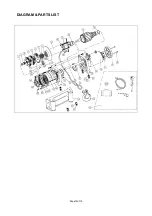
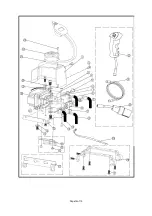
Page 12: ...Page of 15 12 DIAGRAM PARTS LIST...

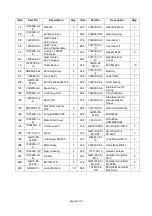
Page 13: ...Ass y 1 35 7329200 3 8 Stainless Clutch Spring 1 12 7329200 4 1 Coupling Joint 1 36 7329200 3 5 Clutch Washer 1 13 7329200 1 2 A Rotor 12V 1 37 7329200 3 6 Stainless Clutch Handle Washer Cover 1 14 GB...

Page 14: ...Page of 15 14...
Page 15: ...t 2 15 GB T6174 M8 OEM box plate 1 16 GB T 862 1 6 M6 washer 3 17 GB 70 2 M6x10 M6x10 bolt 3 18 732510A 12V ISM Integrated solenoid module 1 19 7329103 1 4 Thin black cable 1 20 GB41 T M4 M4 nut 4 21...

Reviews: