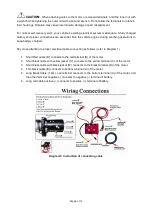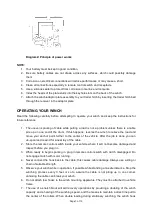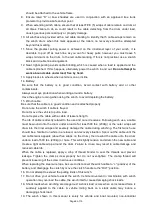
Page of 15
9
applications.
20. Do not use winch in hoisting applications due to required hoist safety factors and features.
21. Do not use the winch to lift, support or otherwise transport personnel.
22. Never operate your electric winch in a gas station or any place where explosive gasoline
fumes are present.
23. This winch uses DC power.
DAY-TO-DAY USE OF YOUR WINCH
The best way to get acquainted with how your winch operates is to make a few test runs before you
actually need to use it. Plan your test in advance. Remember you can hear your winch as well as
you can see it operate. Learn to recognize the sound of a light steady pull, a heavy pull, and the
sounds caused by load jerking or shifting. Soon you will gain confidence in operating your winch and
its use will become second nature to you.
WARNING:
Strictly obey the above steps for wire control to avoid unintentionally
engaging the radio control, which could cause serious dangers.
1. Prior to operating the winch, ensure the vehicle is secured by applying the parking brake or
chocking the wheels.
2. Pull out the winch cable to the desired length and connect to an anchor point. The winch clutch
allows rapid uncoiling of the cable for hooking onto the load or anchor point. The shifter tab
located on the gear housing of the winch operates the clutch as follows:
(A) To disengage the clutch, move the clutch shifter tab to the “OUT” position. Cable may be
free-spooled off the drum.
(B) To engage the clutch, move the clutch shifter tab into the “IN” position. The winch is now
ready for use.
3. Recheck all cable rigging before proceeding.
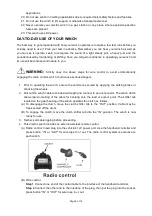
4. This electric winch includes an external wireless remote control.
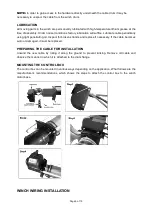
(A) Radio control: Insert plug into the vehicle’s 12V power port. Use the handheld controller and
press button “IN” or “OUT” for wire rope in or out. The radio control system is exclusive to
each winch.
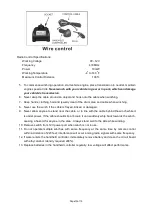
(B) Wire control:
Step 1
Connect one end of the control cable to the interface of the handheld controller;
Step 2
Connect the other end to the interface of the plug, then put the plug into the socket,
press button “IN” or “OUT” for wire rope in or out.
Summary of Contents for 141456
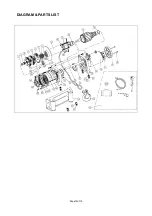
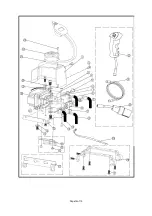
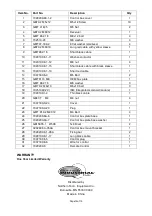
Page 12: ...Page of 15 12 DIAGRAM PARTS LIST...
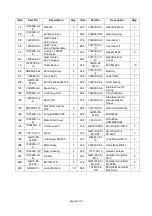
Page 14: ...Page of 15 14...


