NOTE:
When the pipe is larger than 1-1/2 inches, thread the pipe twice to ensure clean
threads are cut.
11. Turn machine off by switching the power Push Button (1-8) to “OFF” position.
12. Turn the Carriage Handler counterclockwise until Die Head clears pipe.
13. Lift the Die Head out of the way to its rest position.
14. Loosen the Chuck Head with a sharp counterclockwise movement.
15. Loosen the Rear Chuck with a sharp counterclockwise movement.
16. Slide pipe out the rear of the machine, being careful not to hit newly cut threads.
Cutting Pipe
1. Insert pipe into Rear Chuck, passing it through the Hammer Chuck about 4 inches.
2. Turn Rear Chuck clockwise to tighten over pipe, making sure it is centered between
the pins. (See photo of Rear Chuck on previous page.)
3. Turn the Hammer Chuck clockwise to tighten over pipe.
4. Place Die Head (Part 4) and Chamfering Tool (Part 5) up in their resting position.
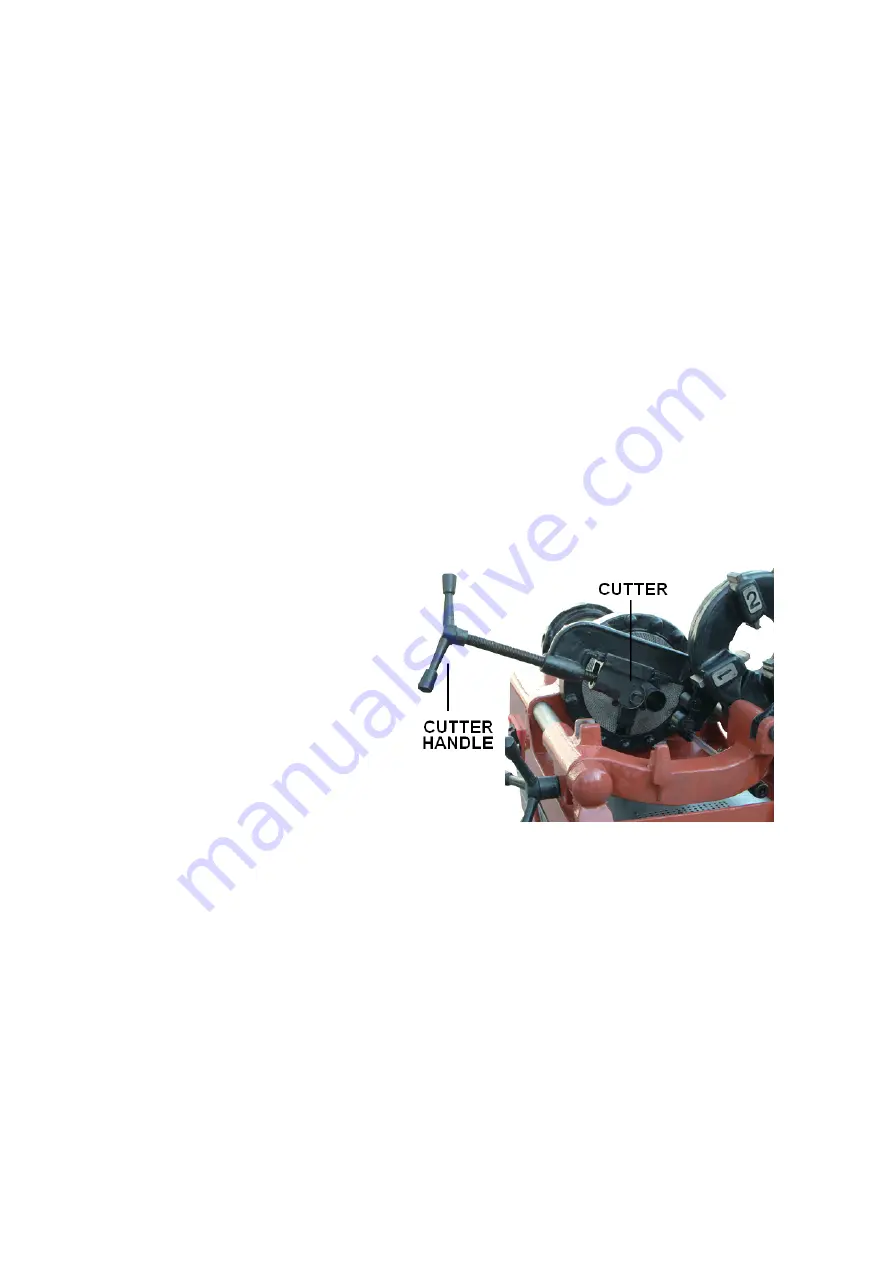
5. Open Cutter (Part 6) handle counterclockwise until it fits over pipe to be cut.
6. Switch the power Push Button (1-8)
to “ON” position to turn on.
7. Turn the Cutter (Part 6) Handle
clockwise until the pipe is cut.
CAUTION:
Turning the Cutter Handle
too fast and hard could distort the
shape of the pipe while cutting.
8. Switch the power Push Button (1-8)
to “OFF” position to turn off.
Chamfering Pipe
After the pipe is cut, leave in place and use the Chamfering Tool (Part 5) to remove burs
from the inside of the pipe.
1. Lift the Cutter (Part 6) and the Die Head (Part 4) up to their resting position.
2. Lower the Chamfering Tool (Part 5) down to its operational position.
3. Switch the power Push Button (1-8) to “ON” position to turn on.
4. Turn the Carriage Handle clockwise (towards pipe), applying pressure until the
Chamfering tool engages the pipe.
Hold pressure on the Carriage Handle until chamfering is complete.
Page 6 of 12

