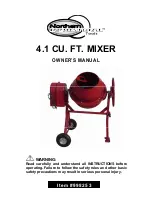
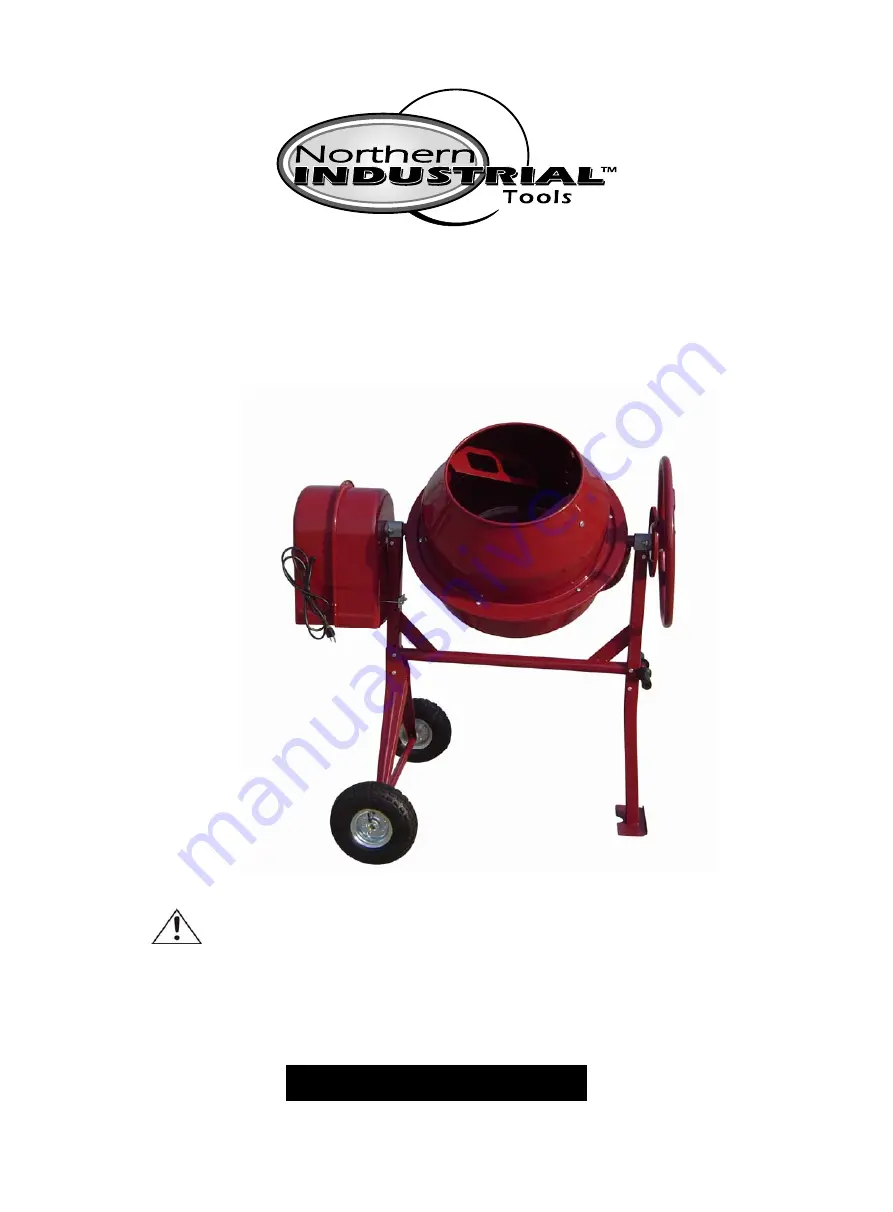
background image


4.1 CU. FT. MIXER


OWNER’S MANUAL 


WARNING:


Read carefully and understand all INSTRUCTIONS before 
operating. Failure to follow the safety rules and other basic 
safety precautions may result in serious personal injury. 


Item #998253 


Summary of Contents for 998253

Page 1: ...IXER OWNER S MANUAL WARNING Read carefully and understand all INSTRUCTIONS before operating Failure to follow the safety rules and other basic safety precautions may result in serious personal injury...

Page 2: ...uestions and replacement parts please call 1 800 222 5381 INTENDED USE The Cement Mixer is designed for mixing cement This particular model is small efficient easy to assemble and transport making it...

Page 3: ...of electric shock Grounded motors must be plugged into an outlet properly installed and grounded in accordance with all codes and ordinances Never remove the grounding prong or modify the plug in any...

Page 4: ...safety apparel and equipment Use safety goggles or safety glasses with side shields which comply with current national standards or when needed a face shield Use as dust mask in dusty work conditions...

Page 5: ...ful to plastics and other insulation Never let liquid get inside the motor compartment Use only accessories that are recommended by the manufacturer for your model Accessories that may be suitable for...

Page 6: ...tand assembly See photo below 10 Insert Hex Bolts 8 through holes from one side then Flat Washer 4 Spring Washer 7 and Hex Nut 5 from the other side and tighten with a wrench 11 Mount Degree Adjusting...

Page 7: ...Glue the Connector Seal 26 to the Upper Drum 27 making sure that the holes in both align The Connector Seal must be flat on the Upper Drum to ensure a proper seal 14 Place the Upper Drum 27 on the Lo...

Page 8: ...4 Hex Nut 35 and Strap 61 Tighten sufficiently to hold in place See photo above Note Once the Motor 52 is mounted the Motor Mount Plate must be adjusted up or down to tighten the Belt 68 19 Place the...

Page 9: ...adjustments to Motor location as required 27 Mount the Outer Motor Base Cover 64 to the Inner Motor Base Cover 58 using three M5x10 Screws 65 Flat Washer 59 Spring Washers 66 and Hex Nuts 67 Make sure...

Page 10: ...rn the Drum angle as far down as possible to drain all fluids from Drum MAINTENANCE 1 After use immediately wash out all debris from the inside and outside of the Cement Mixer Make sure the Power Cord...

Page 11: ...Page of 13 11 DIAGRAM PARTS LIST...

Page 12: ...t Assembly 1 53 Key 5x35 1 17 Drum Lower 1 54 Pulley s 1 18 Washer Cover Lower 1 55 Motor Mount Plate 1 19 Ball Bearing 6206 2RS 2 56 Hex Bolt M8x20 4 20 Washer Cover Upper 1 57 Screw M4x16 2 21 Shaft...

Page 13: ...ica from bricks and cement and other masonry products and arsenic and chromium from chemically treated lumber Your risk from these exposures varies depending on how often you do this type of work To r...

Reviews: