Page of 8
6
(14). Slide the Depth Gauge (16) in or out and re-tighten the Adjusting Knob (15). Now each
brick will set identically on the Brick Splitter (See
Figure 3
).
5. Raise the Handle (1) to it’s full height, slide the brick to the split into the opening under the
Blade (13). Be sure the brick is resting flatly on the Foam Pads (17) and is against the Depth
Gauge (16).
6.
After loading the brick onto the Brick Splitter the task becomes a one handed operation.
Keep your other hand off the Brick Splitter and completely free of the operation until the
brick is split and the Handle (1) is raised again to its full height.
7. Using one hand, grip the Handle (1) firmly and lower the Blade (13) as if to push the Blade (13)
through the brick.
8. With the handle kept in the lowered position, remove both pieces of the brick.
NOTE:
If there are small pieces of brick left on the Foam Pads (17), brush them off before
setting the next brick for splitting.
9.
If you need to split bricks of another size, follow steps 1 through 3 of this section.
MAINTENANCE
BEFORE EACH USE
, inspect the general condition of the tool. Check for loose screws,
misalignment or binding of moving parts ,cracked or broken welds or parts, and other
condition that may affect its safe operation.
Do not use damaged equipment.
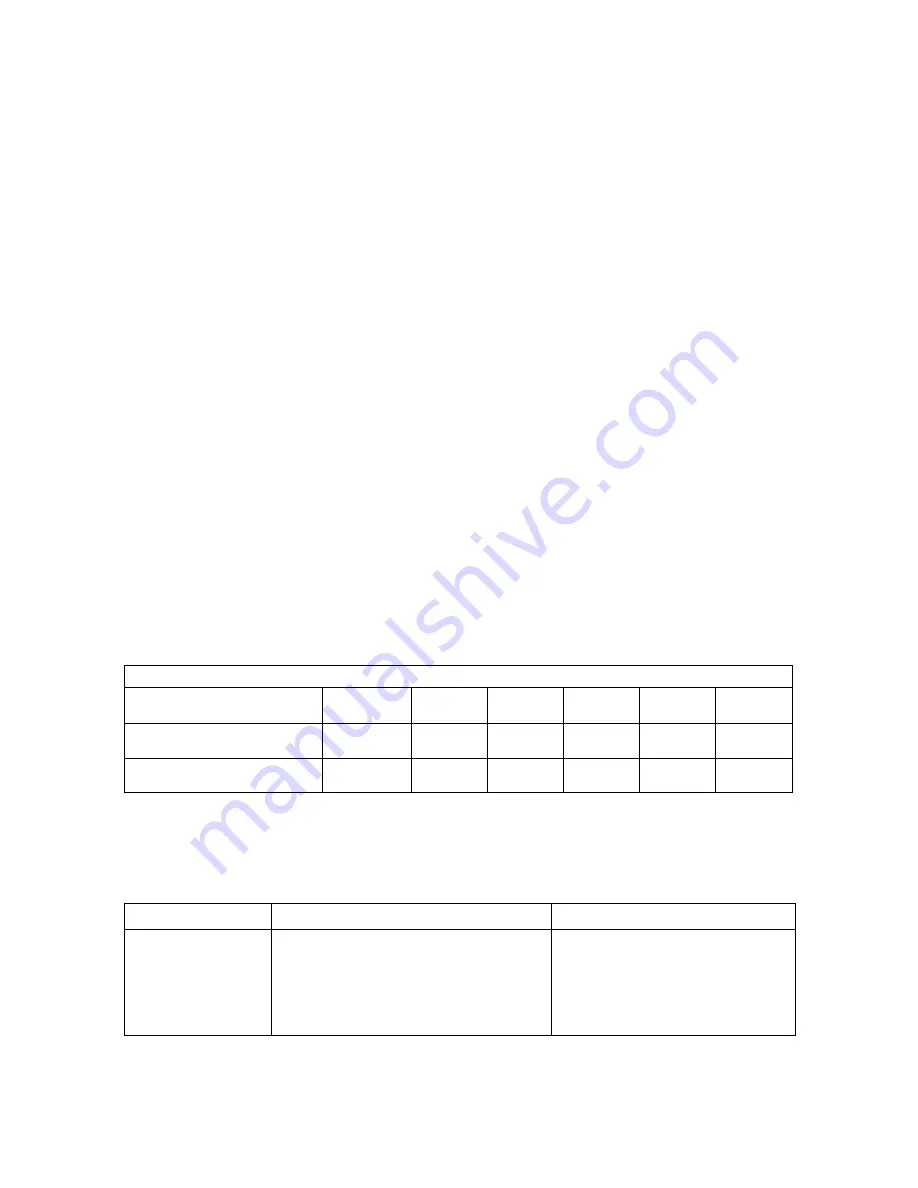
MAINTENANCE CHART
Maintenance type
Before
Use
After
Use
Weekly
Monthly
Every 6
Months
Yearly
Inspect tool for damage
(see #1, above)
×
Wipe off with clean, moist
cloth
×
TROUBLESHOOTING
Problem
Possible Causes
Probable Solutions
1.Handle (1) does
not raise or lower
smoothly
2.Brick does not set
level on Foam
Pads (17)
1.Check for small pieces of brick
residue possibly caught in Stretch
Spring (3) or between Handle (1) and
Blade Guard (9)
2.Possibly small pieces of brick on the
Foam Pads (17)
1.Blow out, or dust off the Stretch
Spring (3). Blow out or dust off
the Handle (1) where it joins the
Blade Guard (9)
2.Dust off the Foam Pads (17) and
all areas of the Base (14)


