background image

C                                       D

3.


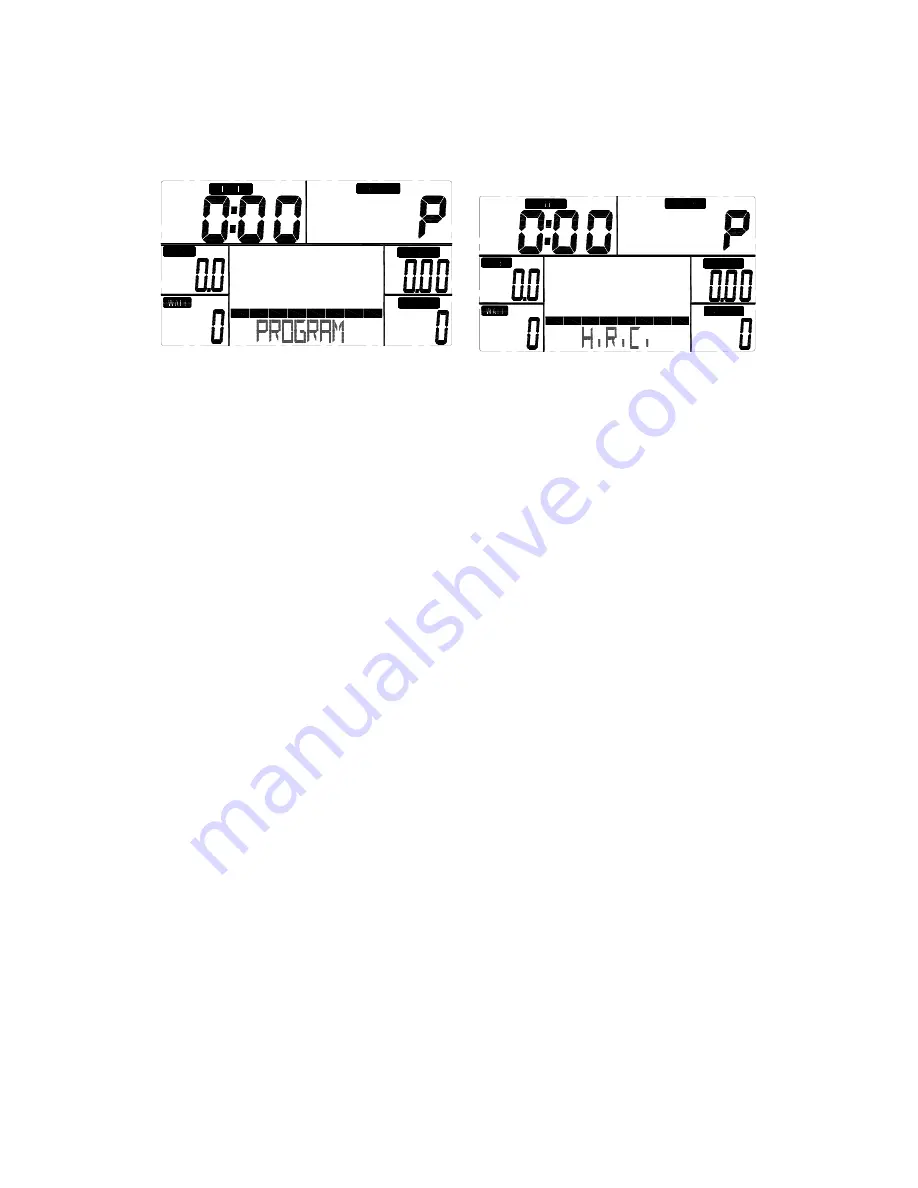
In main menu, first exercise program MANUAL will flash, user may press UP and DOWN
button to select MANUAL 

Æ

PROGRAM (12 profiles) (drawing E)

Æ

PROGRAM

Æ

USER

PROGRAM

Æ

HRC

Æ

WATT.


                        5                                       6                
4.


Quick Start and Manual :

   Before exercise in Manual mode, user my set up TIME, DISTANCE, CALORIES and PULSE
target.

After power on, user may press START/STOP button to start exercise in MANUAL immediately
without any setting.
Level can be adjusted during exercise by press UP or DOWN.

5.


PROGRAM

   Before exercise in Program mode, user may set up TIME target.

Press UP and DOWN to select Program with 12 profiles and press ENTER/MODE to confirm.
Level can be adjusted during exercise by press UP or DOWN.

6.


H.R.C.
Before exercise, computer will ask for user AGE first to calculate TARGET pulse.  User may
still press UP and DOWN to change target pulse from 30 to 230.

7.


USER PROGRAM

   User may press UP, DOWN and then press MODE to create his own profile. (from column 1 to

column 20) User may hold on pressing MODE button for 2 seconds to quit profile setting.

8.


WATT :

The preset watt value 120 is flashing on screen in WATT setting mode.  User may use UP,
DOWN button to set target value from 10 to 350.  Press MODE button for confirm.

9. RECOVERY : 

After exercising for a period of time, keep holding on handgrips and press “RECOVERY” 

   button. All function display will stop except “TIME” starts counting down from 00:60 to 00:00.
   Screen will display your heart rate recovery status with the F1,F2….to F6. F1 is the best, 
   F6 is the worst. User may keep exercising to improve the heart rate recovery status. 
  (Press the RECOVERY button again to return the main display.)

NOTE:
1.


This computer require 9V, 500mA adaptor.

2.


When user stop pedaling for 4 minutes, computer will enter into power save mode, all setting and
exercise data will stored until user start exercise again.

3.


When computer act abnormal, please plug out the adaptor and plug in again.

Summary of Contents for Everbright BR31

Page 1: ...BR 31 Owner s Manual Parts List Part no Description Quantity 1 Computer 1 PCS 2 Screw M5x10L 4 PCS...

Page 2: ...in frame 1 PCS 18 Cable wire lower 1 PCS 19 Heart rate cable lower 1 PCS 20 Nylon screw 2 PCS 21 Crank arm L 1 PCS 22 Crank arm R 1 PCS 23 C type ring 1 PCS 24 Flat washer 1 PCS 25 Wave washer 1 PCS 2...

Page 3: ...66 Side cover L 1 PCS 67 Side cover R 1 PCS 68 Upper cover rear L 1 PCS 69 Lower cover rear L 1 PCS 70 Upper cover rear R 1 PCS 71 Lower cover rear R 1 PCS 72 Handlebar post cover 1 PCS 73 Screw 16 P...

Page 4: ...dler wheel 1 PCS 103 Hex screw 1 PCS 104 Bushing 1 PCS 105 Wave washer 1 PCS 115 Adaptor 1 PCS 116 DC wire 1 SET 117 Screw 4 PCS 118 Stopper 4 PCS 119 Cap for wire 1 PCS 120 Fixing set for seat slider...

Page 5: ...er holder 1 PCS 139 Bushing 1 PCS 140 Back rest knob 1 PCS 141 Screw M10x36L 2 PCS 142 Nylon nut 8 PCS 143 Spring washer 8 PCS 144 Bushing 8 PCS 145 Seat slider wheel 8 PCS 146 Hex screw 8 PCS 147 Mag...

Page 6: ...olt 4 1 Put on front stabilizer 36 and rear stabilizer 41 to the mainframe assembly Be noted the front stabilizer has transportation wheel 2 Use carriage bolt 122 curved washer 60 and acorn nut 55 to...

Page 7: ...dle 128 with handle post 127 2 Assemble the saddle 75 by flat washer 59 and allen bolt 61 3 Fix the seat handlebar 77 by screw M8x16L 58 flat washer 8 16 2t and screw M8x35L 84 4 Connect the hand puls...

Page 8: ...the cable wire upper 15 and lower 18 4 Set the handlebar post 12 in main frame and fix it with screw M8x16L 13 and semicircle washer 14 Assembly Stage 6 9 Spring Washer 7 2t 1 8 Flat washer 7 12 1T 1...

Page 9: ...er for front handlebar 6 Assembly Stage 7 Screwdriver 1 1 Connect the heart rate cable upper 16 and the cable wire upper 15 to the back of computer 1 2 Fix the computer on handle bar post with four sc...

Page 10: ...Exploded drawing...

Page 11: ...er again DISPLAY EXERCISE DATA TIME Display range 0 00 99 99 Setting range 0 00 99 00 DISTANCE Display range 0 00 99 99 Setting range 0 00 99 90km CALORIES Display range 0 9999 Setting range 0 9990 PU...

Page 12: ...AM User may press UP DOWN and then press MODE to create his own profile from column 1 to column 20 User may hold on pressing MODE button for 2 seconds to quit profile setting 8 WATT The preset watt va...

Reviews: