Maintenance Page 165 of 220
Meridian Companion Installation and Maintenance Guide
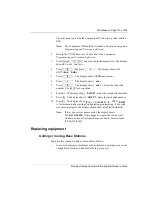
2.
Unplug the RPI power cord from the AC outlet.
3.
Press the release catch with a screwdriver and open the cover.
4.
Disconnect the wires from the RPI.
5.
Remove the two bottom screws.
6.
Lift up and remove the RPI.
7.
Hang the new RPI on the two top screws.
8.
Install and fasten the two bottom screws.
9.
Reconnect all the wires to the RPI.
10.
Close the RPI cover.
11.
Plug the RPI power cord into the AC outlet.
12.
Reenable the TCM ports associated with the RPI using the instructions
in “TCM Status” on page 134.
13.
Perform reevaluation if necessary.
Replacing an RPI power unit
If the problem appears to be related to the power supply unit, follow these
instructions.
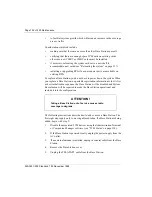
1.
Perform an orderly shutdown of the TCM ports associated with the RPI
using the instructions in “TCM Status” on page 134.
2.
Unplug the RPI power cord from the AC outlet.
3.
Press the release catch with a screwdriver and open the cover.
4.
Disconnect the jumper lead, grounding plates, grounding strap, and
cable from the connection board.
5.
Unscrew the power supply unit and remove it.
ATTENTION!
Unplugging an RPI renders any attached Base Station
out of service.
Summary of Contents for Meridian 1 PC Console Interface Unit
Page 2: ......
Page 10: ...Page x of x 553 3601 200 Standard 7 00 November 1998 ...
Page 78: ...Page 68 of 220 Installing the hardware 553 3601 200 Standard 7 00 November 1998 ...
Page 82: ...Page 72 of 220 System initialization 553 3601 200 Standard 7 00 November 1998 ...
Page 108: ...Page 98 of 220 Activating wireless communications 553 3601 200 Standard 7 00 November 1998 ...
Page 128: ...Page 118 of 220 Programming user options 553 3601 200 Standard 7 00 November 1998 ...
Page 204: ...Page 194 of 220 Troubleshooting 553 3601 200 Standard 7 00 November 1998 ...
Page 230: ...Page 220 of 220 Index 553 3601 200 Standard 7 00 November 1998 ...
Page 231: ......

