Chapter 4 - Understanding the Chart Screen
961/962 Operations and Reference Manual, Rev. A
Page 4-19
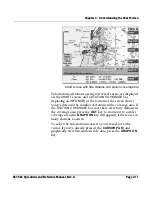
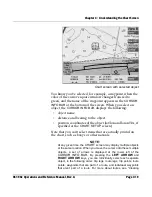
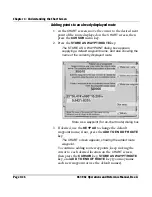
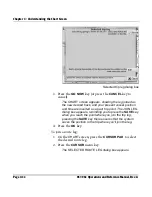
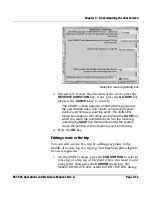
Chart screen with selected object
You know you’ve selected, for example, a waypoint, when the
color of the cursor’s square window changes from red to
green, and the name of the waypoint appears in the
CURSOR
INFO BAR
at the bottom of the screen. When you select an
object, the
CURSOR INFO BAR
displays the following:
•
object name
•
distance and bearing to the object
•
position coordinates of the object (lat/lon and loran TDs, if
specified at the
CHART SETUP
screen)
Note that you can’t select items that are actually
printed
on
the chart, such as buoys or other navaids.
NOTE:
At any given time, the
CHART
screen may display multiple objects
at the same location. When you move the cursor onto these multiple
objects, a set of arrows is displayed at the lower left of the
CURSOR INFO BAR.
By pressing the
LEFT ARROW
and
RIGHT ARROW
keys, you can individually select each separate
object, in the following order: trip legs, route legs, trip points, route
points, waypoints that are part of a route, and individual waypoints
that aren’t part of a route. For more about routes, see “Creating
Summary of Contents for 961
Page 6: ...Page viii 961 962 Operations and Reference Manual Rev A ...
Page 8: ...Page x 961 962 Operations and Reference Manual Rev A ...
Page 14: ...Page xvi 961 962 Operations and Reference Manual Rev A ...
Page 92: ...Chapter 3 Using the Controls Page 3 34 961 962 Operations and Reference Manual Rev A ...
Page 160: ...Chapter 6 Creating Waypoints Page 6 18 961 962 Operations and Reference Manual Rev A ...
Page 176: ...Chapter 7 Creating Avoidance Points Page 7 16 961 962 Operations and Reference Manual Rev A ...
Page 202: ...Chapter 8 Creating Routes Page 8 26 961 962 Operations and Reference Manual Rev A ...
Page 380: ...Glossary Page G 8 961 962 Operations and Reference Manual Rev A ...


