Chapter 4 - Understanding the Chart Screen
Page 4-20
961/962 Operations and Reference Manual, Rev. A
Routes” starting on page 8-1; for more about the trip function, see
“Using the Trip Function” starting on page 11-1.
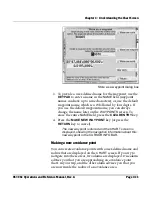
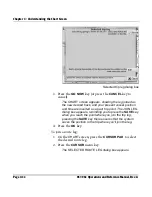
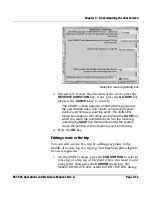
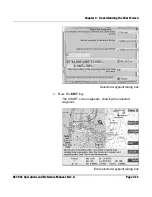
Using the cursor
key
By pressing the
CURSOR
menu key (after first pressing the
CURSOR PAD
), you can perform the following tasks:
•
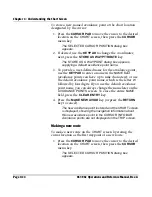
go directly to the cursor position
•
add the cursor position to the end of your trip
•
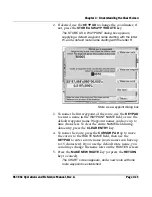
store the cursor position as a named waypoint
•
store the cursor position as a named avoidance point
•
store the cursor position as the first point of a new route
and display it
•
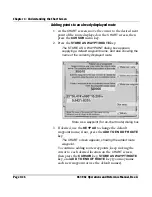
add the cursor position to the currently displayed route, if
any
Additional functions are available when you press the
CURSOR PAD
—then select a route or future trip leg, a route or
trip point, or a single waypoint—then press the
CURSOR
key:
•
go to the selected route or future trip point and continue
(in a forward or reverse direction)
•
add the selected route to the end of your trip
•
join the selected route leg or current/future trip leg and
continue
•
edit the selected route or trip or the selected route or trip
point
•
edit the selected waypoint
•
delete the selected waypoint
All of the functions listed above are described in detail below.
Summary of Contents for 961
Page 6: ...Page viii 961 962 Operations and Reference Manual Rev A ...
Page 8: ...Page x 961 962 Operations and Reference Manual Rev A ...
Page 14: ...Page xvi 961 962 Operations and Reference Manual Rev A ...
Page 92: ...Chapter 3 Using the Controls Page 3 34 961 962 Operations and Reference Manual Rev A ...
Page 160: ...Chapter 6 Creating Waypoints Page 6 18 961 962 Operations and Reference Manual Rev A ...
Page 176: ...Chapter 7 Creating Avoidance Points Page 7 16 961 962 Operations and Reference Manual Rev A ...
Page 202: ...Chapter 8 Creating Routes Page 8 26 961 962 Operations and Reference Manual Rev A ...
Page 380: ...Glossary Page G 8 961 962 Operations and Reference Manual Rev A ...


