Chapter 4 - Understanding the Chart Screen
961/962 Operations and Reference Manual, Rev. A
Page 4-25
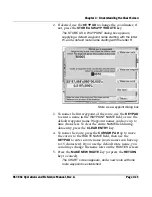
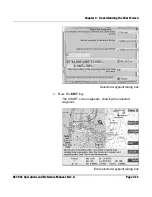
2. If desired, use the
KEYPAD
to change the coordinates; if
not, press the
STORE AS WAYPT/ROUTE
key.
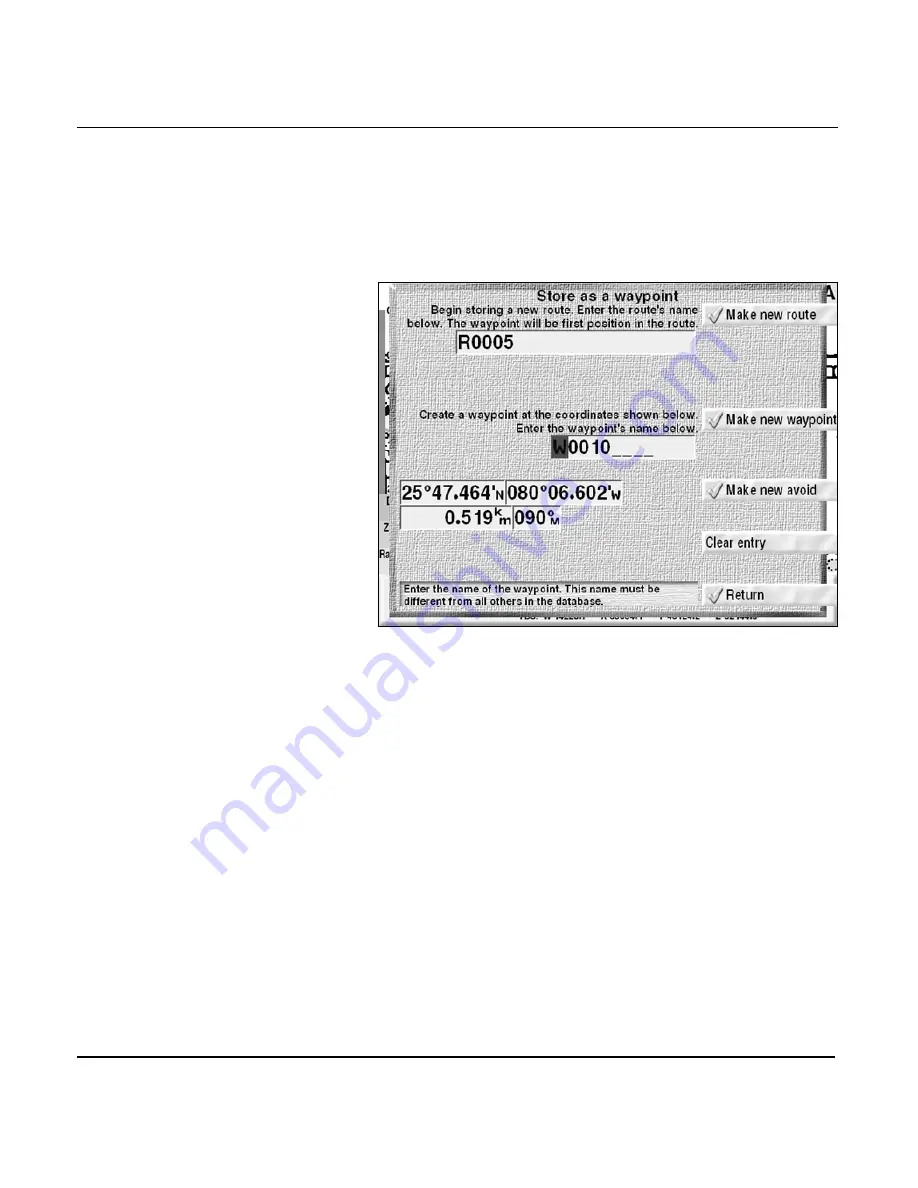
The
STORE AS A WAYPOINT
dialog box appears,
supplying a default waypoint name starting with the letter
W
, and a default route name starting with the letter
R
.
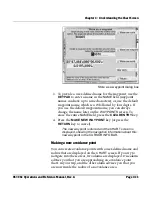
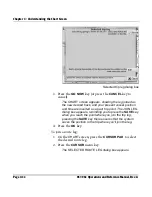
Store as a waypoint dialog box
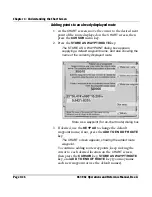
3. To name the first waypoint of the route, use the
KEYPAD
to enter a name in the
WAYPOINT
NAME
field, or use the
default waypoint name. Waypoint names can have up to
nine characters. To clear the entire
NAME
field during
data entry, press the
CLEAR ENTRY
key.
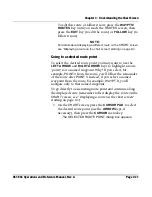
4. To name the route, press the
CURSOR PAD
up to move
the cursor to the
ROUTE NAME
field, then use the
KEYPAD
to enter a route name (route names can have up
to 15 characters). If you use the default route name, you
can always change the name later on the
ROUTES
screen.
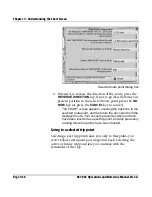
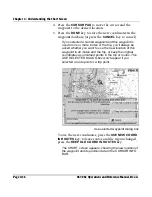
5. Press the
MAKE NEW ROUTE
key (or press the
RETURN
key to cancel).
The
CHART
screen appears, and a new route with one
route waypoint is established.
Summary of Contents for 961
Page 6: ...Page viii 961 962 Operations and Reference Manual Rev A ...
Page 8: ...Page x 961 962 Operations and Reference Manual Rev A ...
Page 14: ...Page xvi 961 962 Operations and Reference Manual Rev A ...
Page 92: ...Chapter 3 Using the Controls Page 3 34 961 962 Operations and Reference Manual Rev A ...
Page 160: ...Chapter 6 Creating Waypoints Page 6 18 961 962 Operations and Reference Manual Rev A ...
Page 176: ...Chapter 7 Creating Avoidance Points Page 7 16 961 962 Operations and Reference Manual Rev A ...
Page 202: ...Chapter 8 Creating Routes Page 8 26 961 962 Operations and Reference Manual Rev A ...
Page 380: ...Glossary Page G 8 961 962 Operations and Reference Manual Rev A ...

