Chapter 10 - Waypoint and Route Navigation
Page 10-16
961 Operations and Reference Manual Rev. D
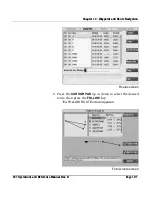
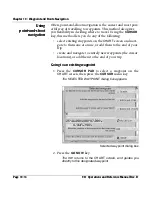
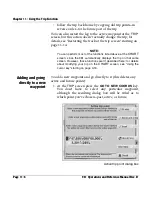
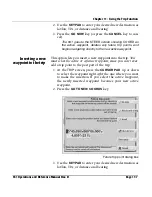
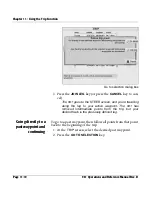
Selected cursor position dialog box
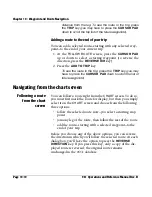
3. Press the
GO NOW
key.
The 961 creates a new unnamed waypoint at the cursor
location, returns to the
CHART
screen, and guides you
directly to this new, temporary waypoint. Press the
TRIP
key to see the waypoint in the trip. Note that this point isn’t
stored in the waypoint database, and that all unnamed
waypoints are labelled as
COORD
.
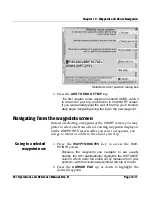
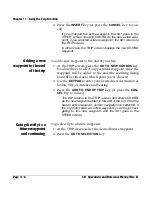
Adding a location on the chart to the end of the trip
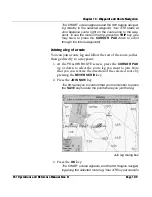
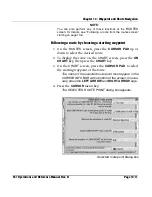
1. Press the
CURSOR PAD
to move the cursor to the desired
location on the
CHART
screen (to establish a precise posi-
tion for this new waypoint, press the
IN
or
OUT
keys to
zoom the chart view in or out.
)
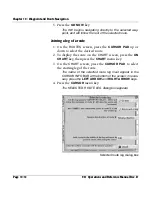
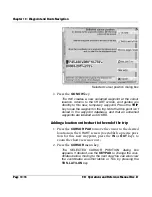
2. Press the
CURSOR
menu key.
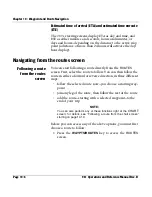
The
SELECTED CURSOR POSITION
dialog box
appears. If desired, use the
KEYPAD
to change the coor-
dinates before moving to the next step.You can also view
the coordinates as either lat/lon or TDs by pressing the
TDS, LAT/LON
key.
Summary of Contents for 961X
Page 1: ...961 961 GPS Chart Navigator Operations and Reference Manual P N GM1700 Revision D X XD ...
Page 8: ...Page viii 961 Operations and Reference Manual Rev D ...
Page 10: ...Page x 961 Operations and Reference Manual Rev D ...
Page 58: ...Chapter 2 Introducing the 961 Page 2 16 961 Operations and Reference Manual Rev D ...
Page 172: ...Chapter 7 Creating Avoidance Points Page 7 16 961 Operations and Reference Manual Rev D ...
Page 198: ...Chapter 8 Creating Routes Page 8 26 961 Operations and Reference Manual Rev D ...
Page 262: ...Chapter 12 Alarms TideTrack and Currents Page 12 16 961 Operations and Reference Manual Rev D ...
Page 374: ...Index Page I 12 961 Operations and Reference Manual Rev D ...


