36882 English I/B ver. 11202A-1
11202A-1
22
OWNER’S MANUAL
# 36882
ver.
11202A-1
Page : 22 ENGLISH VERSION
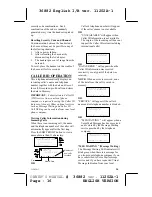
3. Press the EDIT/FLASH button to
change the setting. The month will
begin flashing.
4. Press the TELEPHONE KEYPAD (1
to 0) button to enter the month. The
date will begin flashing.
5. Press the TELEPHONE KEYPAD (1
to 0) button to enter the date. The hour
will begin flashing.
6. Press the TELEPHONE KEYPAD (1
to 0) button to enter the hour. The
minutes will begin flashing.
7. Press the TELEPHONE KEYPAD (1
to 0) button to enter the minutes. “AM”
and “PM” will begin flashing.
8. Press TELEPHONE KEYPAD 1 button
to choose AM or press TELEPHONE
KEYPAD 2 button to choose PM.
9. When the desired setting is displayed,
press and hold the SAVE/REDIAL
button to save the setting. A double
“beep” will sound to confirm the
setting has been saved.
10. Continue with programming or press
the INT/MENU button to return to
STANDBY mode.
Function
:
Setting the AREA CODE
This unit does not require any programming
of an Area Code. However, this option
could be used to add the local Area Code to
numbers that were stored as 7-digits in the
phone book and 10-digit dialing is required
in the local calling area.
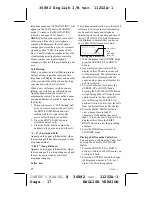
1. Press and hold the INT/MENU button
while in STANDBY mode.
2. Press the KEYPAD
5
button to go to
the Area Code programming option.
3. Press the EDIT/FLASH button to
change the setting. “---” will begin
flashing.
4. Press the TELEPHONE KEYPAD (1
to 0) buttons to enter the three digit
area code for your phone number.
5. When the desired setting is displayed,
press and hold the SAVE/REDIAL
button to save the setting. A double
“beep” will sound to confirm the
setting has been saved.
6. Press the INT/MENU button to return
to STANDBY mode.
Function
:
Setting the LCD
CONTRAST
This unit enables you to select 8 brightness
levels for the Large LCD screen
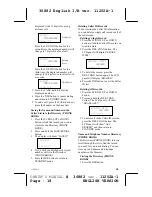
1. Press and hold the INT/MENU button
while in STANDBY mode.
2. Press the KEYPAD # 6 button to go to
the Contrast programming option.
3. Press the EDIT/FLASH button to
change the setting. “2” will begin
flashing.
4. Press the SCROLL UP or DOWN
button to toggle from 1 to 8 levels of
contrast.
5. When the desired setting is displayed,
press and hold the SAVE/REDIAL
button to save the setting. A double
“beep” will sound to confirm the
setting has been saved.
6. Continue with programming or press
the INT/MENU button to return to
STANDBY mode.
Function
:
Setting the PBX
NUMBER
Inserts if a “PBX Number” before an
outgoing number is dialed. Select the
number (0-9) which is required to access
an outside line when using a switchboard
system, and the phone will automatically
dial the PBX number and a pause before
any speed dial or Caller ID callback
number. Factory setting is “OFF.”
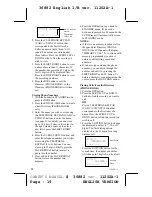
1. Press and hold the INT/MENU button
while in STANDBY mode.
2. Press the KEYPAD # 7 button to go to
the PBX Number programming
option.

