LineTro110Tµr User Guide
June 2011 Page 11 of 16
5.
MAINTENANCE
It is advisable to inspect the indicator once a
year or 1 year after it was last activated. The
inspection should include a functional test
with a magnet to show that the flash
frequency and intensity are normal.
5.1.
Battery replacement
The battery
is fitted into the top cap of the
indicator housing. To replace the battery,
first disconnect the battery from the
electronics board by pulling the battery plug,
then pull the battery from the top cap. Fitting
a new battery is the reverse of the removal
procedure.
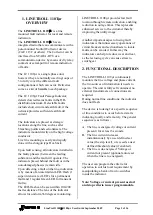
The spare battery, KBB-11, comes with a
connector so the replacement can be carried
out on-site.
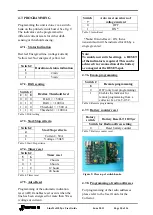
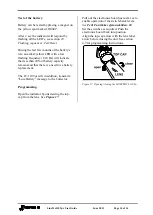
NEGATIVE POLE
OF THE BATTERY
BATTERY CONNECTOR
BATTERY CONNECTOR
SENSOR
CONNECTOR
SENSOR CONNECTOR
o
p
e n
Figure 10: LINETROLL 110Tµr connectors
5.2.
Reset battery monitoring
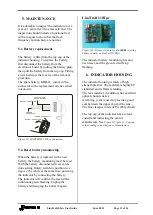
When the battery is replaced with a new
battery, the battery monitoring must be reset.
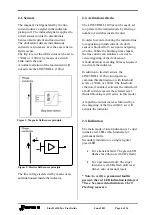
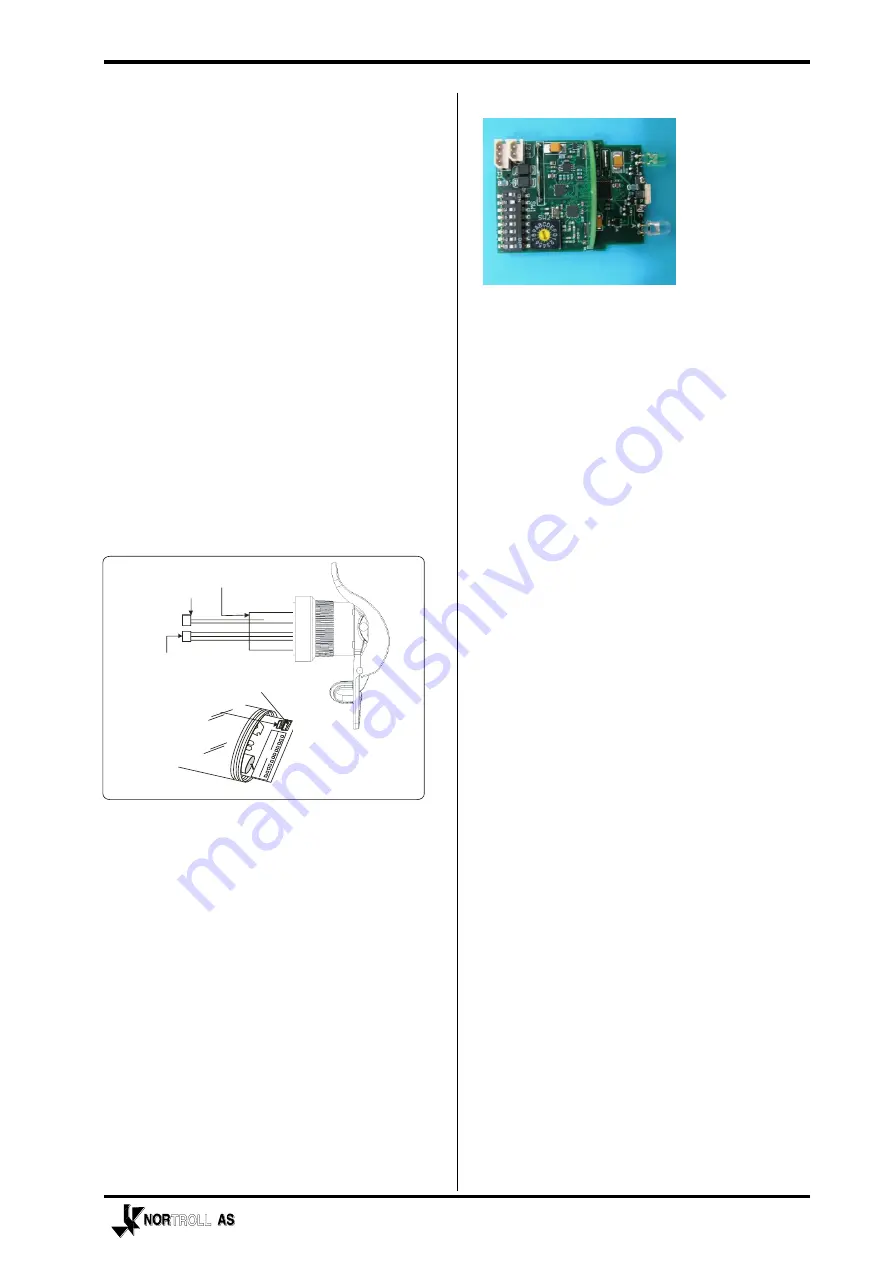
With the battery disconnected reset can be
done setting Rotary switch to position.
(see
figure 11b.)
while at the same time powering
the indicator by connecting the battery.
The indicator will confirm the reset with a
continuous green flashing. Unplug the
battery and then plug the batter in again.
LineTroll 110Tµr
Figure 11b. Rotary switch in location 0 for resetting
battery counter on LineTroll 110Tµr.
2009
The indicator battery monitoring has now
been reset, and the green led will stop
flashing.
6.
INDICATOR HOUSING
The indicator housing is made of high
strength plastics. The material is highly UV
stabilised and is flame retarding.
The lens material, in addition, has excellent
optical characteristics.
An O-ring joint is used to provide a good
seal between the upper cap and the lens.
The line clamp is made of PA (Poly Amid).
The top cap of the
indicator has a colour-
coded label indicating the year of
manufacture. See
Figure 11Figure 11: Top-cap
colour coding versus the year of manufacture


