Chapter 18: Preparing Packages for Distribution Using Distribution Wizard
Preparing for ZENworks Desktop Application Distribution
AdminStudio 9.5 User Guide
ADS-0950-UG00
1445
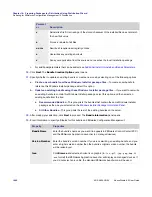
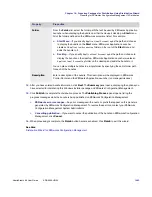
Note •
All of these entries except the
Password
are saved and will pre-populate these fields the next time you
access this panel.
8.
After you have entered the login information, click
Next
. The
ZENworks Desktop Application
panel
opens.
9.
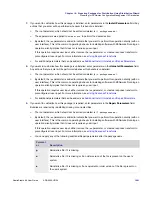
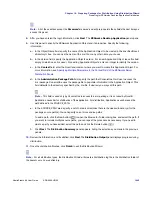
Use this panel to specify the ZENworks Application Object and its properties. Specify the following
information:
a.
In the Object Name field, specify the name of the Application Object to be created in the specified Novell
eDirectory® tree. You can use the name of the .msi file or any other name you choose.
b.
In the Version field, specify the Application Object's version. For a new Application Object, leave this field
empty (in which case 0 is used). For existing Application Objects, enter an integer to identify the version.
c.
In the
Context
field, enter the Novell environment where you want to create this Application Object. For
more information, see
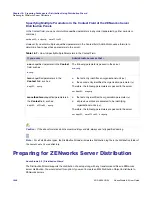
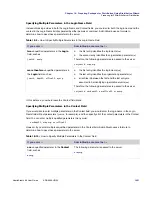
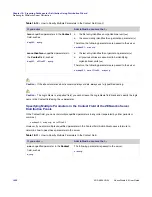
Specifying Multiple Parameters in the Context Field of the ZENworks Server
Distribution Panels
.
d.
In the
Administration Package Path
field, specify the path that ConsoleOne® will use to access the
.msi package. ConsoleOne uses the package file to populate information in the Application Object. This
field defaults to the directory specified by the .msi file. If desired, you may edit this path.
Note •
This field is used only by ConsoleOne to access the .msi package. It is not used by Novell®
Application Launcher for distribution of the application. For distribution, Application Launcher uses the
path defined in the SOURCE_PATH.
e.
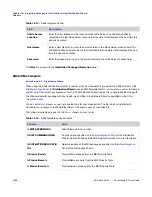
In the SOURCE_PATH area, specify a list of network directories that are the desired location(s) for the
package source path(s). You can specify one or more source paths.
To add a path, click the New button (
) to open the Browse for Folder dialog box, and select the path. If
you want to include multiple source paths, you can repeat the procedure as necessary. If you need to
delete a path you have added, select the path and click the Delete button (
).
f.
Click
Next
. The
Distribution Summary
panel appears, listing the selections you made in the previous
panels.
10.
Review the information, and if satisfied, click
Next
.The
Distribution Output
panel displays progress during
distribution.
11.
Once the distribution finishes, click
Finish
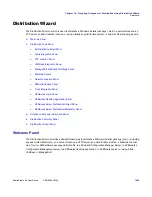
to exit the Distribution Wizard.
Note •
For all distribution types, the Distribution Wizard will create a Distribution log file in the Distribution folder of
the
AdminStudio Shared
directory.
Summary of Contents for ADMINSTUDIO 9.5
Page 1: ...AdminStudio 9 5 User Guide Version 9 5...
Page 50: ...Contents 50 ADS 0950 UG00 AdminStudio 9 5 User Guide...
Page 52: ...52 ADS 0950 UG00 AdminStudio 9 5 User Guide...
Page 156: ...156 ADS 0950 UG00 AdminStudio 9 5 User Guide...
Page 440: ...440 ADS 0950 UG00 AdminStudio 9 5 User Guide...
Page 1090: ...1090 ADS 0950 UG00 AdminStudio 9 5 User Guide...
Page 1426: ...1426 ADS 0950 UG00 AdminStudio 9 5 User Guide...
Page 1686: ...1686 ADS 0950 UG00 AdminStudio 9 5 User Guide...
Page 1794: ...Chapter 24 AdminStudio Public API Reference 1794 ADS 0950 UG00 AdminStudio 9 5 User Guide...
Page 1842: ...Index 1842 ADS 0950 UG00 AdminStudio 9 5 User Guide...


