background image

Using Novell Utilities

17

    Novell Confidential

                                                                                           Manual (ENU)  21 December 2004

6

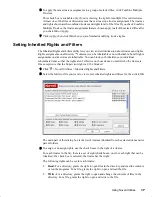
To apply the same trustee assignments to a group of selected files, click Combine Multiple 
Trustees.          

This check box is available only if you’re viewing the right for multiple files or directories. 
At least one of the files or directories must have at least one trustee assignment. The trustees 
and rights shown are the combined trustees and rights for all of the files. If you check Combine 
Multiple Trustees, the trustee assignments that are chosen apply to all of the selected files after 
you click OK or Apply.

7

Click Apply, then click OK when you are finished modifying trustee rights.

Setting Inherited Rights and Filters

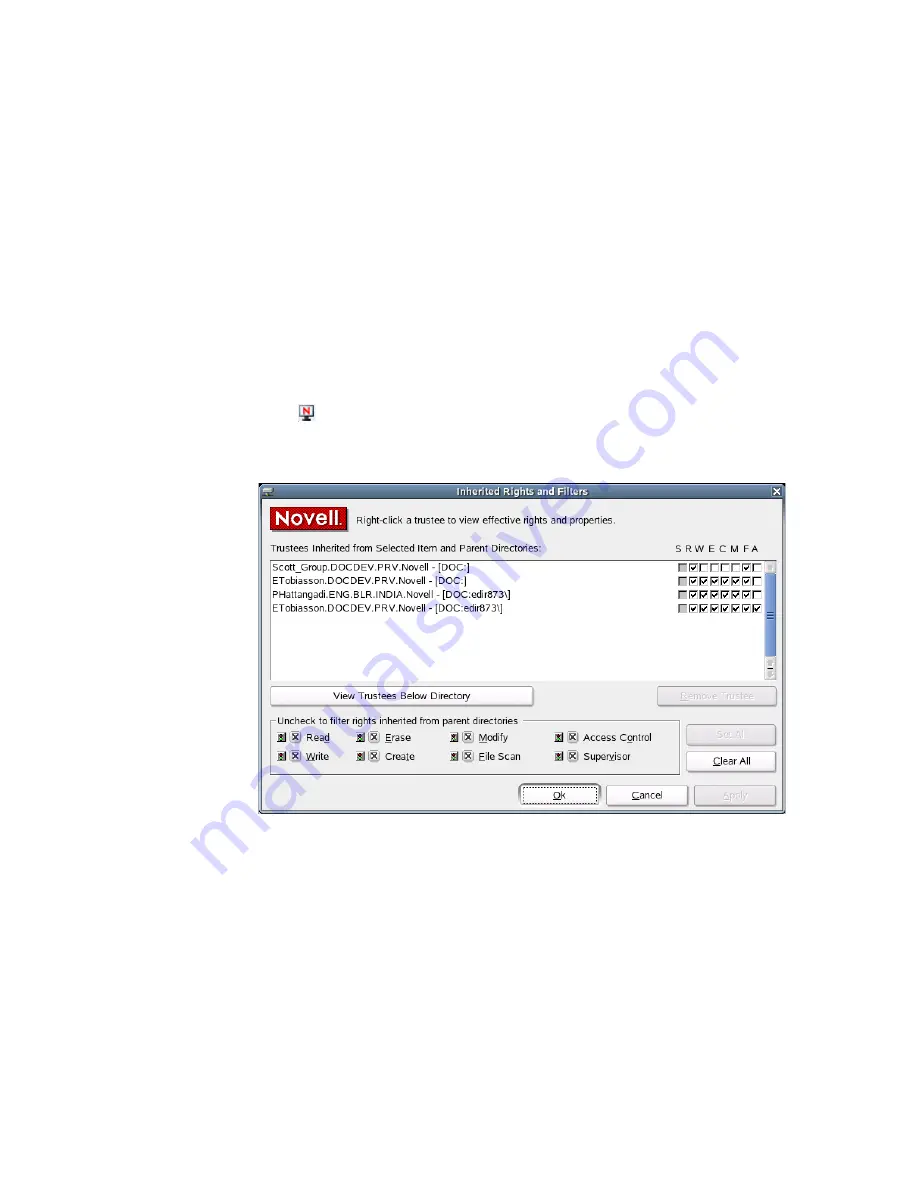
The Inherited Rights and Filters utility lets you view and set information about trustees and rights. 
Rights assignments on eDirectory

TM

 containers can be inheritable or non-inheritable, but all rights 

assignments on directories are inheritable. You can block such inheritance on individual 
subordinate items so that the rights aren’t effective on those items, no matter who the trustee is. 
One exception is that the Supervisor right can’t be blocked.

1

Click   > Novell Utilities > Inherited Rights and Filters.

2

Select the folder or file you want to view or set inherited rights and filters for, then click OK.

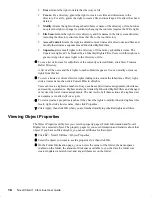
The main part of this dialog box is the list of trustees inherited from the selected item and its 
parent folders.

3

To assign or unassign rights, use the check boxes to the right of a trustee.

For each trustee in the list, there is a set of eight check boxes, one for each right that can be 
inherited. If a check box is selected, the trustee has that right. 

The following rights can be set for each trustee:

Š

Read:

 For a directory, grants the right to open files in the directory and read the contents 

or run the programs. For a file, grants the right to open and read the file.

Š

Write:

 For a directory, grants the right to open and change the contents of files in the 

directory. For a file, grants the right to open and write to the file.

Summary of Contents for BUSINESS CONTINUITY CLUSTERING 1.0 - ADMINISTRATION

Page 1: ...Novell w w w n o v e l l c o m Client TM for Linux 1 0 O c t o b e r 1 2 2 0 0 5 U S E R G U I D E...

Page 2: ...not to export or re export to entities on the current U S export exclusion lists or to any embargoed or terrorist countries as specified in the U S export laws You agree to not use deliverables for pr...

Page 3: ...United States and other countries Novell is a registered trademark of Novell Inc in the United States and other countries Novell Client is a trademark of Novell Inc SUSE is a registered trademark of...

Page 4: ......

Page 5: ...ing Your Network Password 12 Mapping Network Directories 12 Disconnecting a Mapped Directory 14 Changing the Location of the Novell Client Tray Application 14 Configuring the Novell Client 14 Viewing...

Page 6: ...6 Novell Client 1 0 for Linux User Guide...

Page 7: ...umentation http www novell com documentation linux_client index html Documentation Conventions In this documentation a greater than symbol is used to separate actions within a step and items within a...

Page 8: ...8 Novell Client 1 0 for Linux User Guide...

Page 9: ...on Guide This section contains the following information Starting and Stopping the Novell Client Tray Application page 9 Logging In to the Network page 10 Logging Out of a Network Location Server or T...

Page 10: ...trator should provide you with the required information so that you can log in 1 Use one of the following methods to open the Novell Login dialog box Click Novell Login NLD GNOME Click Programs Access...

Page 11: ...u can set these variables by clicking the Variables button Your network administrator should provide information on whether to use login scripts and if so which login scripts to use For additional inf...

Page 12: ...ssword To change your eDirectory password 1 Click Change Password 2 Type your current password in the Old Password field 3 Type your new password in the New Password field 4 Retype the new password in...

Page 13: ...the symbolic link to be created or select a letter from the drop down list if you want to use a single letter as the name for the link 4 In the Novell File System field type the server name and the pa...

Page 14: ...3 Select the Client settings you want to configure then click Start Wizard 4 Follow the instructions in the left panel to configure the Novell Client settings 5 When you are finished click Finish 6 C...

Page 15: ...Console page 22 Assigning Rights to Volumes Files and Directories The Trustee Rights utility lets you display and give rights to volumes files and directories on a Novell server A trustee is an objec...

Page 16: ...nts the right to create new files and directories in the directory For a file grants the right to create a file and to salvage a file after it has been deleted Modify Grants the right to change the at...

Page 17: ...ritable You can block such inheritance on individual subordinate items so that the rights aren t effective on those items no matter who the trustee is One exception is that the Supervisor right can t...

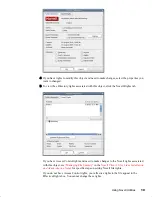
Page 18: ...ify or remove rights from this list 5 To view a trustee s current effective rights taking into account the Inheritance filter right click a trustee name then click Current Effective Rights Users can r...

Page 19: ...l Rights tab If you have Access Control rights and need to make changes to the Novell rights associated with this object see Managing File Security in the Novell Client 1 0 for Linux Installation and...

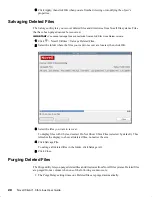
Page 20: ...2 Select the folder where the files you want to recover are located then click OK 3 Select the files you want to recover To display files with 0 bytes deselect Do Not Show 0 Size Files selected by def...

Page 21: ...er volume 1 Click Novell Utilities Purge Deleted Files 2 Select the folder where the files you want to purge are located then click OK 3 Select the files you want to purge To display files with 0 byte...

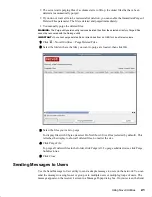
Page 22: ...users and groups on that server then click Select 3 Type the message you want to send in the Enter Message Text field 4 Select the users or groups that you want to receive the message 5 Click Send The...

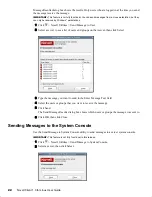
Page 23: ...Using Novell Utilities 23 3 Type the message you want to send in the Enter Message Text field 4 Click Send then click OK...

Page 24: ...24 Novell Client 1 0 for Linux User Guide...

Reviews: