User Manual
XTO 2.ie
Edition A3 - 05/2021
23
Operation
How to operate
•
Remove the front cover and place it on a flat and clean surface.
•
Insert the empty cardboard core [a] with biadhesive layer on shaft [A1] and the ribbon core [b]
on shaft [A2]. If you want to use the cover as a drawer to extract the ribbon, insert the bracket
[c] as in step 1] of the figure.
•
Unwind the ribbon from the full core and pass it through the slits, as shown in figure at point 1]
and 2]. The metal clip d] is useful for holding the ribbon in its place.
•
Wrap the ribbon tail around the empty core to have a grip with the biadhesive layer.
•
Close the ribbon lock bracket 3], if it has been inserted.
•
Insert the cover 4] and immediately push the handle to position the ribbon on the shafts 5].
•
Release the handle 6].
•
Wait the ribbon feed operation.
•
Set the printer READY.
•
Restart the packaging line.
NOTE
: for 30 mm wide ribbon it is necessary to insert ring spacers
49KS0113 on the shafts. XTO 2.ie requests to have ribbon centered to
the print head.
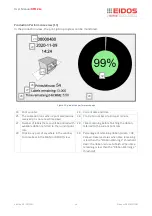
The thermal ribbon reserve condition is reported on the basis of the diameter of the ribbon recovery
reel and is always visible on the page “Production view” of the Printer software (see Chapter
“Product Description - OPERATING PANEL” of this manual).
To ensure good print, always clean the print head before fitting a new
ribbon to the printer.
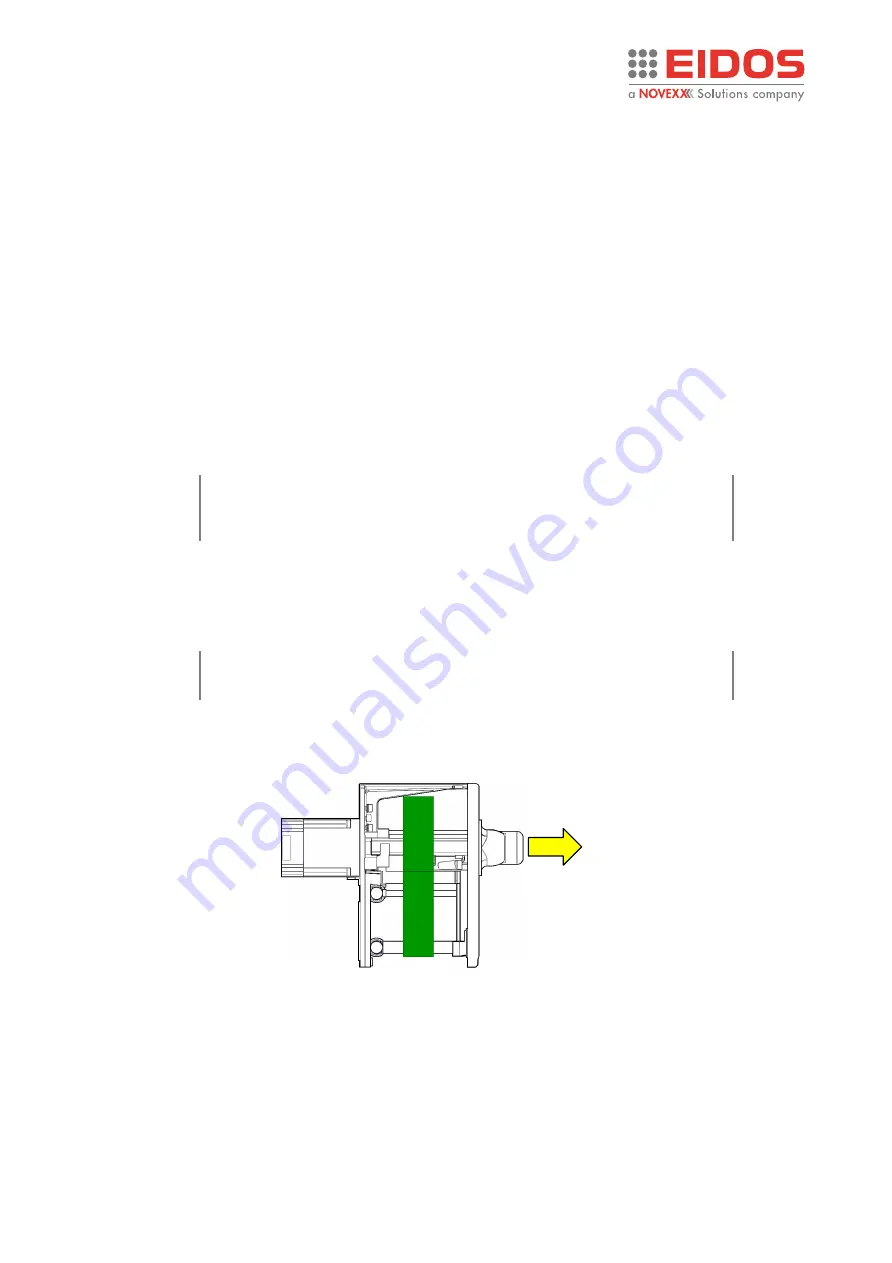
Removing used ribbon
Pull the handle and remove the cover cassette with the used ribbon (if you used the bracket that
locks it to the cover, otherwise remove the used ribbon manually from its seat).
Figure 33: removing ribbon
Summary of Contents for EIDOS XTO 2.ie
Page 2: ......


