LogBox-AA Data Logger
NOVUS AUTOMATION
3/6
Decimal Digits:
Allows you to define how many decimal places after
the comma will be displayed in the Lower and Upper Limits, Upper
and Lower Alarms and Offset parameters.
Lower Limit and Upper Limit:
Allows you to define upper and lower
limit values for the inputs.
Alarm:
Allows you to define limit values for the measured variable.
Once they are exceeded, the alarm will be triggered. In this case,
even if the alarm condition no longer occurs, the alarm indicator will
remain blinking.
The "
Lower Alarm
" parameter allows you to define the value
below which the alarm will be triggered.
The "
Upper Alarm
" parameter allows you to define the value
above which the alarm will be triggered.
Offset
: Allows you to correct small errors presented by the input
signal. Errors that occur, for example, when changing a sensor or
replacing a transmitter.
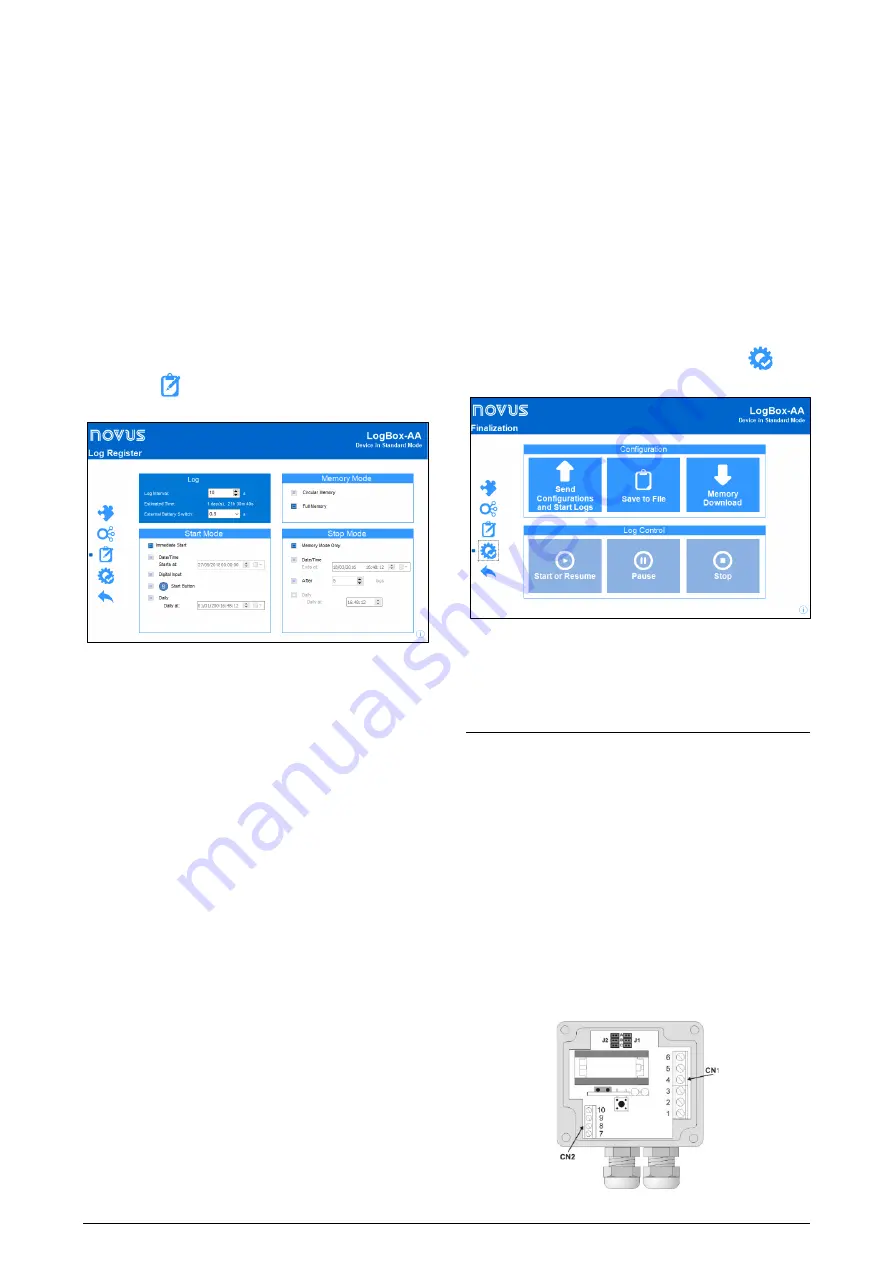
LOG REGISTER
By clicking the
button, you can access the configuration fields of
the logger data:
Figure 8 –
Log register
LOG
Log Interval
: Allows you to determine the time interval (hh:mm:ss)
between acquisitions. At the end of this period, the data will be saved
in the memory of the logger.
Estimated Time
: Based on the "Interval" of the acquisitions and the
number of programmed acquisitions, it informs you how long it
should take the logger to perform all the programmed acquisitions.
Available if the Memory Mode is set to "Full Memory" mode.
External Battery Switch
: Allows you to set the time interval that the
logger takes to turn on the electronic switch before each
measurement. This time cannot exceed half the time between
measurements (limited to 10 seconds).
MEMORY MODE
Circular Memory
: The logger performs acquisitions continuously.
Once the logger reaches maximum memory capacity, the oldest data
will be overwritten.
Full Memory
: The logger performs acquisitions until the available
memory capacity of the logger is reached.
START MODE
Immediate Start
: Allows to start the acquisition process right after
sending the configuration to the logger.
Date/Time
: Allows to start the acquisitions at a defined date and
time.
Digital Input
: Allows to perform acquisitions while the digital input is
triggered (closed) and to stop acquisitions when the digital input is
disabled (open).
Start Button:
Allows to start the acquisitions using the Start button.
Daily:
Allows to start the acquisitions daily and at a previously
defined time.
STOP MODE
Memory Mode Only
: Allows to link the stop mode to the memory
mode of the logger. That is, the acquisitions will be interrupted if the
memory limit is reached (if
Full Memory
mode is set) or will never be
interrupted (if
Circular Memory
mode is set).
Date/Time
: Allows to stop the acquisitions at a defined date and
time.
After a specific number of logs
: Allows to set a number of
acquisitions that, when reached, will stop the acquisition process.
Daily:
Allows to stop the acquisitions daily and at a previously
defined time.
FINALIZATION
Once the settings have been made, you must click the
button
to open the finalization screen:
Figure 9 –
Finalization
From this screen you can send and start logs, save the configuration
to file, download data from memory, and start, pause, or stop the
logging control.
ELECTRICAL INSTALLATION
Only the input channel connections and the internal electronic switch
(when used) are required. The electrical power supply is provided
exclusively by the internal battery.
For the
IP65
model, input and external trigger terminals are available
internally. To make the connections, you will need to open the
housing.
For the
IP67
model, the terminals are outside the housing, at the
connectors shown in
Figure 11
.
IP65 MODEL
In the
IP65
model, the connections are made internally. To access
the terminals and the configuration jumper, it is necessary to remove
the cover from the logger.
The connection wires enter the logger through the cable gland
located on the bottom of the housing.
Figure 10
shows the polarity of
these connections:
Figure 10 –
IP65
Version (Inside view of the connections)


