
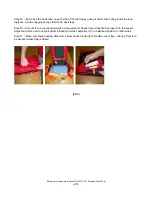
Step 5 - Take each side of folded canopy and fold again past center. OVERLAP this time. Place shot bags on
folded canopy.
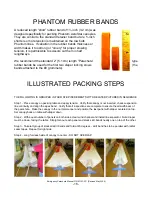
Step 6 - Check all rubber bands. Replace if damaged or stretched. Note: We recommend the standard 2”
Parachute type rubber bands be used for the first two locking stows where bands get attached to the #0
grommets at the top of the diaper. For balance of line stows use 1 ¼” Phantom rubber bands.
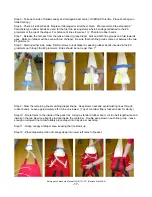
Step 7 - Release the harness from the tension board, grasp diaper, skirt and both line groups and fold towards
apex. Bottom of diaper will be even with top of diaper. Be sure that both line groups come out between the two
#2 grommets.
Step 8 - Starting either side, make first two stows to lock diaper by passing rubber bands inserted in the #0
grommets up through the #2 grommets. Bites should be no longer then 1".
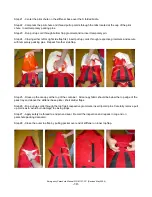
Step 9 - Stow the remaining lines matching diaper shape. Keep stows neat and avoid twisting lines through
rubber bands. Leave approximately 2 ft. of line un-stowed. (Top of container flap is tucked under for clarity.)
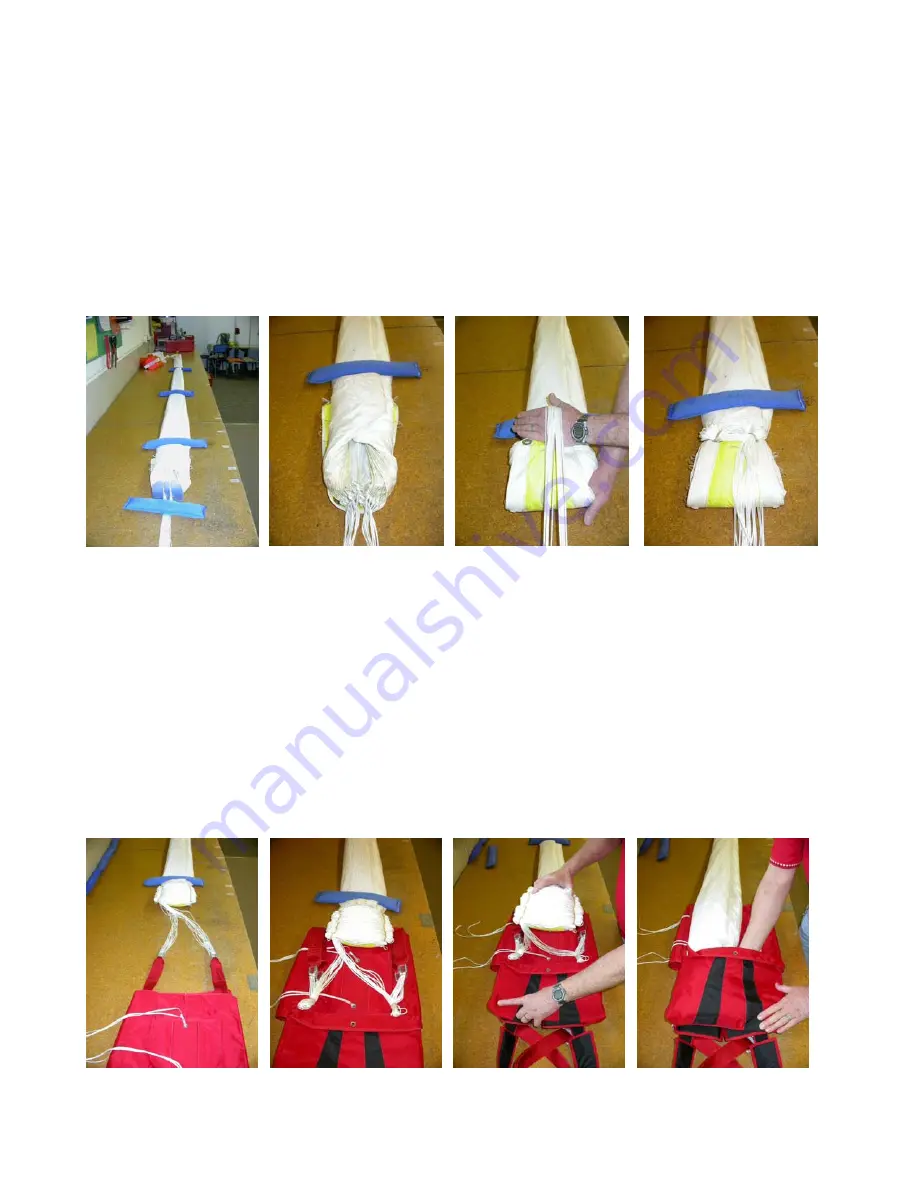
Step 10 - Route risers to the inside of the pack tray. Using a standard rubber band, cut it in half length-wise and
install on the two stow loop bands provided inside the container. Double wrap stow on each line group - leave
enough un-stowed line to comfortably place diaper into tray as per next step.
Step 11 - Grasp canopy at diaper area, keeping the line stows up.
Step 12 - Place diapered portion of canopy deep into lower left corner of pocket.
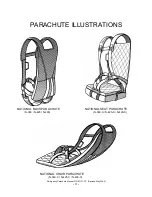
Emergency Parachute Manual P/N 81101-2P (Revised May 2004)
- 17 -


