NTI MINI SERVER ENVIRONMENT MONITORING SYSTEM
15
The initial web interface page includes a status summary showing the present name, type, value, and status of each sensor
attached to the ENVIROMUX-MINI. It also includes a menu to the left of the screen from which the administrator can select
pages that will allow them to:
•
change the general settings of the ENVIROMUX-MINI
•
configure network settings
•
perform user management to control who has access to the sensor information
•
configure each of the sensors
•
configure the ENVIROMUX-MINI for how it will report sensor alerts and to whom
•
configure sensor event log recording
To login using a WAP 2.0 compatible device, see page 26 .
General Settings
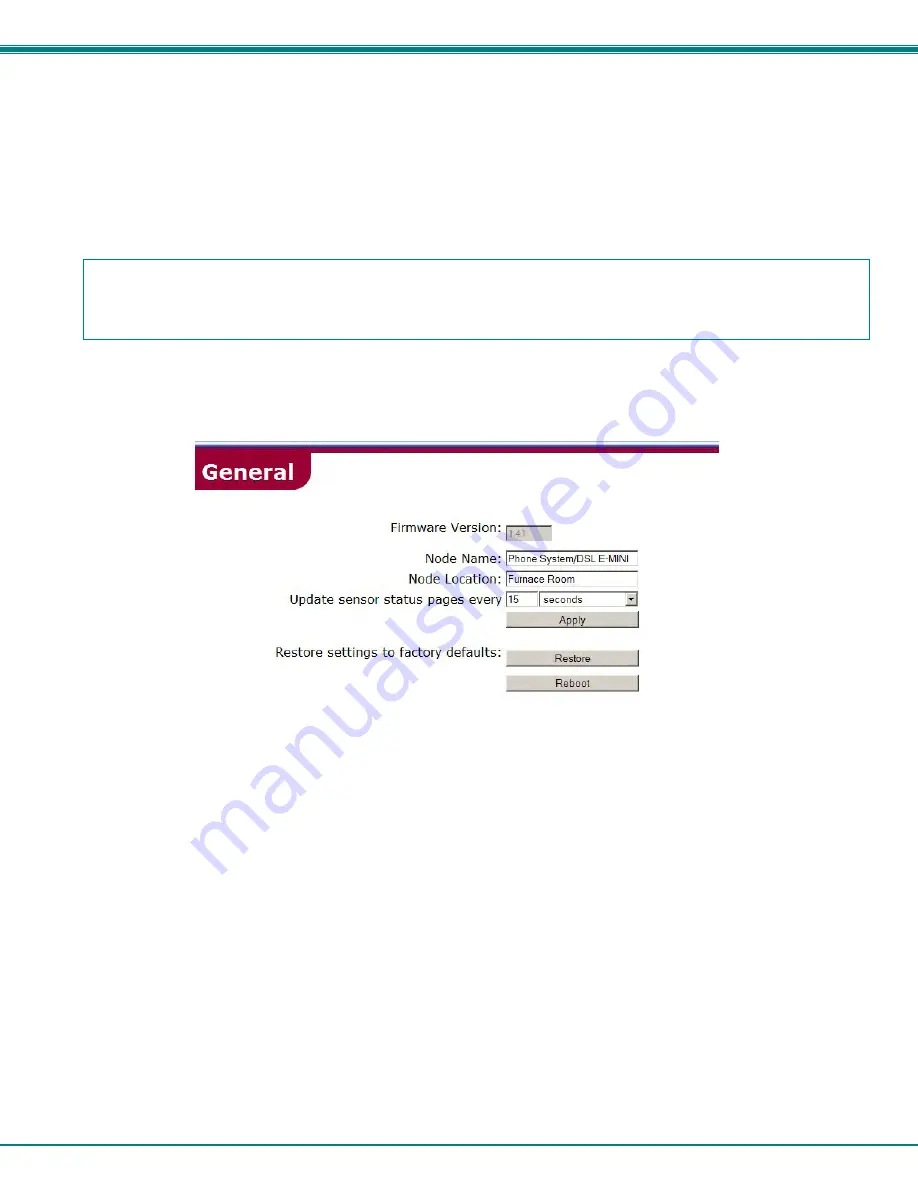
Figure 12- General menu for administrative settings
From the General menu under ADMINISTRATION, the user can make changes as follows:
•
Firmware Version
current firmware version of the ENVIROMUX-MINI
•
Node Name-
change the name of the ENVIROMUX-MINI. The Node Name will appear in SNMP trap
messages to enable the user to identify the source of the alert
•
Node Location-
assign a reference location (where the ENVIROMUX-MINI is located). The Node Location will
also appear in SNMP trap messages to aid in user identification of the source of the alert.
•
Update sensor status
pages-
configure how often the sensors will have data updated on the summary page
•
Restore-
restore the ENVIROMUX-MINI to all factory default settings including usernames, passwords, and
all network and sensor settings.
•
Reboot-
reboot the ENVIROMUX-MINI- refreshing settings and communications (this does not restore
default settings)
Press
Apply
if any changes are made above to the fields or the changes will not be saved upon leaving this page.
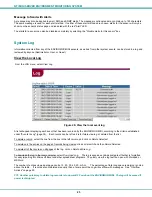
Note: If the Restore or Reboot buttons are pressed, the ENVIROMUX-MINI will erase the system logs. It is
recommended that the logs be downloaded if they need to be saved before using the Restore or Reboot buttons
(see page 23 to download System Logs). If the TIMEP server is not configured (page 18), the manually set time will
be incorrect after using these buttons.
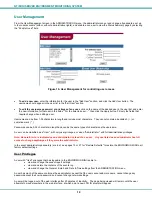
FYI: If a user tries to log in with a username already logged in at another IP address, the user will be presented with
"The user <username> is already logged in at IP address <IP address>. If you continue, <username> will be logged out.
Continue?". Select the "Yes" or "No" button. Selecting "Yes" will log out the first user. Selecting "No" will take the
user back to the log in page (or summary page if Guest is enabled (page 15)).


