NTI RACKMUX-V
15/17
RACKMOUNT LCD MONITOR WITH KEYBOARD AND MOUSE
5
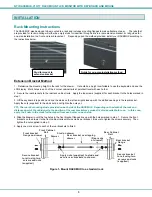
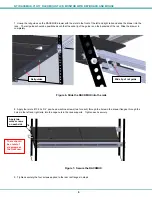
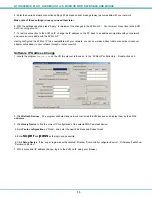
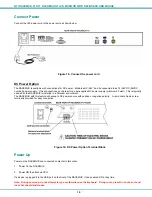
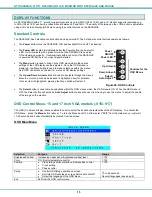
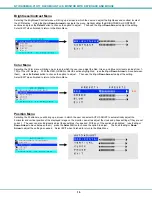
4. Install the right rail assembly. The end with the label “Right Front” mounts to the front rack support. Install only the center
screw through the rail flange to the rack support and cage nut using the #10-32 x 1/2” flat head machine screw provided. (See
image below.) Do not tighten at this time. Install the left rail assembly in the same fashion. The end with the label “Left Front”
mounts to the front rack support.
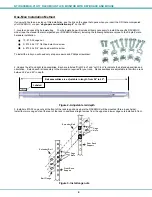
5. Install two #10-32 x 3/4” pan-head screws in the rear of each rail assembly as shown below. Do not tighten at the time.
Figure 4- Install rail assemblies
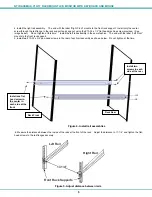
6. Measure the distance between the inside of the rails at the front of the rack. Adjust the distance to 17-1/4” and tighten the flat-
head screws to the rail flanges securely.
Figure 5- Adjust distance between rails
17-1/4"
Front Rack Supports
Left Rail
Right Rail
Install one flat
head screw in
the center in
each side at the
front
Install two
screws in each
side at the rear
Rack Front
Rack Rear


