NTI RACKMUX-V17-N-8USBHD-IP RACKMOUNT DRAWER WITH USB KVM SWITCH AND KVM ON IP
7
Login to USB KVM Switch
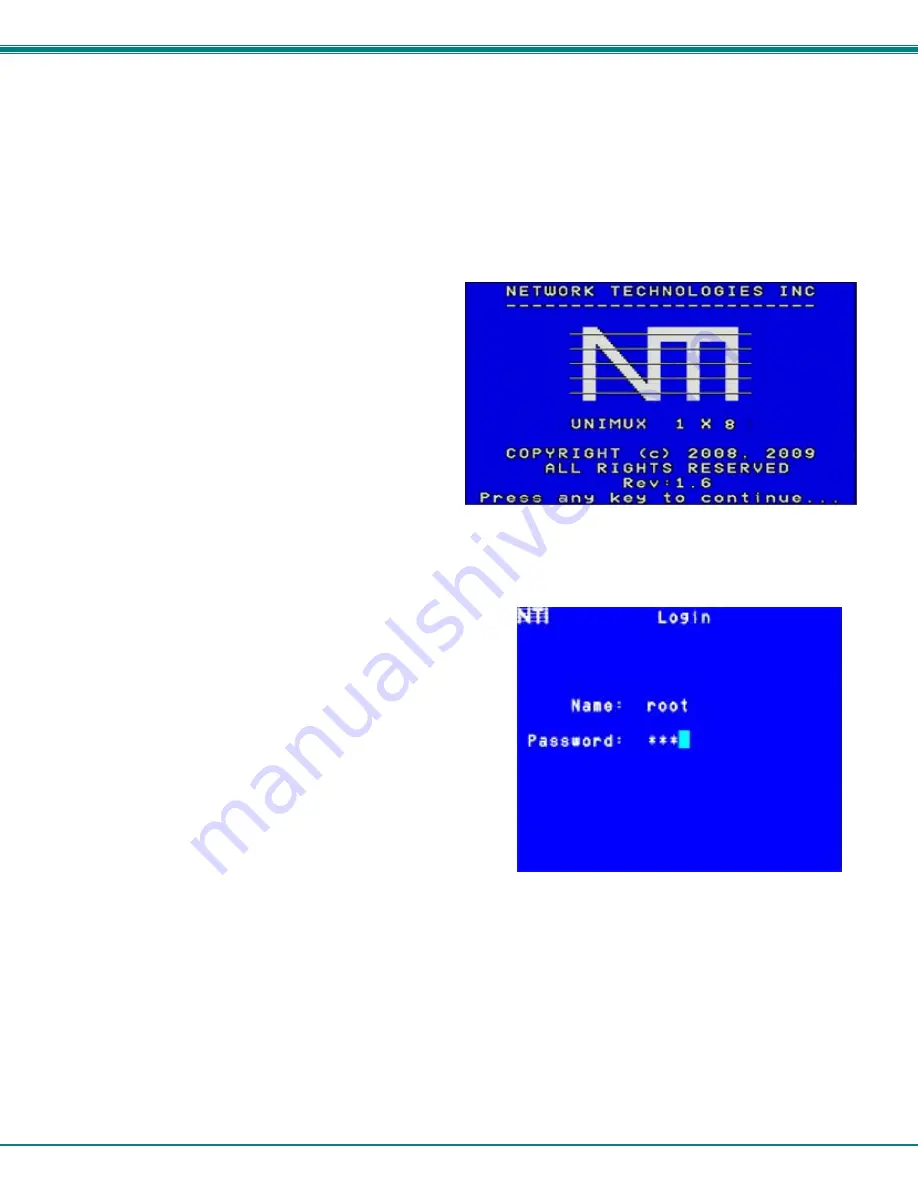
Immediately after powering ON the RACKMUX, the OSD splash screen shown below will appear on the monitor if the RACKMUX
keyboard is in USB mode (see page 17) :
If the OSD Splash screen does not display, press <
Ctrl
> + <
`
> (accent/tilde key). The OSD menu will automatically appear on the
monitor.
If the security option is enabled, when the UNIMUX is powered up the user will be prompted for a username and password to
continue. If the security option is not enabled the monitor will display the desktop image for the connected CPU and the user
can continue with normal operation of the connected CPU.
Press any key to open the Command Mode menu.
Figure 8- USB KVM Switch OSD Splash Screen
If security is enabled and you are prompted for a name and password, login as the administrator.
Password and User Name
The factory settings are:
•
default user name = <root>
•
default password = <nti>
Note: The username for the administrator cannot be changed
from "root”.
Figure 9- User login screen
After login the Command Mode menu will open and the USB KVM Switch will be ready to configure and use. For more details on
the use of the USB KVM Switch, RS232 Control and more, see man039.pdf entitled “UNIMUX-USBV-xHD High Density USB
KVM Switch Installation and Operation Manual” on the Product Manual CD.
Note: The RS232 connector on the
USB KVM
switch is connected and used as described in the UNIMUX-USBV-xHD
manual. It is not used as described in the KVM-IP manual that is also included with this product. The RS232 port
referred to in the KVM-IP manual is not accessible and therefore
not applicable to this product
.


