NTI UNIMUX SERIES USB KVM SWITCH
10
USING THE UNIMUX DVI KVM SWITCH
Once the UNIMUX is properly connected, the UNIMUX will enable a connection to be made between the CPUs attached to its
VIDEO and CPU ports and the monitor and input devices attached to the MONITOR and USB Device ports. The LEDs on the
control panel of the UNIMUX will illuminate depending on which port (and corresponding CPU) is being connected to the monitor
and input devices.
The UNIMUX can be controlled by three methods:
•
front control panel using touch-switches and LEDs
•
keyboard control through Command Mode
•
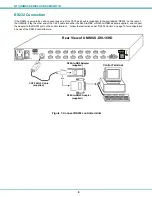
RS232 control (page 13)
Front Panel Control
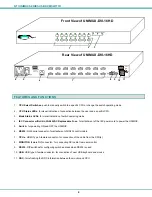
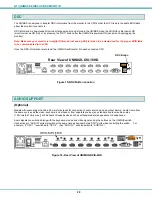
There is a touch-switch and LED on the front panel of the UNIMUX for each CPU the switch will connect the monitor and
input devices to. Pressing any touch-switch on the front panel of the UNIMUX will connect the corresponding CPU to the monitor
and input devices.
Holding down any front panel touch-switch for more than 2 seconds will cause the UNIMUX to cycle through all modes of
operation including COMMAND, BROADCAST, SCAN, and NORMAL (described in "Command Mode" below). The three MODE
LEDs on the front panel indicate which mode is selected. Release the touch-switch when the LEDs indicate the desired mode.
When no mode LEDs are illuminated the user is in Normal Mode controlling directly the CPU to which the user is connected
through the UNIMUX.
Keyboard Control
Keyboard control of the UNIMUX can be achieved using Command Mode (below). The keyboard can be used to control all
functions of the UNIMUX as an alternative to using the front panel on the UNIMUX.
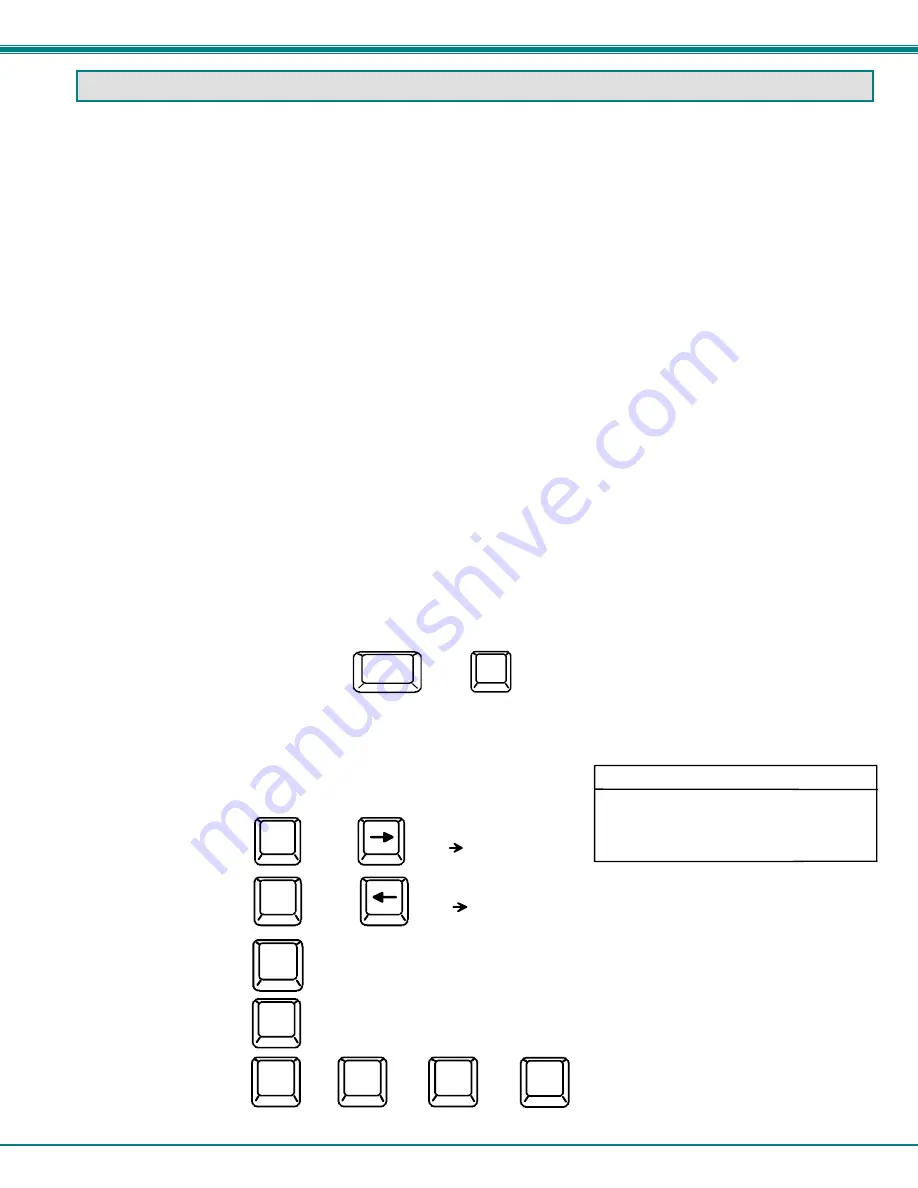
By pressing <
Ctrl
> + <
`
> (accent/tilde key), the user can enter Command Mode. Once in Command Mode, typing a series of
commands will cause the UNIMUX to connect the user to any one CPU connected to the switch. Pressing the <
Esc
> key will exit
Command Mode.
Command Mode
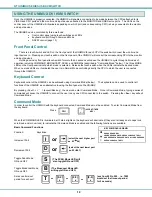
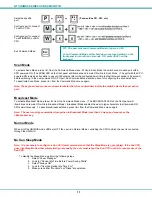
In order to control the UNIMUX with the keyboard connected, Command Mode must be enabled. To enter Command Mode from
the keyboard:
Press
When the COMMAND LED is illuminated, all 3 status lights on the keyboard will illuminate (if they aren't already due to caps lock,
scroll lock, and/or num lock) to indicate that Command Mode is enabled and the
following functions are available:
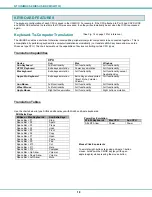
Basic Command
Functions
Function:
Keystroke:
Increment Port
Decrement Port
Toggle Scan Mode
ON and OFF
Toggle Broadcast Mode
ON and OFF
Sets scan time-out
period for each port.
CHORDED SEQUENCE- PRESS CONSECUTIVELY
AND KEEP KEYS PRESSED UNTIL ALL ARE PRESSED.
+
-
PRESS CONSECUTIVELY
or
PRESS EITHER KEY
KEY SYMBOLS LEGEND:
D or
(select the next lower port
ex. 02 01)
S
(The SCAN Mode LED will
also toggle ON and OFF)
T
-
-
(xxx from 002 to 255. ie. T002
would set the time-out period
for 2 seconds)
-
(0-2)
x
(0-9)
x
(0-9)
x
B
(The Broadcast Mode LED
will toggle ON and OFF.)
I
(select the next higher port
ex. 03 04)
or
`
Ctrl
~
(ACCENT/TILDE
KEY)
`


