189
3
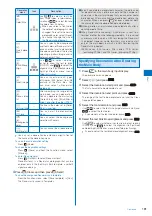
Select [Save attached] and press
.
The Save to display appears.
[Data Box]:
Save a file attachment in the Data Box. Select a folder to
save to.
[microSD]:
Save a file attachment in the microSD memory card.
To play back a melody pasted in a message
Select [Play melody].
To save a melody pasted in a message
Select [Save melody]
→
a place to save to.
To check a melody title
Select [Confirm title].
To display details about an inserted image
Select [Insert img info]
→
an image. The detailed
information appears.
To save an inserted image
Select [Save insert img]
→
an image
→
a place to save
to.
4
Select a place to save to and press
.
The file is saved.
To display Tool data
Move the cursor to the file attachment, press
, and
select [Confirm].
To save Tool data in the FOMA terminal
Move the cursor to the file attachment, press
,
select [Register], enter the Security code, and select
[Add]/[Overwrite].
When there is not enough memory
The screen for confirming whether to overwrite the data
appears. To overwrite, select unnecessary data (P.294).
●
Some of the received image and movie/i-motion may not
be played back correctly.
Receiving a File Attachment Selectively
You can obtain a file attachment exceeding 100K
bytes and one for which the Attached file pref. is set to
[Invalid].
You cannot obtain a file attachment whose retention period is
expired.
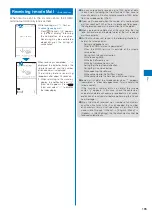
1
From the received mail list, select mail and press
.
2
Select “
” and press
.
The obtaining operation starts and the file attachment is
obtained.
●
If you obtain a file attachment not yet existing when there
exist already 1,000 received mails or there is no more
free memory space in the FOMA terminal, the obtained
data overwrites the unprotected read mail from the oldest
one. Depending on the size of the file attachment to be
obtained, multiple mails may be overwritten by it.
Deleting a File Attachment
You can delete a file that is attached to i-mode mail.
You cannot delete an i-
α
ppli To link that is displayed in the
mail main body.
Example: Deleting a file attached to the received mail
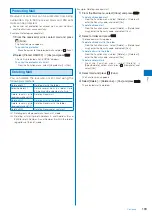
1
From the received mail list, select mail and press
.
2
Select a file attachment and press
(Func).
The Function menu appears.
3
Select [Del attach file]
→
[Yes] and press
.
The file attachment is deleted.
Displaying Received/Sent/
Saved Mail
You can display received/sent/saved mail any time you
want to. Received and sent mail can be saved in [Inbox]
and [Outbox], respectively. Mail that was saved without
being sent or sent unsuccessfully, is saved in [Draft].
You can save up to 1,000 received mails, up to 500 sent
mails, up to 50 saved mails, and up to 30 Area Mail. The
number of files that can be saved may decrease depending
on the data to be saved.
For SMS saved in the UIM, some function menu items are not
available.
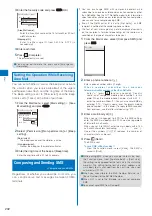
1
From the Mail menu, select [Inbox]/[Outbox]/[Draft]
and press
.
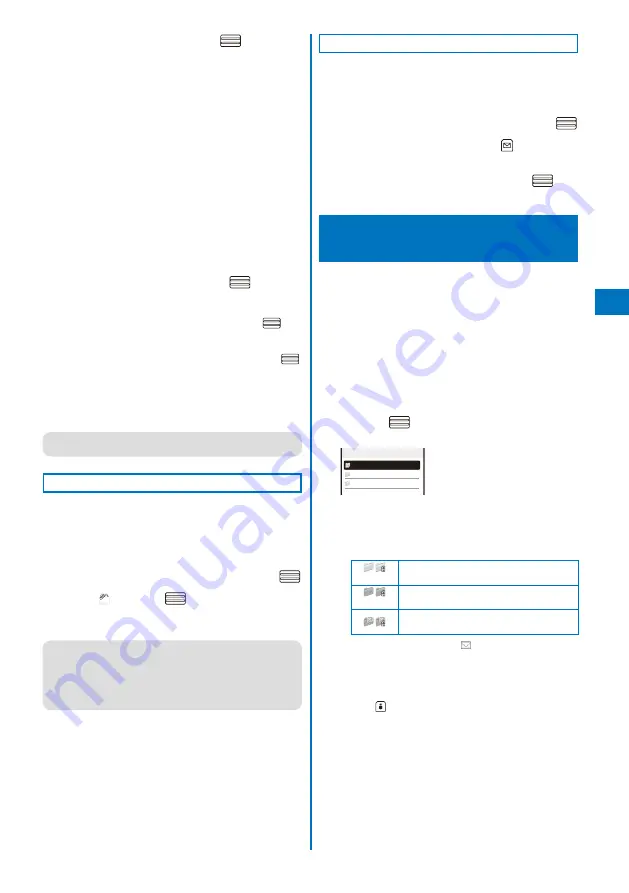
Received mail
Inbox 25/66
Inbox
MessageR
MessageF
The number of saved mail in the folder at the cursor/the
total number of mail is displayed at the right end of the
title line.
The following icons show the status of the folder. Next to
the icon, the folder name is displayed.
/
(Yellow)
Preset folder/Mail security is set
/
(Blue)
User-created folder/Mail security is set
/
Folder created by i-
α
ppli with mail/Mail
security is set
If there is unread mail, “
” appears at the lower left
of the icon.
When 2in1 is set to Address B, sent and saved mail
cannot be displayed.
To display the SMS list in the UIM
Press
(UIM).
When 2in1 is set to the B mode, the SMS list cannot
be displayed.
Continued


