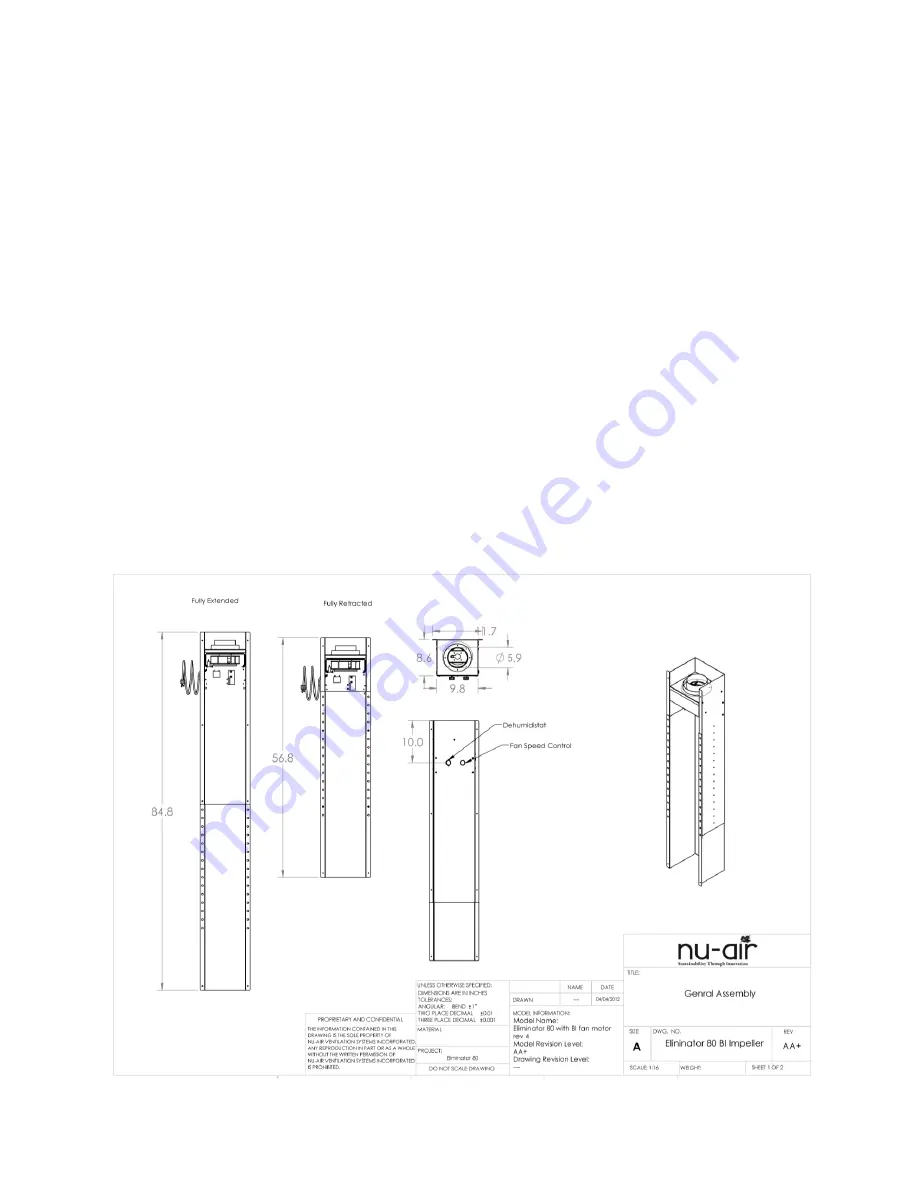
DOC RPM_EL80_010117006
2
CONTENTS:
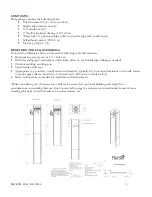
This package contains the following items:
▪
The Eliminator 80 (1
—
in two sections)
▪
Height-adjustment screws (2)
▪
6
” Outside hood (1
)
▪
6
” flexible insulated ducting (
4 ft/1.22 m)
▪
“Snap
-
lock” 6” galvanized pipe collar (to join flex pipe and outside hood)
▪
Self-adhesive gasket (20 ft/6 m)
▪
Tie wrap (“zip
-
tie”) (1)
.
REQUIRED TOOLS & MATERIALS:
To install the Eliminator 80 you will need the following tools and materials.
▪
Reciprocating saw, jig saw or
6 ½”
hole saw
▪
Drill, measuring tape, screwdriver, utility knife, pliers (to cut flexible pipe ribbing as needed)
▪
Outdoor caulking, caulking gun
▪
Vapor barrier/duct tape
▪
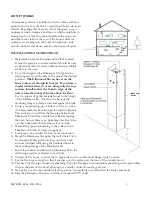
Appropriate (e.g. concrete, wood) screws and washers (typically 4-8) to mount Eliminator to the wall, screws
to mount pipe collar to hood (min. 3) and screws to fix hood to outside wall (4)
▪
Sheet rock anchors (as needed for installation in finished areas).
*When considering use of a basement ventilator, be aware that your local building code might have
considerations surrounding their use (due to potential for negative air pressure) in mechanical rooms where a
standing pilot light is used in furnaces, hot water heaters, etc.


