Rev 2.3 July 17, 2017
9
NU0406 – NU1316 & NU600-NU1600:
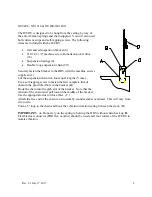
The H/ERV is designed to be hung from the ceiling by way of
the anti-vibration springs and chain supplied. You will also need
bolt cutters or snips and self-tapping screws. The following
items are included with the H/ERV:
Galvanized suspension bracket (4)
#10-24 x 1/2" machine screw, Robertson socket drive
(16)
Suspension Springs (4)
Double loop suspension chain (20')
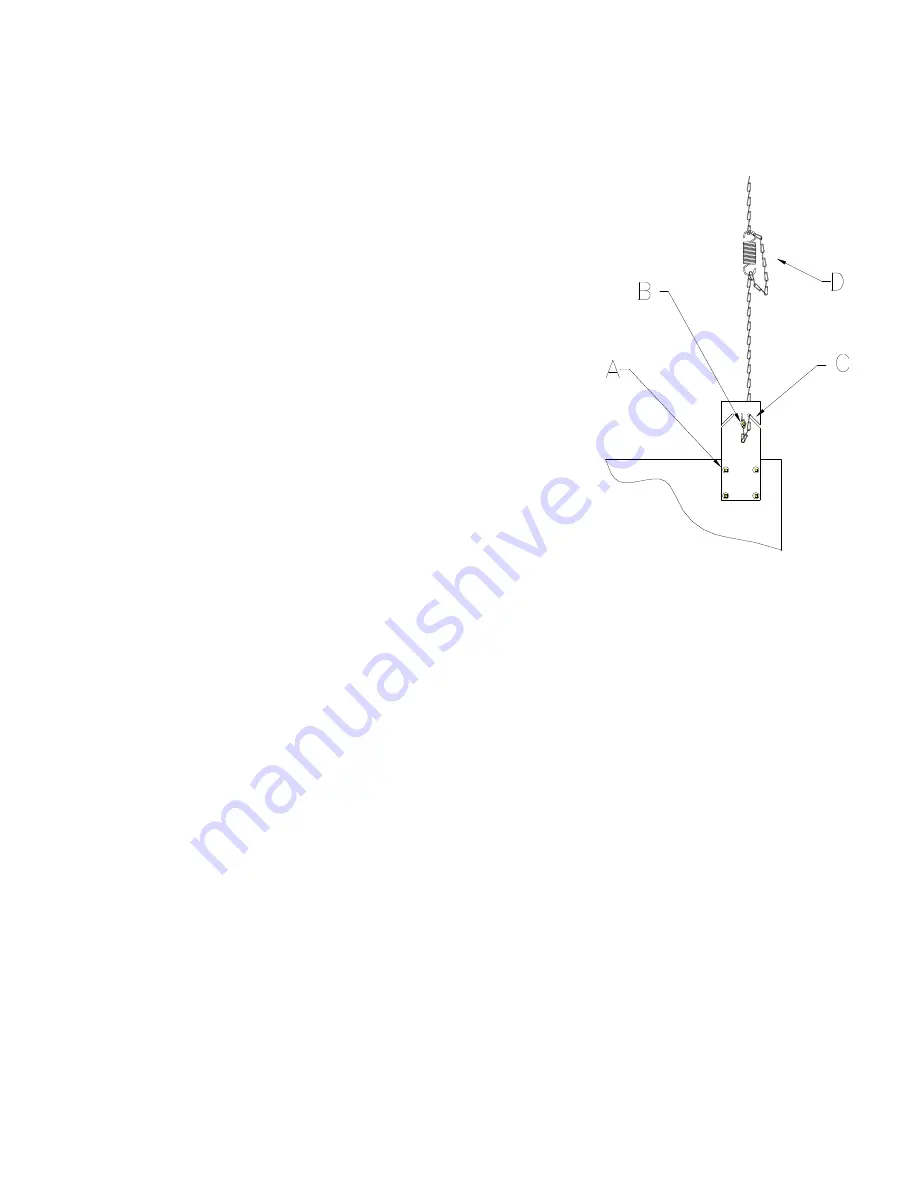
Securely fasten the bracket to the HRV with the machine screws
supplied. (A)
Cut the suspension chain into four equal lengths (5' max).
Use a self-tapping screw to fasten the first complete link of
chain to the pre-drilled hole in the bracket. (B)
Hook the chain into the grab slot of the bracket. Note that the
tension of the chain must pull toward the middle of the bracket.
Use the appropriate slot for this effect. ( C )
Attach the free end of the chain to a structurally sound member overhead. This will vary from
site to site.
Form a 5" loop in the chain and hook the vibration isolation spring between the slack. (D)
IMPORTANT: A.
Do not rely on the spring to hold up the HRV without chain back up.
B.
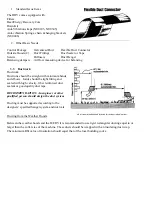
Flexible duct connector (PRO flex or other) should be used at all four collars of the H/ERV to
isolate vibration.
Summary of Contents for NU0103
Page 25: ...Rev 2 3 July 17 2017 25...
Page 26: ...Rev 2 3 July 17 2017 26...
Page 27: ...Rev 2 3 July 17 2017 27...
Page 28: ...Rev 2 3 July 17 2017 28...
Page 29: ...Rev 2 3 July 17 2017 29...
Page 30: ...Rev 2 3 July 17 2017 30...
Page 31: ...Rev 2 3 July 17 2017 31...
Page 32: ...Rev 2 3 July 17 2017 32...
Page 33: ...Rev 2 3 July 17 2017 33...
Page 34: ...Rev 2 3 July 17 2017 34...
Page 35: ...Rev 2 3 July 17 2017 35...
Page 36: ...Rev 2 3 July 17 2017 36...
Page 37: ...Rev 2 3 July 17 2017 37...
Page 38: ...Rev 2 3 July 17 2017 38...


