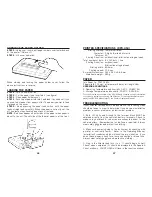
Full Duplex:
Front View Serial Connector (Nitestar Data Connector):
SERIAL OPERATION
The Nitestar has both serial in and out capability. Commands can
be input on serial input and distance, speed and time values are
output to serial out. The instrument can be completely controlled
over the serial lines. Anything the user can do from the keyboard
is duplicated in the serial commands. Also the instrument seri-
al baud rate can be set at any value from 9600 to 300 baud.
BAUD RATE SETTING
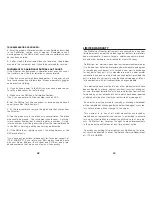
To select the proper baud rate depress the following sequence:
9PRM
key,
5BRIGHTNESS
key and
MARK/ENTER
.
The display will show:
STEP 1
: Press
DISP/HOLD
to step thru the baud rate choices.
STEP 2
: Press
MARK/ENTER
when the proper baud rate is dis-
played. Your baud rate is now selected.
34
PRINTER INSTRUCTIONS
The DPU-414 Printer is a portable thermal printer that can oper-
ate from an AC Power Adapter or from the built in rechargeable
battery system. The battery operated system has a typical run
time of 1,500 printed lines when fully charged.
The DPU-414 can be used in the vehicle to obtain a real-time
printout, or in the office to “dump” inventory data previously
stored in the Nitestar's Memory.
Remember to fully charge your printer before starting your sur-
vey & turn off the printer when not in use to preserve battery life.
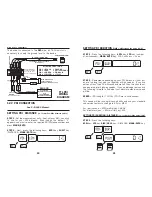
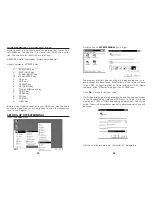
OPERATING THE PRINTER
STEP 1
: Turn off printer power switch and Nitestar power switch.
STEP 2
: Connect printer & Nitestar with interface cable.
STEP 3
: Turn on power switches to the Nitestar & DPU-414.
Printer Status should be On Line, if not, make sure paper is
loaded and ready. (Loading the Paper)
STEP 4
: To advance the paper feed the printer must be in the Off
Line mode.
See function listing below for further detail about printer operation.
FUNCTIONS THAT USE THE PRINTER
Memory Dump . . . . . . . . . . . . .Memory Section 5
Print Key . . . . . . . . . . . . . . . .Key Descriptions Section 4
Speed Trap . . . . . . . . . . . . . . .Auxiliary Programs Section 6
Area Calculation . . . . . . . . . . .Auxiliary Programs Section 6
Volume Calculation . . . . . . . . .Auxiliary Programs Section 6
Job Cost . . . . . . . . . . . . . . . . .Auxiliary Programs Section 6
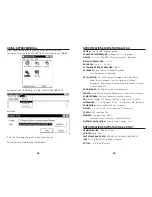
CHARGING THE PRINTER
STEP 1
: Turn off power switch.
STEP 2
: Plug-in DC plug on the AC adapter into the power supply
jack on the printer.
STEP 3
: Plug the AC adapter into an outlet.
STEP 4
: Turn power on.
To remove the AC adapter, first turn off the power switch, then
unplug the AC adapter and the DC plug.
35


