8
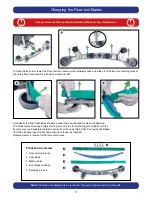
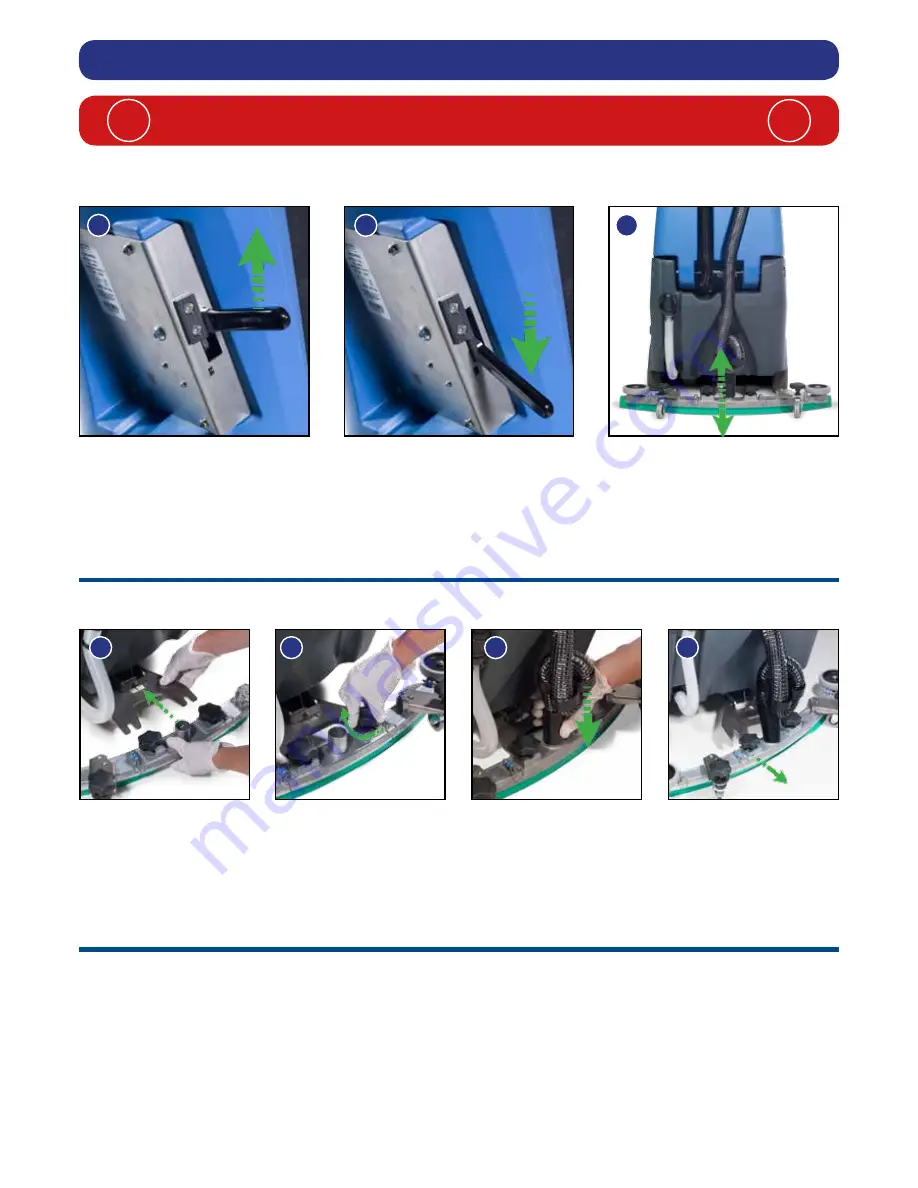
Lower the floor-tool arm by moving the floor-tool lever to the upper position (See above).
Loosen the retaining knobs on the floor-tool and slide onto the holding bracket (Fig.10).
Tighten the retaining knobs to finger tight. (Fig.11).
Push waste collection pipe onto the floor-tool; ensure a tight fit (Fig.12).
Note: Raise floor-tool again before driving to the cleaning area (See Above).
Always ensure that the machine is switched off before making any adjustments
!
!
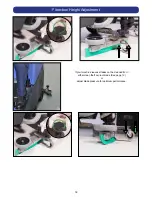
To lower the floor-tool move the floor-tool lever into the upper position (Fig.7/9).
To raise the floor-tool move the floor-tool lever into the lower position (Fig.8).
Note: The machine will not operate in reverse with the Floor-tool lowered.
Note: The floor-tool lever guide is designed to be reversible and replaceable.
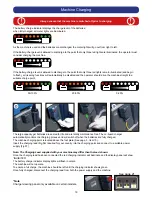
The floor-tool design incorporates a safety knock-off feature.
Allowing it to safely disengage from its mounting should it become caught on an obstruction during forward movement
(Fig.13).
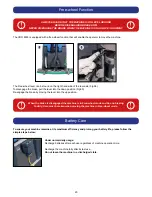
Make sure you do not over tighten the retaining knobs to ensure correct operation.
7
9
8
10
11
12
13
Machine Set-Up
Raise / Lower the Floor-tool
Fitting the Floor-tool
Break-away Floor-tool
Summary of Contents for CRO 8055/100T
Page 27: ...27...


