5
ENGLISH
This machine can be used with cold or warm laminating films. The items being laminated can be pic-
tures, cards, documents, paper, etc. but must be no thicker than 0.02” (0.5 mm).
NO CARRIER SHEET IN REQUIRED. Only use pouches intended for laminators. Make sure item in lami
-
nating pouch is evenly inserted. For smaller items, do not use too large a pouch since this may cause
poor laminating quality and create jams. Do not laminate wet items. Laminating damp/moist documents
will result in poor laminate quality.
To avoid creasing, DO NOT insert the item with the “open side” of the laminating pouch first. Be sure
to follow the guidelines on the feed guider to properly insert the item in to the entry. Be sure to insert
with the closed (sealed) edge of the laminating pouch first.
OPERATION
CONTINUED NEXT PAGE
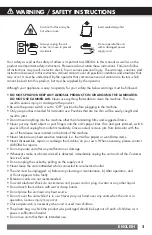
Correctly position item using only 1
laminating pouch per item.
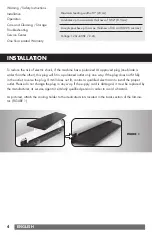
Item should be centered
within the pouch with a
1/8”– 3/8” border.
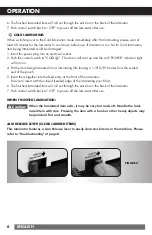
Be sure to insert with the closed
(sealed) edge first
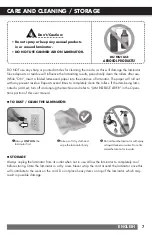
For smaller or irregular shaped items, position item in center of adequate pouch and trim after lamina
-
tion. DO NOT CUT LAMINATING POUCH TO FIT ITEM BEFORE LAMINATION.
HOT LAMINATING
1. Insert the power plug into an electrical socket.
2. Push the control switch to "HOT ". The motor will start up and the red “POWER” indicator light
will turn on.
3. Wait 3-5 minutes for the machine to warm-up. The green “READY” indicator will light up when the
proper laminating temperature is reached.
4. Put the item being laminated into a laminating film leaving a 1/8"-3/8" border from the sealed end
of the pouch.
5. Insert them together into the feed entry at the front of the laminator. Be sure to insert with the closed
(sealed) edge of the laminating pouch first.
Summary of Contents for LM992HC
Page 2: ......


