


8
1-877-646-5288
PLEASE KEEP THESE IMPORTANT
SAFEGUARDS IN MIND WHEN
USING THE APPLIANCE:
IMPORTANT:
Never add ingredients into the
container before placing the blade in first.
IMPORTANT:
Attachments are not
interchangeable.
IMPORTANT: DO NOT
attempt to operate the
appliance without the lid on.
IMPORTANT:
Never run the appliance empty.
CAUTION: DO NOT PROCESS HOT FOODS OR
HOT LIQUIDS.
WARNING:
Never leave the appliance unattended
while in use.
CAUTION:
Blades are loose. Either pour contents
out with cover on or remove blades before
pouring.
CAUTION:
Blades are sharp! Use extreme caution
when handling the blade assemblies. Always hold them
by the shaft.
BEFORE FIRST USE
1
Remove all packaging material and labels from
the appliance.
2
Wash the storage lid, Sip & Seal
™
lids, pitcher, bowl,
Nutri Ninja
®
cups and blades in warm, soapy water with
a soft cloth.
Use caution when washing the blade
assemblies as the blades are very sharp.
Rinse
and dry thoroughly.
3
The blender pitcher, food processor bowl, Nutri Ninja
®
cups, storage lid, Sip & Seal
™
lids and blades, are all
dishwasher safe. It is recommended that the storage
lids, Sip & Seal
™
lids and blades be placed on the top
rack. Ensure that the blades are removed from the
containers before placing in the dishwasher.
4
The Geared Lid is
NOT
dishwasher safe. Do not
submerge in water.
Hand wash only
.
5
Wipe the Power Pod clean with a damp cloth and wipe
dry.
Using the Nutri Ninja
®
2-in-1
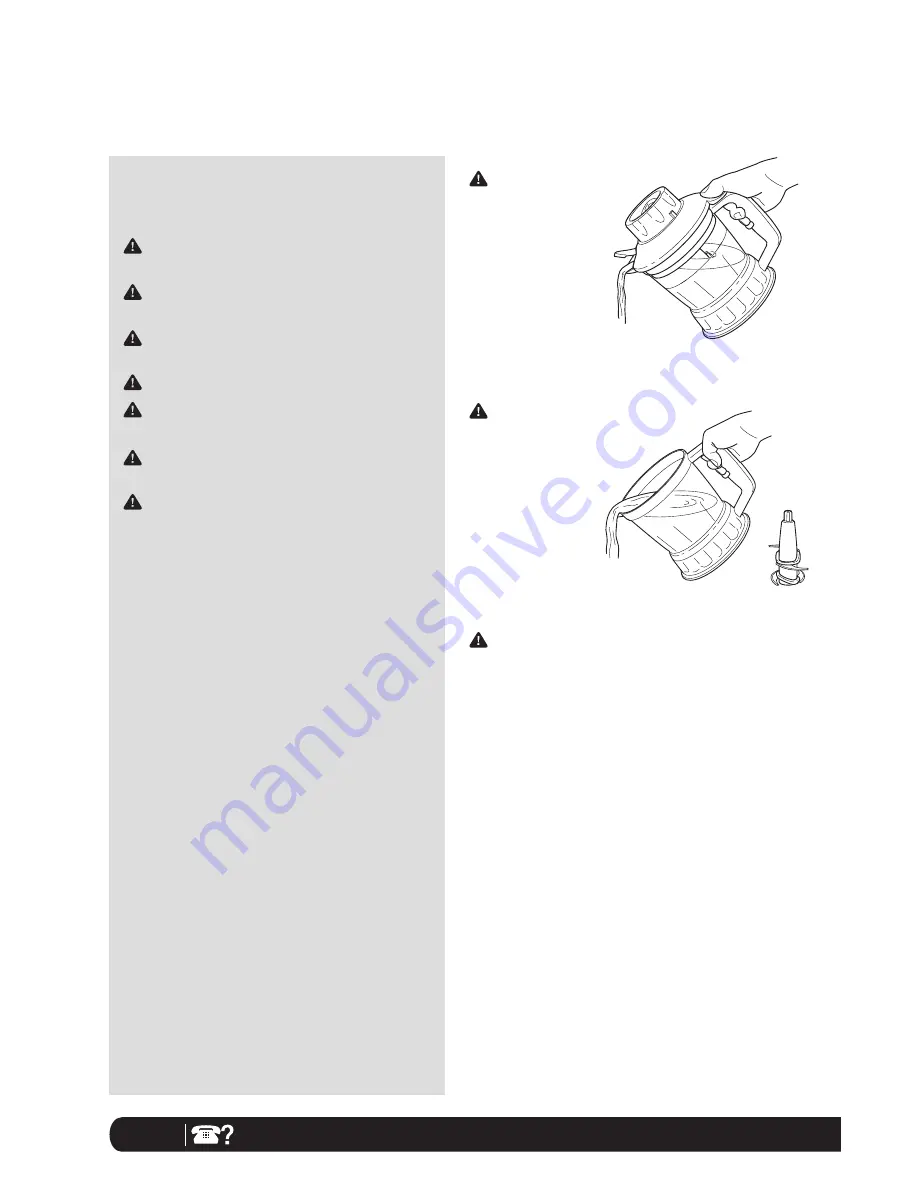
CAUTION: If using
the pour spout,
make sure your
thumb is firmly
pressed down on
the thumb tab of
the lid to secure
the lid.
CAUTION: If
pouring with
the lid removed,
ALWAYS remove
the blade
assembly first.


