Ra.Ro. 1.0 – User and maintenance manual
Pag. 9
STARTING and INSTALLATION
After checking the correct assembly and carefully reading the ENVIRONMENT and RULES of USE section,
you may proceed with the first starting. The robot is equipped with a main switch and a power and control
button. Proceed as follows:
1-
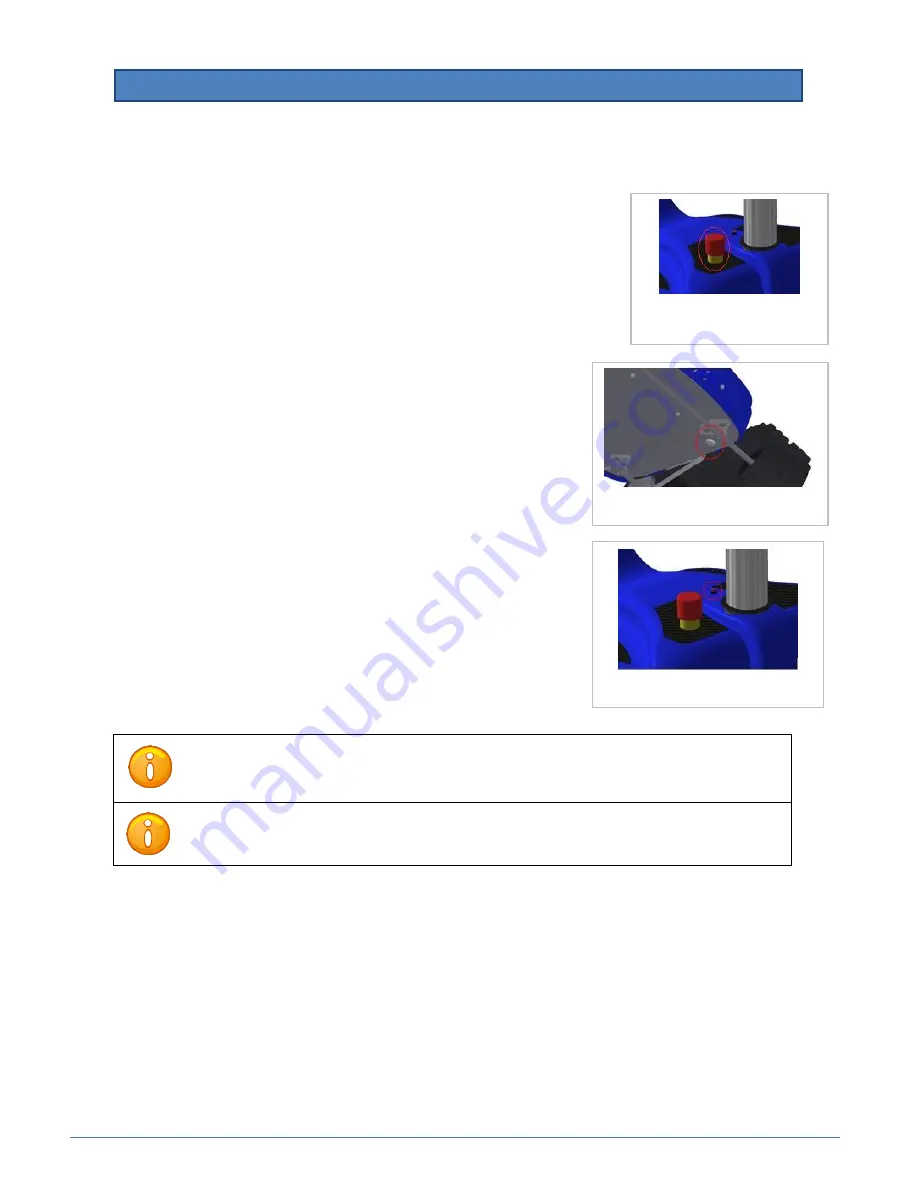
Turn on the main power switch, located at the bottom of the unit.
This button must be disabled during transport or in case the robot is
kept inactive for long time.
2-
After activating the switch, the robot will make a quick flash of the
lights, to indicate that it has been correctly turned on.
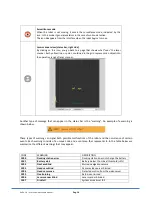
3-
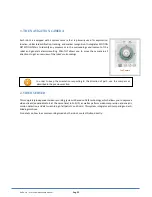
Check that the protection switch - red button - is armed, or must be in
a raised position (as shown in the figure at the side); otherwise, turn it
counter-clockwise, as indicated on the connector, doing so will
automatically arm it. During normal use, these two switches must be
left in the positions indicated above (armed red button and main
switch active).
4-
Press and hold the power button for at least 5 seconds. It will be noted
that, during the first few seconds of pressing the button, the internal
light will increase in intensity progressively, and then go to a brief
flash, corresponding to the system boot.
5-
The robot moves the camera to the front position, pronounces "
I am
ready
" and performs a double FLASH with the lights. This indicates
that the robot is operational.
6-
For instructions on how to connect to the robot, see the CONTROL
CLIENT section.
For details on the lighting status of the power button, refer to the description given in the
AUTONOMY and CHARGING section
If the IP address of the robot is lost, refer to the NETWORKING (DEMO MODE) section.
Red button
General power switch
Power button
Summary of Contents for 4W - 3013
Page 1: ...USE AND MANTEINANCE MANUAL MODELS 4W 3013 TK 3013 ...
Page 53: ...Ra Ro 1 0 User and maintenance manual Pag 52 APPENDIX 1 VISUAL MARKERS ...
Page 54: ...Ra Ro 1 0 User and maintenance manual Pag 53 ...
Page 55: ...Ra Ro 1 0 User and maintenance manual Pag 54 ...
Page 56: ...Ra Ro 1 0 User and maintenance manual Pag 55 richies ...
Page 57: ...Ra Ro 1 0 User and maintenance manual Pag 56 ...


