nVent.com
|
20
Raychem-AR-H
58686
-NGC
40
DemoUnit-EN-
1805
Step
7
–
Basic Settings – Control Modes
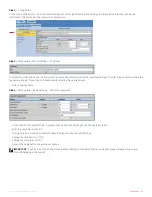
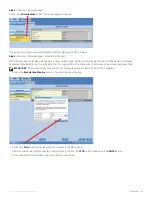
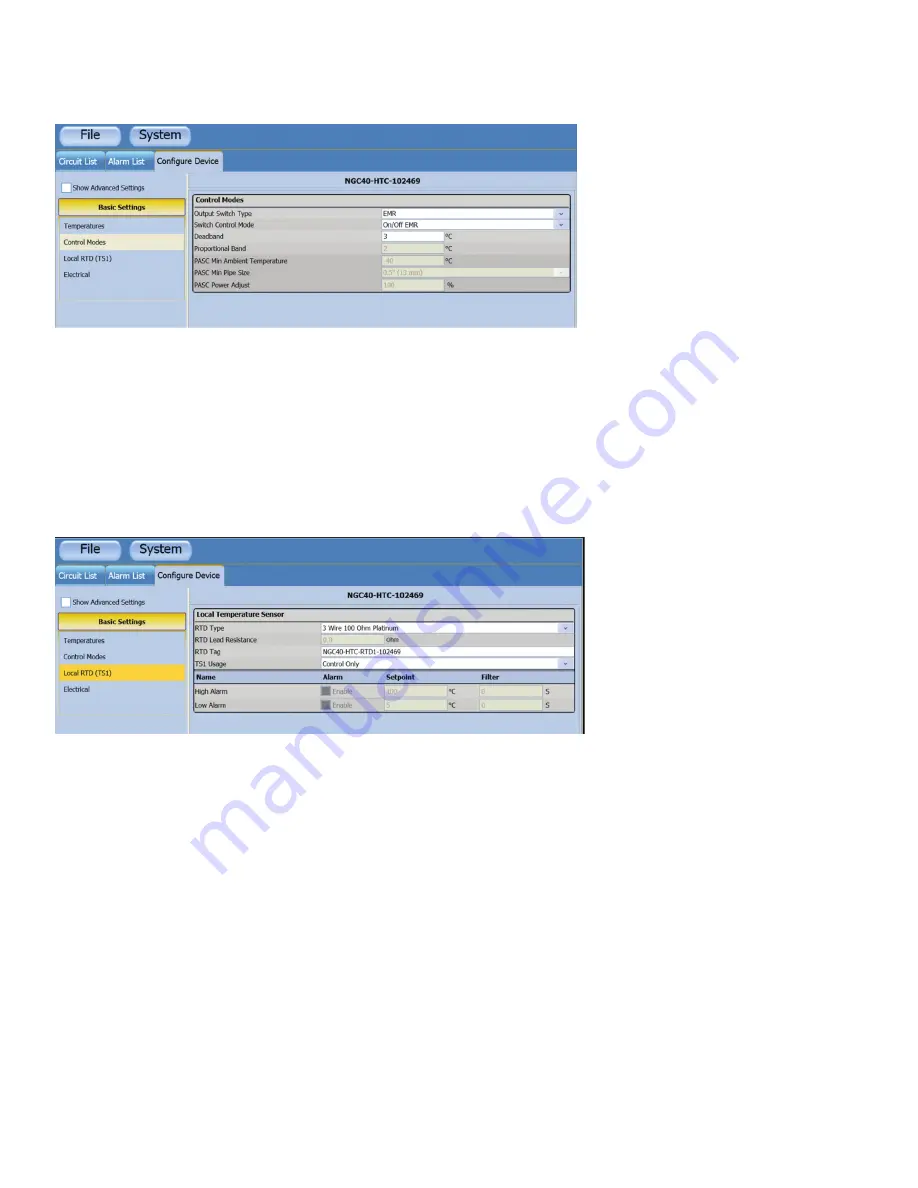
Click on the Control Modes button in the Basic Settings menu and the screen below will appear. Click on the down arrow to view Switch
Control Modes.
This screen will allow you to select the Output Switch type either SSR (solid state relay) or EMR (electro mechanical relay), Switch control
mode and deadband. The default is EMR with ON/OFF control with a deadband of
3
. If you select PASC as your Switch Control Mode then
the shaded areas will allow you to change setup parameters.
• Change the deadband from
3
to
2
• For this exercise use the default settings for the Output Switch Type and Switch Control Mode.
• Click on the BACK button to return to the Temperature screen.
Step
8
–
Basic Settings – Local RTD (TS
1
)
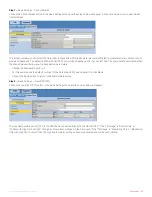
Click on the Local RTD (TS
1
) button in the Basic Settings menu and the screen below will appear.
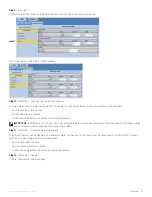
The local temperature sensor (TS
1
) is the RTD that is connected directly to the NGC-
40
-HTC. If the “TSI Usage” is “Control Only” or
“Control with High Limit Cut-Out”, the high and low alarm settings in Step
6
are used. If the “TSI Usage” is “Monitoring Only” or “Monitoring
Only with High Limit Cut-Out”, then the high and low alarm settings above are activated and will be used instead.


