25.
Carefully pull the down conductor (and
bonding braid) back down through the FRP
mast so that the terminal base sits correctly
in the top of the mast.
26.
Connect the 6 mm
2
(8 AWG) structure
bonding cable as detailed in the nVent
ERICO SYSTEM 3000 Installation, Operation
and Maintenance Manual. After bonding
the cable, ensure that the connection is
waterproof and resealed if required.
27.
Place the Vital Warning Label (11) in a
prominent position at the base of the mast,
or beside the downconductor at eye level, if
the installation is in an area where it is
possible for persons to gain access.
Connecting the nVent ERICO Dynasphere
24.
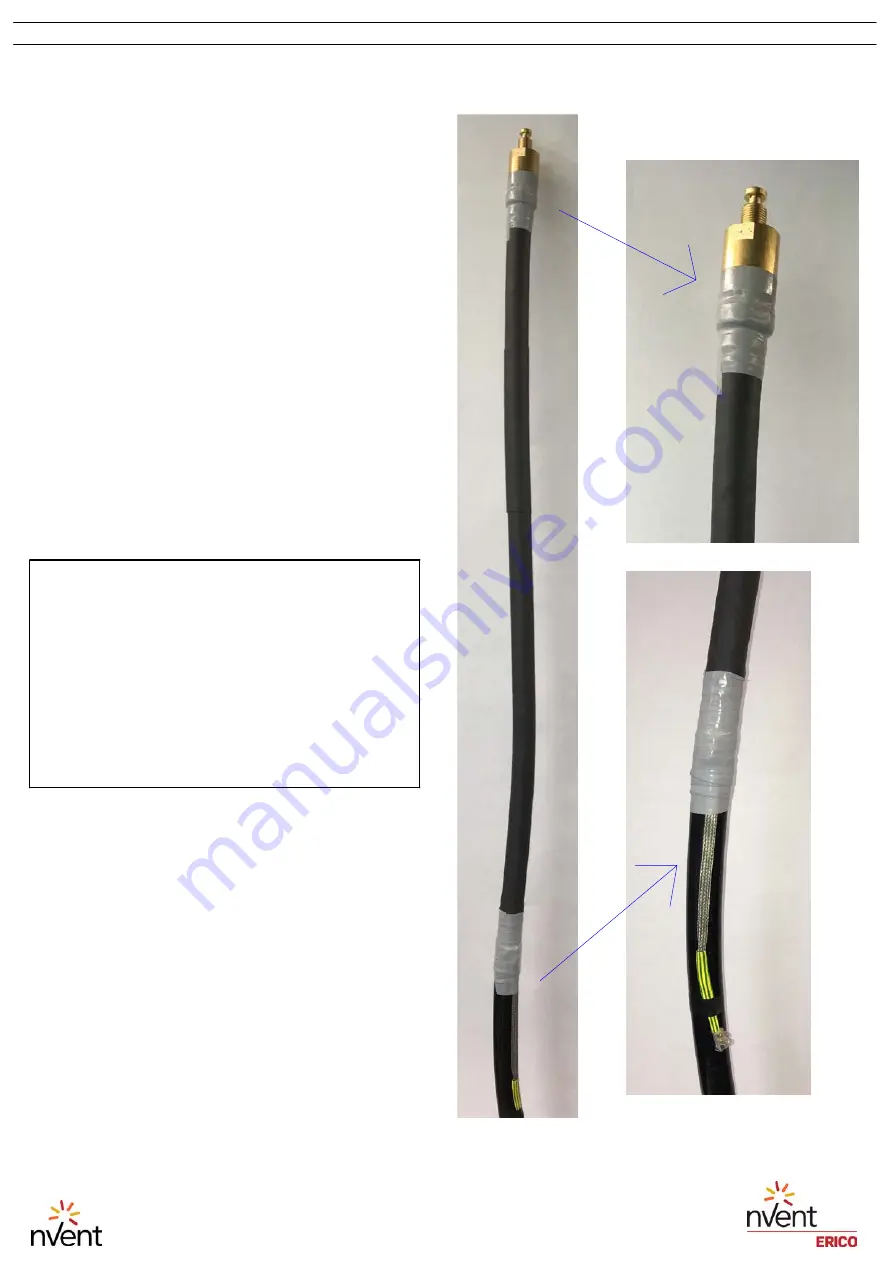
Feed the terminated Ericore (and
bonding braid) through the FRP mast so that
the entire termination is protruding from
the top of the mast. Remove the lock screw
in the base of the nVent ERICO Dynasphere
terminal, then screw the terminal all the
way onto the termination coupling thread.
Install the lock screw back into position so
that it locks the thread into place and will
stop the terminal from unscrewing.
Figure 14
: Completed termination
Note:
It may be necessary to pull back any
slack of nVent ERICO ERICORE
downconductor through the FRP support
mast to achieve a properly seated fit for the
nVent ERICO Dynasphere.
The nVent ERICO Dynasphere must not be
skewed and the base of the terminal must be
fully inserted into the top of the FRP mast.
IP8519_A
10 OF 11
INSTRUCTION SHEET
© 2019 nVent All Rights Reserved
TECHNICAL SUPPORT
www.nVent.com
nVent, nVent CADDY, nVent ERICO Cadweld, nVent ERICO Critec, nVent ERICO, nVent ERIFLEX, and nVent LENTON are owned by nVent or its
global affiliates. All other trademarks are the property of their respective owners. nVent reserves the right to change
specifications without prior notice.


