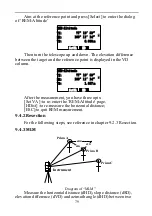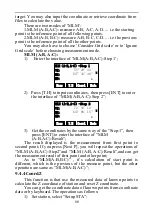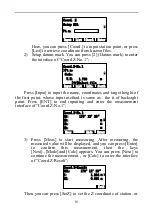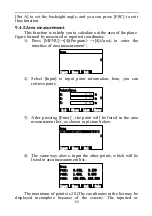
87
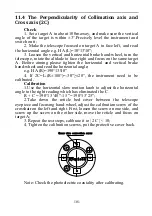
Enter the interface of tilt calibration:
VA:
Enter
Tilt
90°00′00″
X= 125
F1 Up 3′
Specific steps are as follows:
1)
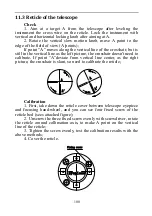
After leveling the instrument, aim at the target F1 in the
collimator face left, record the current vertical angle as V0.
2)
Set the vertical angle to ‗V0+3′‘with the help of the vertical
tangent screw. Adjust the screw A to aim at the target
precisely. Press [ENT] to confirm after a stable readout
appears;
3)
Set the vertical angle to V0-3′with the help of the vertical
tangent screw. Adjust the screw A to aim at the target
precisely and press ‗ENT‘ to confirm after a stable readout
appears.
4)
Set the vertical angle to V0 with the help of vertical tangent
screw. Adjust the screw A to aim at the target precisely.
5)
Aim at the target F2 in the collimator with reverse telescope
and record the current vertical angle as V1.
6)
Set the vertical angle to V1-3′with the help of the vertical
tangent screw. Adjust the screw A to aim at the target
precisely and press ‗ENT‘ to confirm after a stable readout
appears;
7)
Set the vertical angle to V1+3′with the help of the vertical
tangent screw. Adjust the screw A to aim at the target
precisely and press ‗ENT‘ to confirm after a stable readout
appears;
There are prompts which are ―F1 Up 3′, ―F1 Down 3′‖, ―F2 Up
3′, ―F2 Down 3′‖ during the four steps.The instrument will then
calculate out and display the correction constant and the difference
between the compensator axis and the vertical axis of the instrument.
Press ‗ENT‘ to save the new calculated parameters, otherwise press
‗ESC‘ to quit and the previous correction constant remains.

