Page
6
of
22
Gauge Configuration
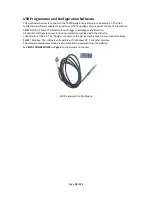
The set-Up of the Tank Gauge system using Interface lead and he software on a PC / Laptop.
Latest version of the software is
V1.0.0.16
Tank Gauge adjustments can be made with the
T4020 Configuration software
.
This needs to be loaded on to Service Laptop or an Office PC.
1
st
Issue
that will nearly always catch you out.
If the gauges are set in ‘Modbus’ mode, or if they are in
Standard. To talk to the gauge with the configurator software, the gauge needs to be in Standard mode.
If it is not, disconnect the power lead (24vdc supply), and hold down the front middle alarm button (for 3
seconds) and
reconnect power. (Front display will change to ‘Standard’.
(Cycle power again when finished.)
2
nd
Issue
, the comms lead will not talk to the tank gauge.
“
USB Serial Com P
ort”
This is the port you require to set the configurator, this is achieved by following the instructions for
the Device
Manager
below. This shows Windows 10, but if you have a different version of windows as long, as you can
access the device manager and find the com port number there shouldn’t be an issue.
IF YOU HAVE ANY ISSUES WITH SETTING UP / ACCESSING THE DEVICE MANAGER
PLEASE REFER TO DOCUMENT
PD02/0003
–
DEVICE MANAGER CONFIGURATION.
This is available from the OLE website as a downloadable .pdf
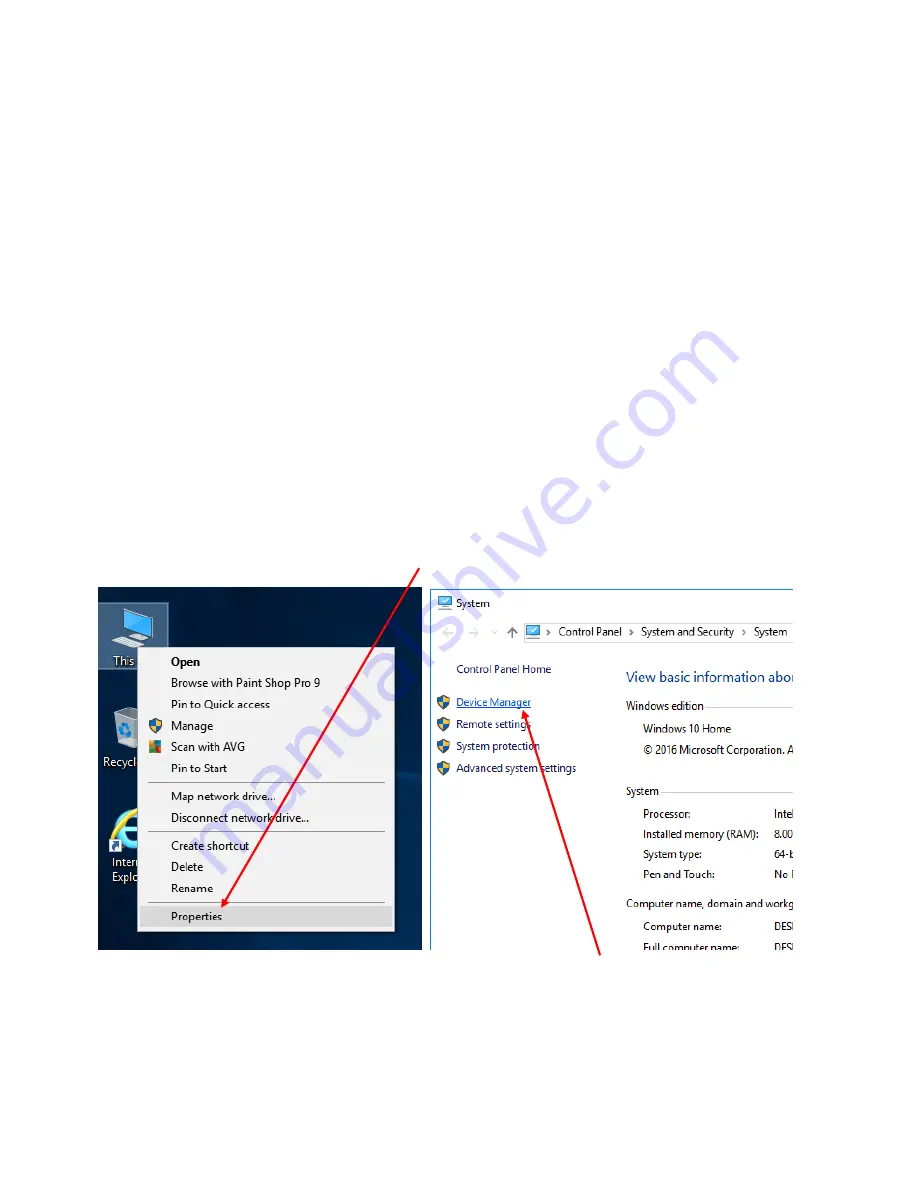
Windows Setup (Windows 10) / Device Manager.
Left click on the
This PC
icon. Scroll down and click on the
Properties
tab.
This will open the Control Panel / System and Security / System page. Click on the
Device Manager
Icon.
This will bring up the device manager page.
Summary of Contents for T4020
Page 14: ...Page 13 of 22 Appendix 1 T5020 Wiring Diagram ...
Page 15: ...Page 14 of 22 Appendix 2 Modbus Register Table ...
Page 16: ...Page 15 of 22 ...
Page 17: ...Page 16 of 22 ...
Page 18: ...Page 17 of 22 ...


